A mind-bending trick to fool others
Last time, I showed you how to set up an encrypted volume on your computer using VeraCrypt. Today, we are going to go a step further and show you how to insert a hidden encrypted area inside an ordinary encrypted volume. Mind-bending, right?
But Why Would I Want a Hidden Section?
Apart from the fun aspect of it (who doesn’t like secret passageways?), there is also something called “plausible deniability.” It goes something like this.

Let’s say you have a very suspicious parent or spouse who knows you have an encrypted folder. They are convinced you have something truly terrible in there, you deny it, and they pressure you to open the folder to prove it.
In an ordinary folder, decrypting it will immediately reveal the contents. But what if you had a hidden section which only you knew about? Then you can open the folder to show the person some innocuous and boring files, but the really sensitive stuff would be in the hidden section – and nobody would be any the wiser.
Make Your Own Narnia-Like Secret Passageway
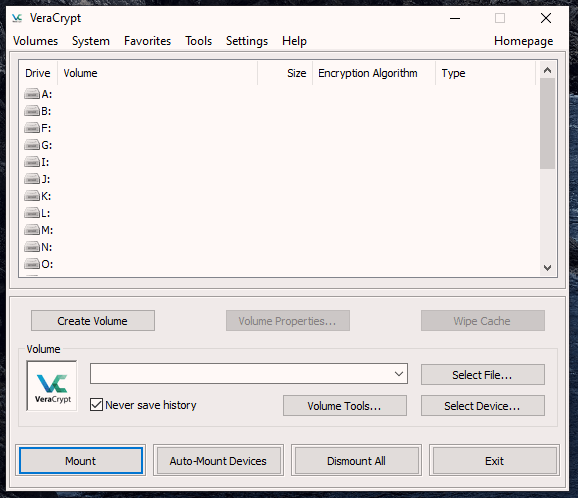
So let’s fire up VeraCrypt again and let’s take a look at how to do this.
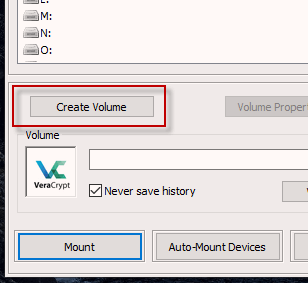
First, click “Create Volume”.
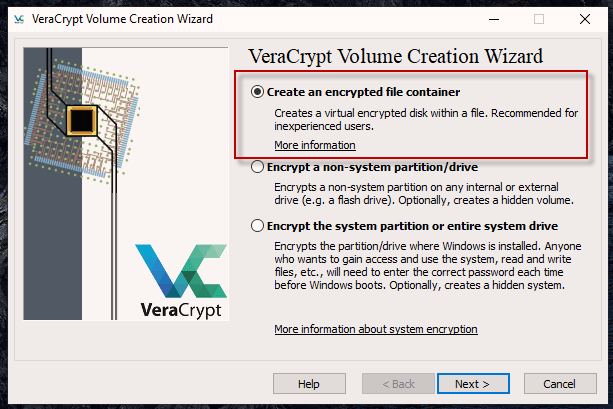
Click on the first option – “Create an encrypted file-container” and then “Next”.
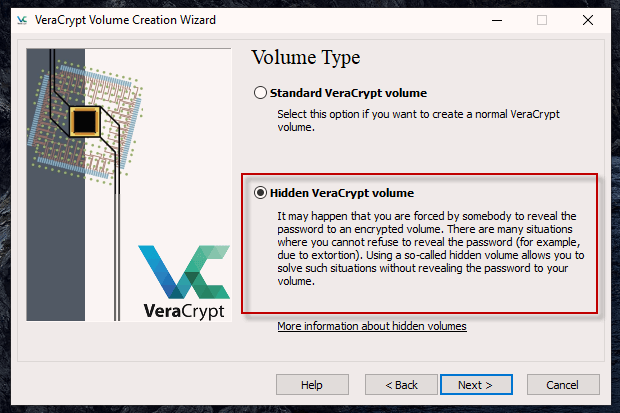
Last time, we did the first option. Today, we are going to click on door number two – “Hidden VeraCrypt volume”. The description gives you what I like to call the “Mafia torture/extortion insurance policy”.
The next section gives you two options.
- To create a new VeraCrypt volume complete with its own hidden section.
- To add a hidden section to an already-existing volume.
I am going to assume this is your first time doing this so I will go with “Normal mode” to make things simpler.

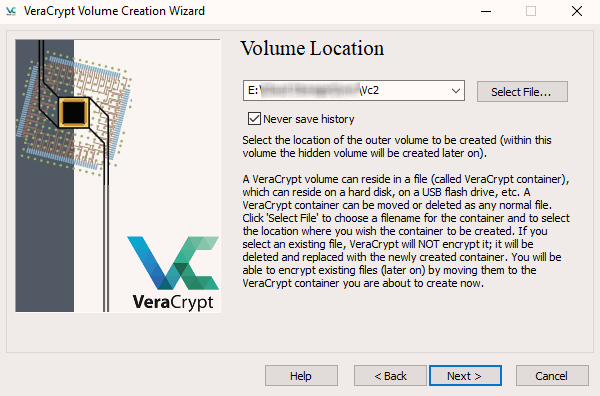
The first step is to create the “outer” VeraCrypt volume (the regular one which will hold all the innocent files). So click “Select File” and navigate to where you want that folder to go. Plus give it a name.
The location and name can be changed later if necessary.
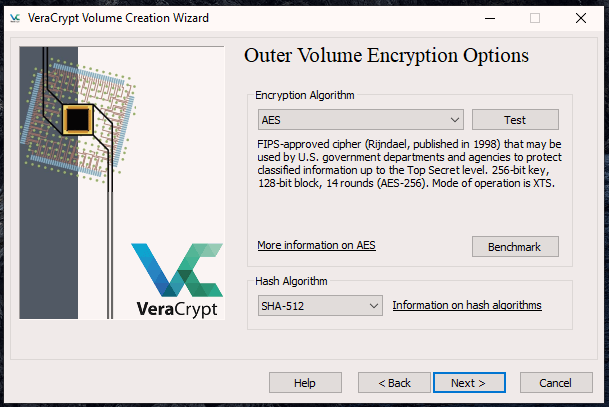
Now set the “Encryption Options” for the outer volume. Unless you have any special reason why, the default options are perfectly fine.
Now set the size of the outer volume. Remember, the size of your hidden section needs to go inside of this, so the outer volume needs space for the innocent files AND the hidden space with the sensitive files.
Since this space cannot be changed once the volume has been created, you need to have a serious think about how much space you will need. Better to err on the side of caution and go a bit higher.
Since this is just a temporary volume for this article, which will get deleted afterwards, I did 1GB.

Now the password. Forget the keyfiles and PIM option. After you have entered the password, click “Display Password” to check that you have typed it in properly.

Next up is to generate the encryption keys. Move your mouse around the screen randomly and watch the bar at the bottom go from red to green.

When the bar is green, click “Format”.

You will now be told to open the outer volume and copy your innocent files inside. The hidden section hasn’t been created yet. That comes next.

So I went into the outer volume and copied some PDF’s of tech articles into it.

Now go back to the previous VeraCrypt window and click “Next” to start building your hidden volume.


As before, choose the encryption options for the hidden volume. Again, unless you really have to, leave these as they are.

Based on the size of the outer volume, VeraCrypt has calculated that the maximum size of the hidden volume can be no more than just under 882MB. So decide on the size and enter it in the space provided.

The next two screens will ask you to set a password and generate your encryption keys as you did with the outer volume.
With regards to the password for the hidden volume – it must be a completely different password to the one for the outer volume. You will see why later but if you choose the same password, the hidden volume will not work.
When that is all done, you will then see this.

Now exit the installation wizard. Your encrypted volume with hidden door is ready to rock and roll.
Opening It Up

In the main VeraCrypt window :
- Choose a drive letter where you want to mount the volume.
- Click “Select File” to navigate and choose that volume.
- Click “Mount File” to bring up the password window.
Why You Needed Two Passwords
OK let’s say the Mafia has you and you are being forced to give up the password to your encrypted VeraCrypt folder. The really incriminating stuff is in your hidden volume while the stuff that praises the Don is in the regular folder.
What do you do? You give them the password to the regular folder. VeraCrypt then sees you want the regular files and that’s all anyone sees.
But if you are safe and you want to view the incriminating stuff (your Bonnie Tyler fan club ID card for example), type in the password for the hidden volume. VeraCrypt will then disregard the normal folder and only mount the hidden volume instead.

In part three of this series, we will be using VeraCrypt to encrypt your entire hard-drive. Hopefully I can manage that without getting a Blue Screen of Death in the process.
