
Your PC records the date you create, modify, and access all the files on your computer. The date and time information is tagged to your files and can be accessed by anyone. Changing these attributes before sharing a file can help cover your tracks. This article will show you how to change the modified date of a file on your Windows computer.
How to Change Modified Date of a File?
There are several ways to change a file’s attributes in Windows. You can use built-in tools (like Windows PowerShell and File Explorer) or third-party applications. This tutorial covers instructions on using PowerShell and File Explorer to change a file’s modified date in Windows. Our YouTube video below explains how to use third-party apps to change the date you modified a file.
Change File Attributes Using Windows PowerShell
Modifying the original date(s) attributed to files using Windows PowerShell is straightforward. For this tutorial, we used PowerShell to change the last time/date we edited an Excel document. Here’s how:
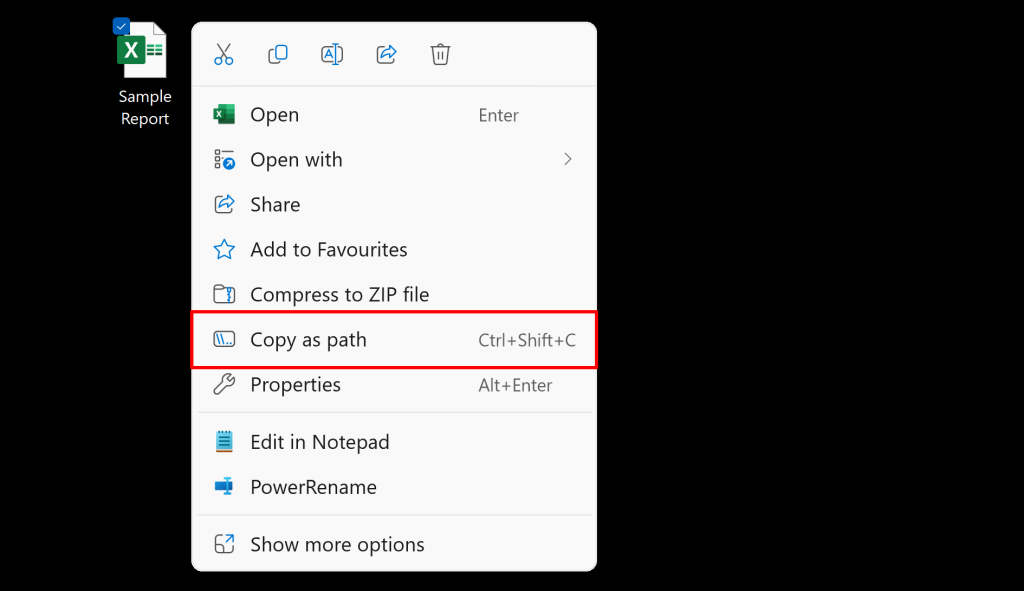
- Copy the file’s location/directory to your computer’s clipboard. Right-click the file and select Copy as path.
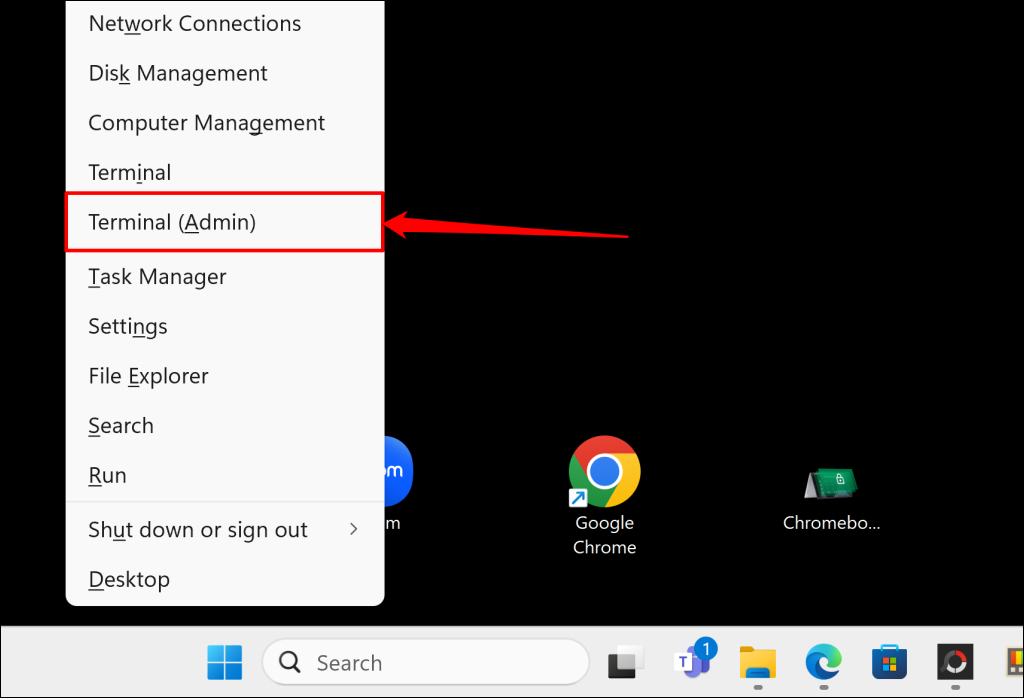
- Press Windows key + X and select Terminal (Admin) in the Quick Link menu.
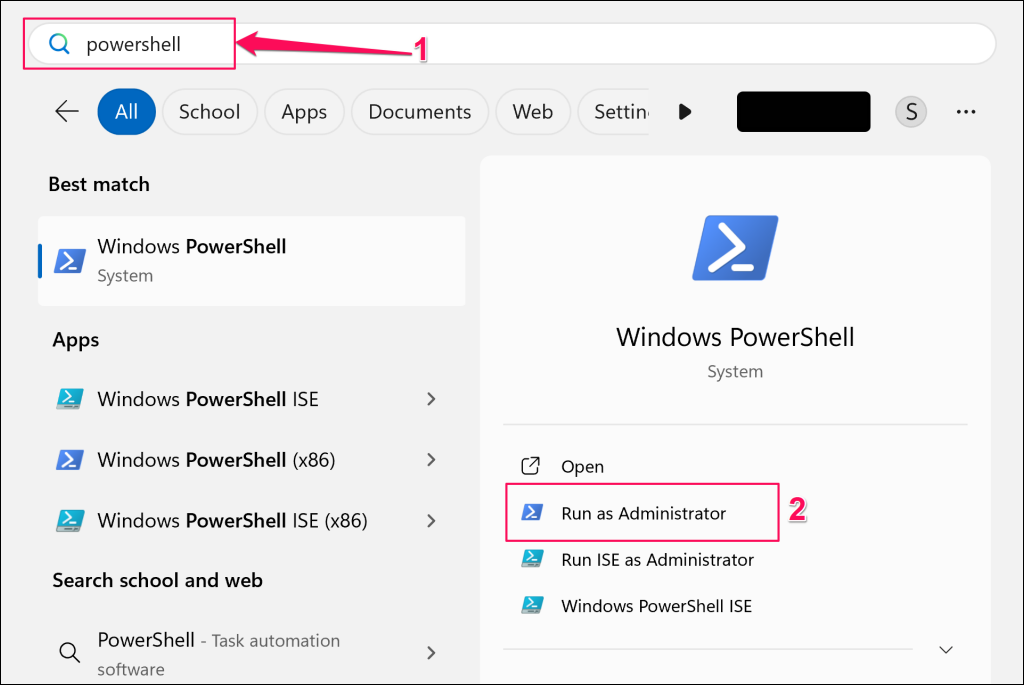
 Alternatively, type “powershell” in the Windows Search bar and select Run as Administrator in the Windows Powershell menu.
- Paste the following command in the PowerShell terminal and hit Enter to change the date of creation:
(Get-Item "file_path").CreationTime=("Day Month Year HH:MM:SS")Replace file_path with the file directory you copied in step #1 and the other attributes (Day, Month, Year, HH, MM, and SS) with your preferred value. HH, MM, and SS stand for hour, minute, and second, respectively.
The resulting command for the sample document we’re modifying looks like this:
(Get-Item "C:\Users\olanr\OneDrive\Desktop\Sample Report.xlsx").CreationTime=("21 May 2024 19:50:46")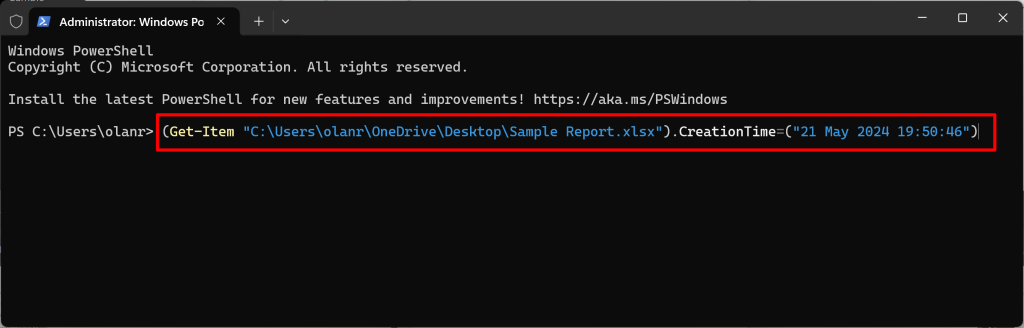
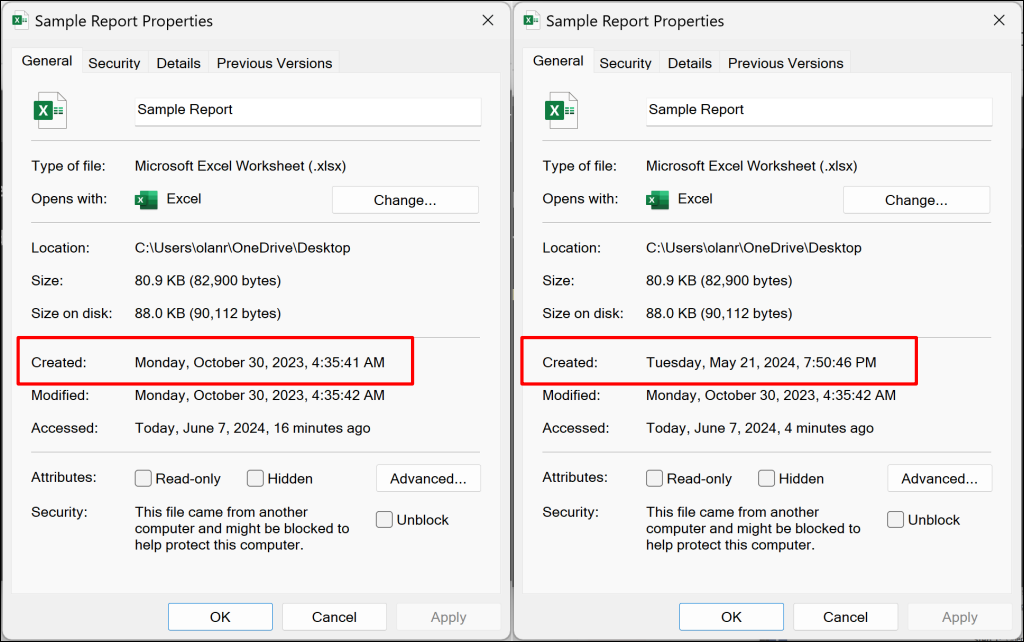
We successfully changed an Excel document’s creation date and time from “Monday, October 20, 2023, 4:35:41 AM” to “Tuesday, May 21, 2024, 7:50:46 PM.”
- Paste the following in the terminal and hit Enter to change the file’s modified date:
(Get-Item "file_path").LastWriteTime=("Day Month Year HH:MM:SS")Again, replace file_path with the file path you copied in step #1 and the other attributes (Day, Month, Year, HH, MM, and SS) with your preferred value. The command should look like the one below:
(Get-Item "C:\Users\olanr\OneDrive\Desktop\Sample Report.xlsx").LastWriteTime=("26 May 2024 19:50:46")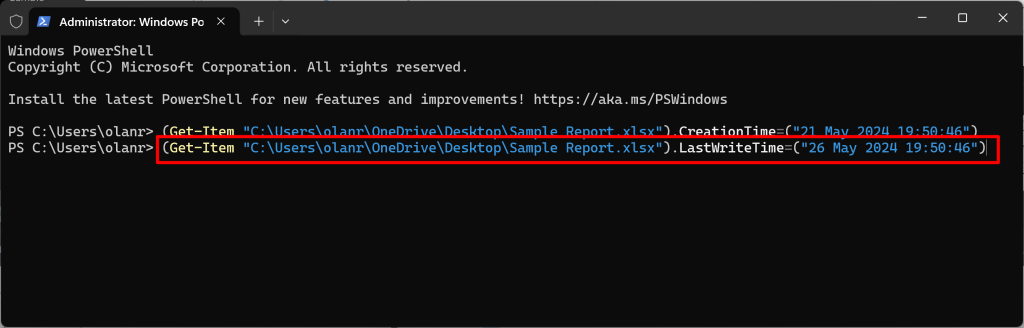
That should change the file’s modification date immediately. Check the file properties to verify.
- To change a file’s date accessed value, paste the following in PowerShell and hit Enter:
(Get-Item "file_path").LastAccessTime=("Day Month Year HH:MM:SS")Replace file_path with the file path you copied in step #1 and the other attributes (Day, Month, Year, HH, MM, and SS) with your preferred value. The command should look like the one below:
(Get-Item "C:\Users\olanr\OneDrive\Desktop\Sample Report.xlsx").LastAccessTime=("30 May 2024 20:25:57")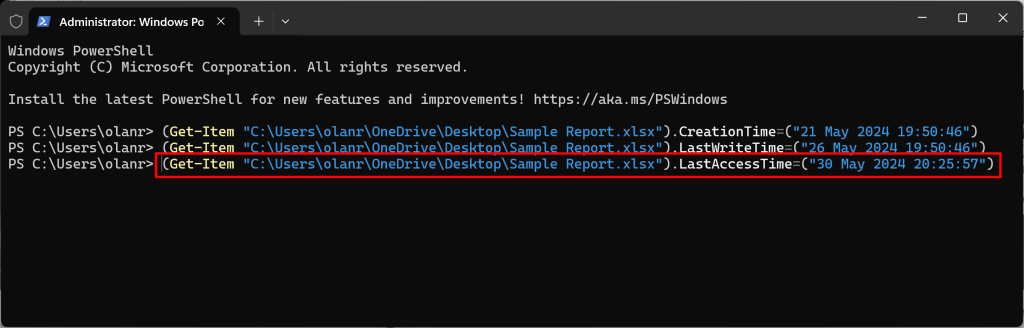
Windows will change the date accessed to the values provided in the command.
Note: These commands permanently change a file’s “Created,” “Modified,” and “Accessed” dates. However, opening or editing the file updates its modification or accessed date. If you intend to share a file with the new date(s), don’t open it (in any app) after running these PowerShell commands. Doing so discards your changes and restores the modified attributes to their original dates.
Remove File Attributes Using Windows File Explorer
You can’t change a file’s last viewed, edited, or creation date through File Explorer. However, you can use the utility to remove dates (and other personal data) from files you intend to share.
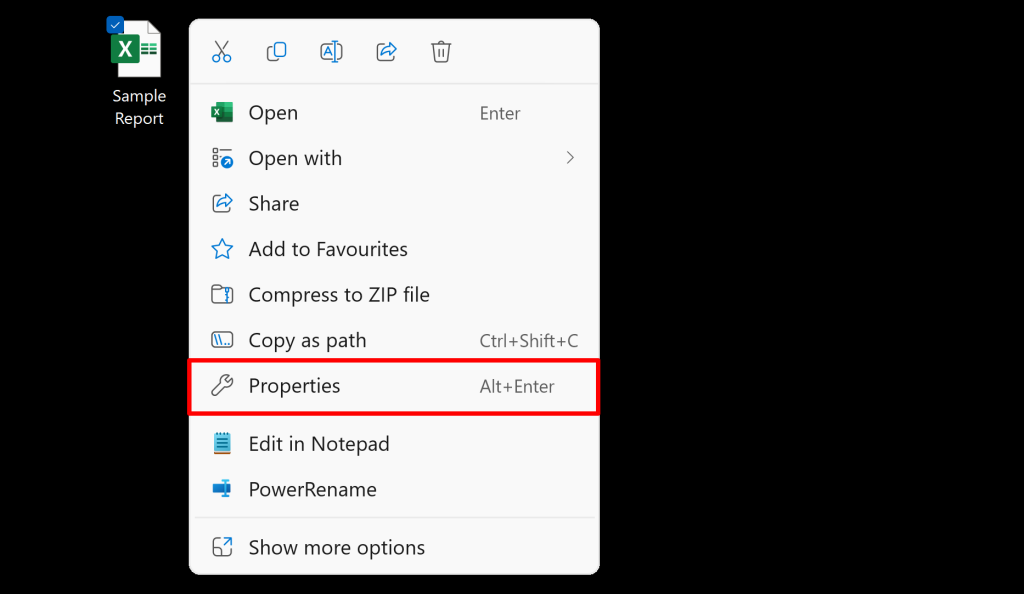
- Right-click the file whose attribute you want to remove and select Properties.
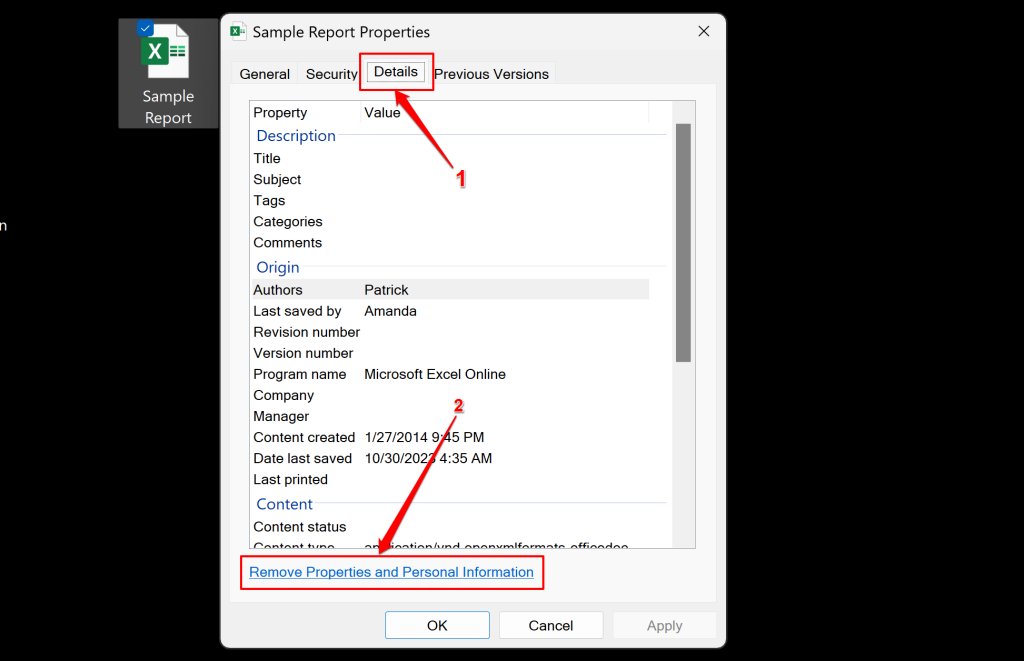
- Open the Details tab and select Remove Properties and Personal Information.
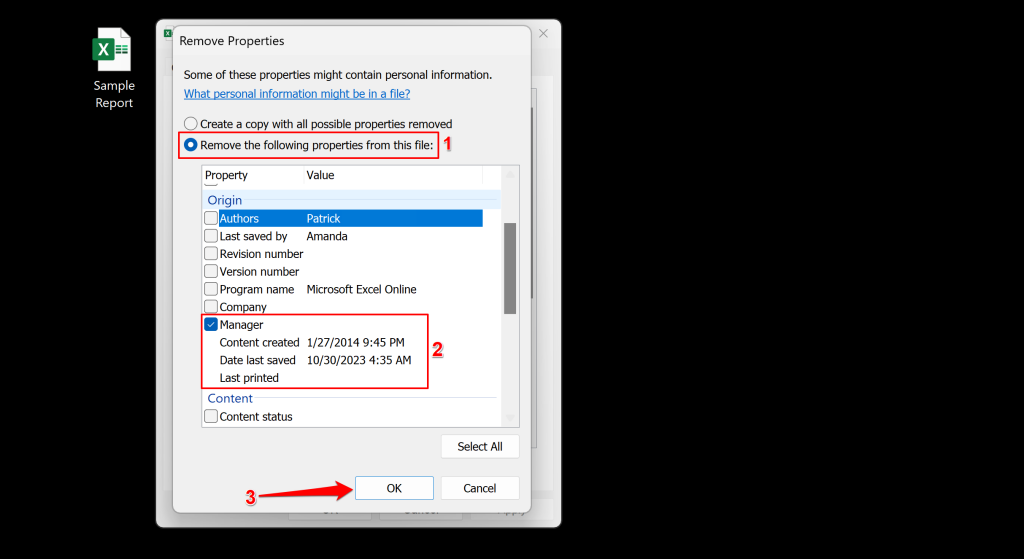
- Choose Remove the following properties from this file: and select the Manager checkbox. The option removes the “Content created,” “Date last saved,” and “Last printed” dates from files. Select OK to proceed.
- If you want to remove all attributes from the file, choose Create a copy with all possible properties removed and select OK.
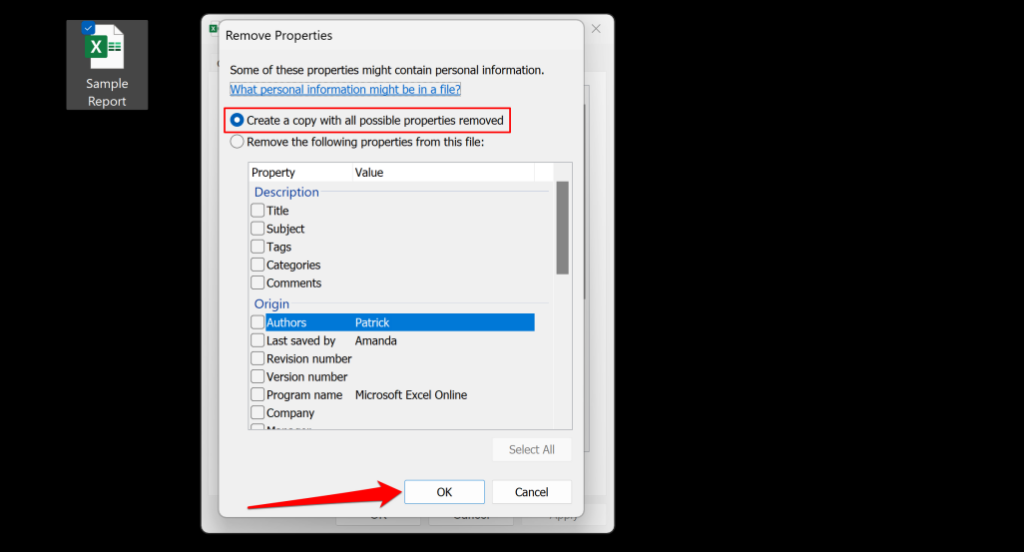 File Explorer will create a new copy of the file (without any personal information) in the same folder as the original file.
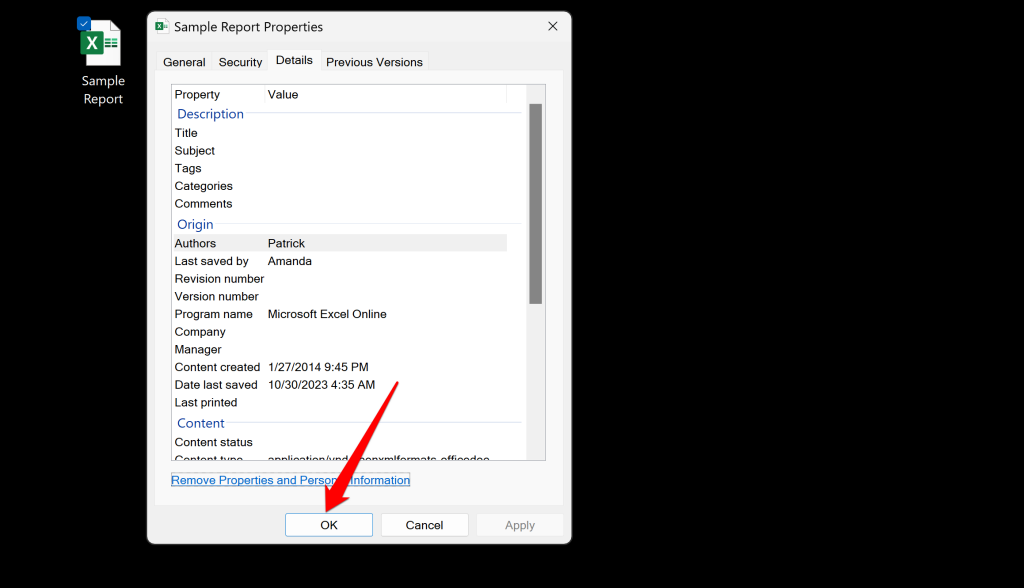
- Select OK on the file properties window to save the changes.
You can also remove attributes like author name, comment, etc. The attributes you can remove will vary depending on the file type or format. For image files, you can remove authors, dates, and parameters like copyright, tags, rating, etc.
Use Attribute Changer to Change File Attributes in Windows
Third-party apps expedite changing a file’s modified date on Windows computers. The Attribute Changer software supports Windows 11, 10, 8, and 7 and is free for personal and commercial use. It can modify the date and time attributed to documents, folders, and multimedia files.
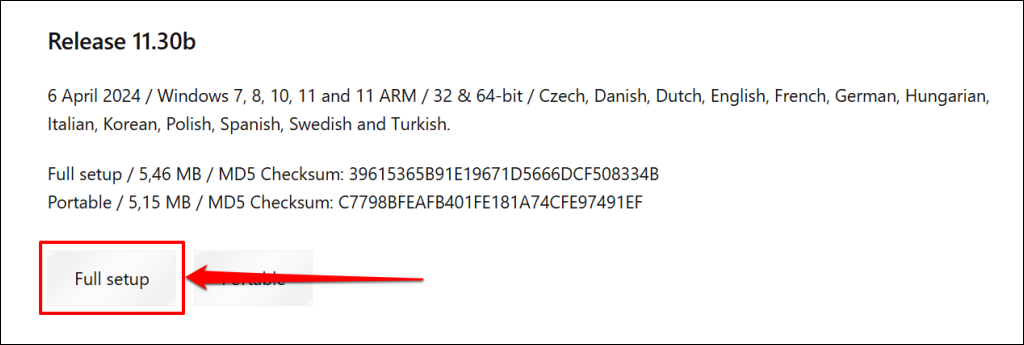
- Download the latest Attribute Changer version from the developer’s website.
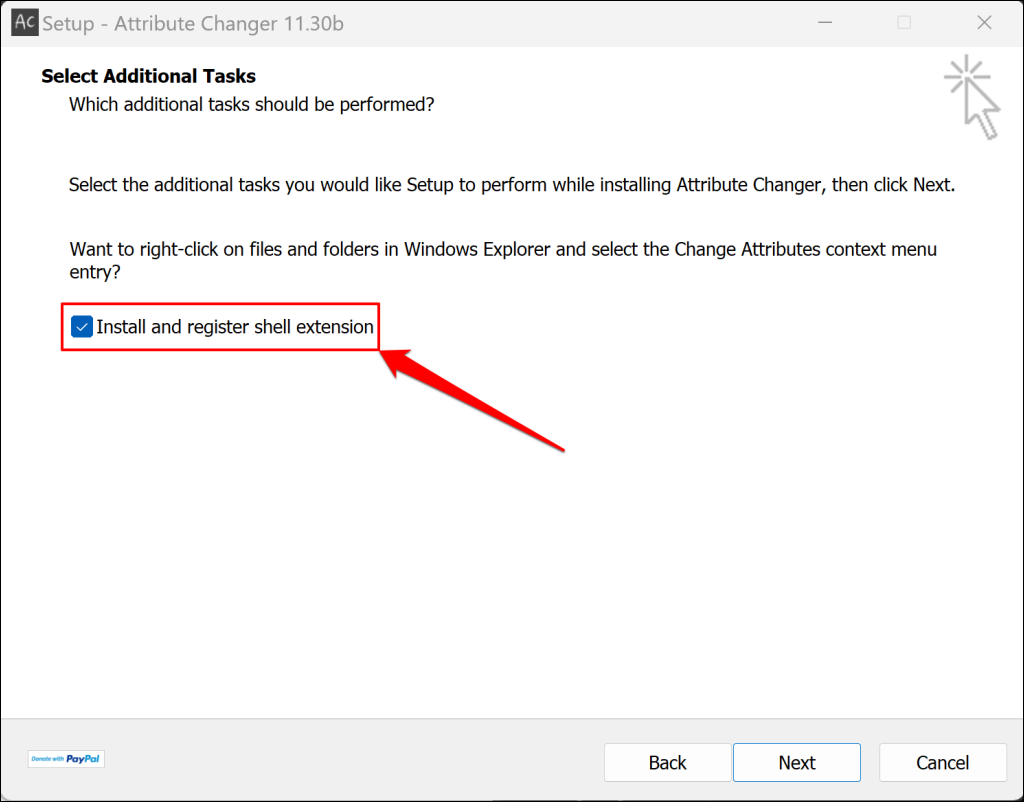
- Double-click the downloaded setup file and follow the installation instructions. Select the Install and register shell extension checkbox if it isn’t checked by default. Installing the extension adds Attribute Changer options to your PC’s right-click menu.
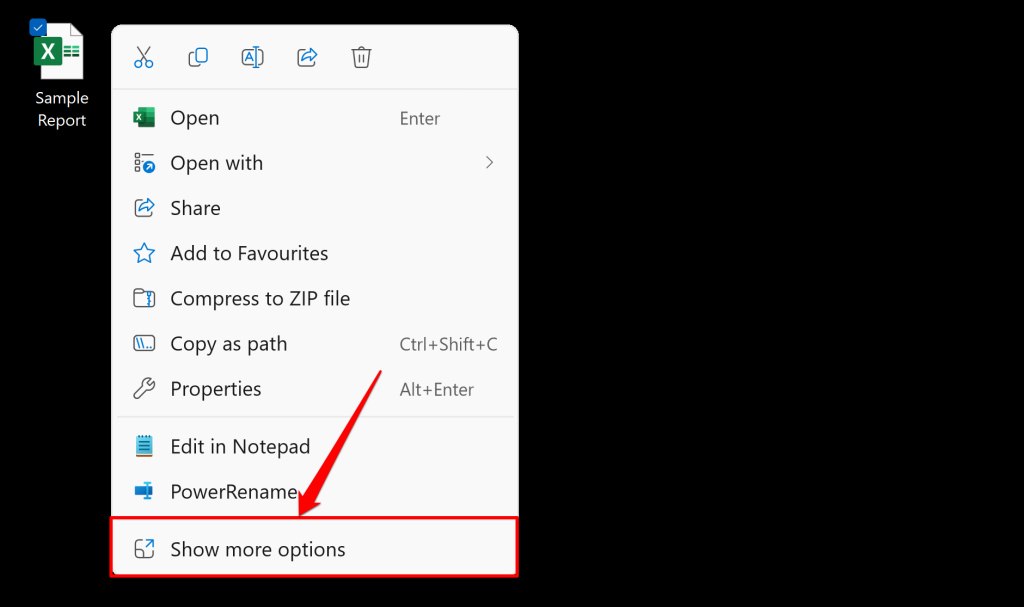
- Right-click the file whose attribute you want to edit and select Show more options.
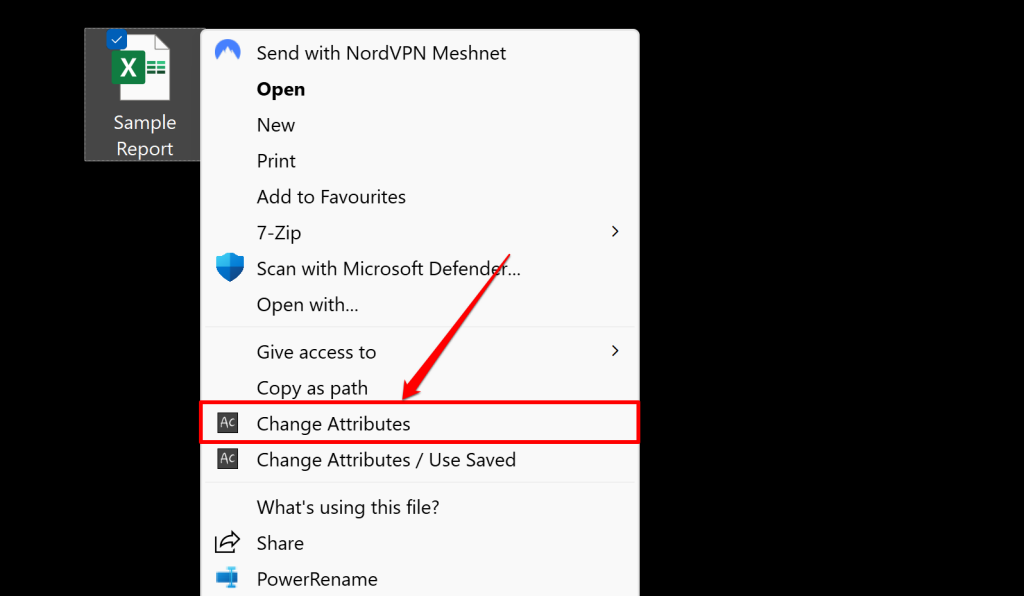
- Select Change Attributes.
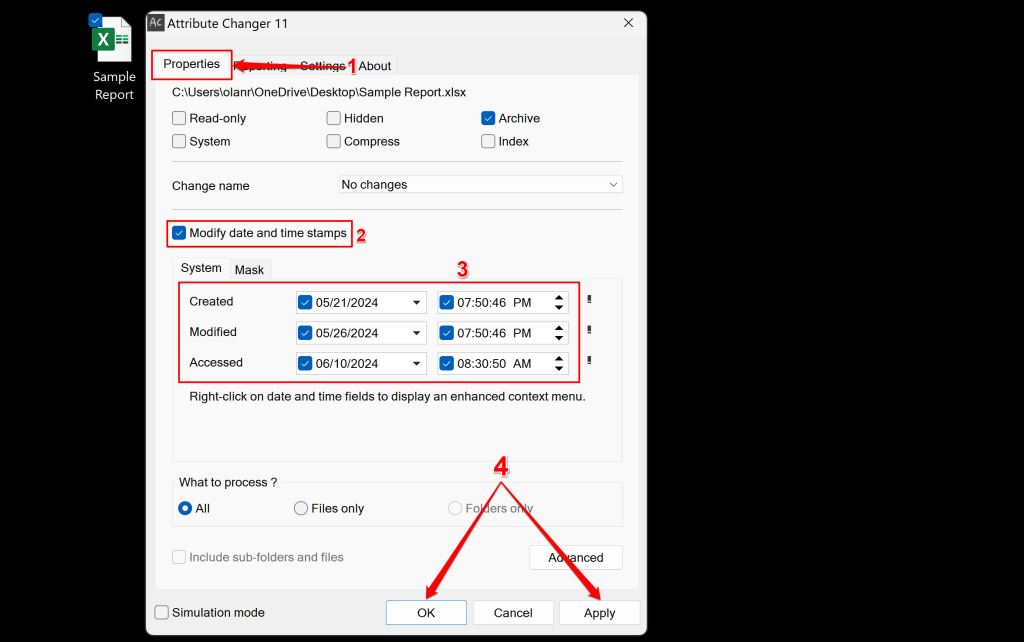
- Open the Properties tab and select the Modify date and time stamps checkbox. Use the drop-down menus to edit the file’s creation, access, and modification date to your preference. Then select Apply and OK to save the changes.
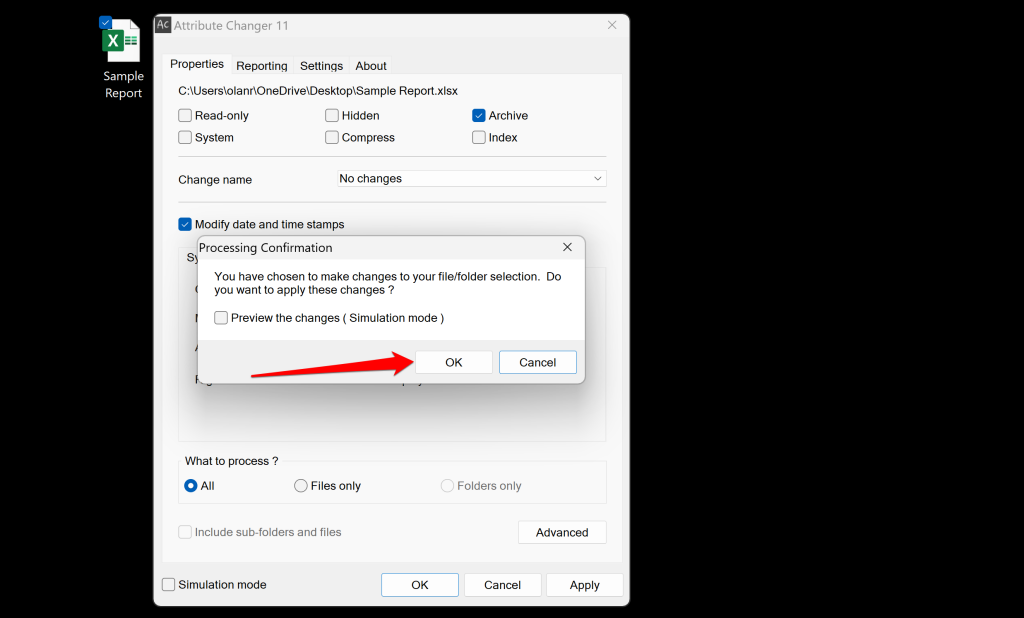
- Select OK on the confirmation prompt to save the edited dates.
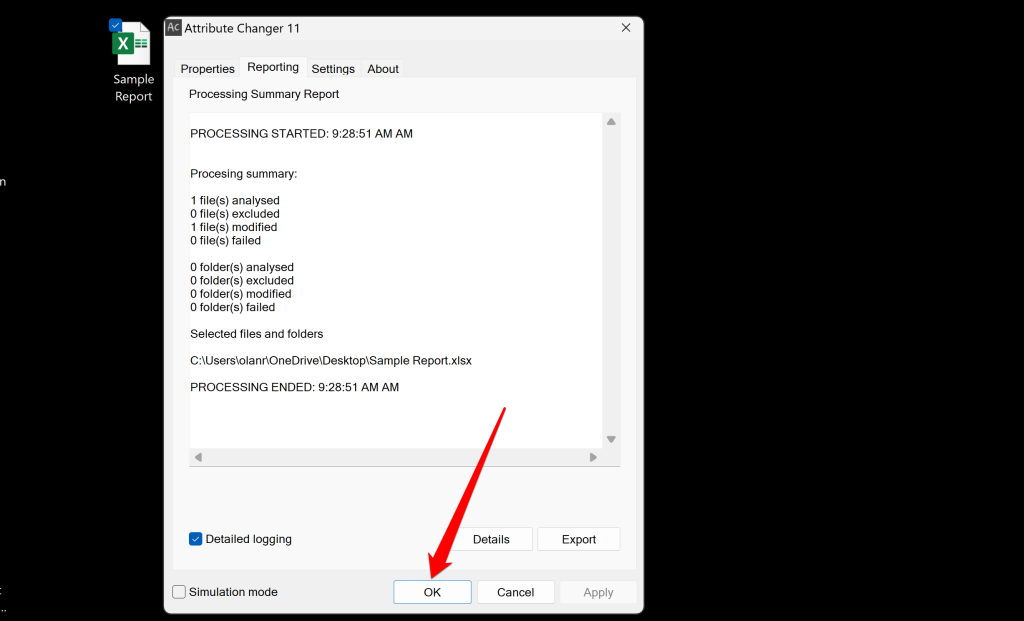
- The app will switch to the “Reporting” tab and list changes made to the file’s attributes. Select OK again to close the tool.
Date Modification Made Easy for Windows Files
Now you know all available options for modifying file attributes in the Windows operating system. You can change a file’s modification date (and other dates) by running the correct commands in PowerShell. If you need to remove personal information from your files, then File Explorer is your best option. Attribute Changer performs date changes and attribute removal in a few mouse clicks. Download the tool if you frequently edit the dates attributed to your files.