Everybody is doing it, shouldn't you?
Around 40% of purchases are made via online channels. Then a whopping 96% of Americans are shopping online, and another 80% make a digital purchase at least once per month. So if you’re looking for a business to get into, e-commerce should definitely be a top pick.
The only question now is, how do you set up an e-commerce store in the quickest and easiest way possible?

What It Takes To Open An E-Commerce Store
Before you begin building your online store, you’ll need to choose which website builder you’ll use. There are many to choose from, but for the sake of this article, we’ll use Shopify.
Here’s a quick look of the steps you’ll have to take beforehand:
- Find the type of products you want to sell (a niche is preferred — i.e., beauty products, health supplements, baby toys).
- Select a store name (which will ultimately be your domain name).
- Purchase your domain name (you can buy one for cheap at Namecheap or you can buy it through Shopify).
- Find a dropshipper or manufacturer for the products you want to sell.
- Perform market research to see who else sells your products and determine your price point (only go cheaper if it won’t hurt your profitability).
- Find photographers (and models) for shoots with your products.
- Determine who will store your products — a dropshipper or order fulfillment.
Setting Up Your Shopify Website
- Now, it’s time to start your free trial with Shopify (or purchase if you’re sure you want to stick with it). Once you’re on Shopify.com, select Start free trial.
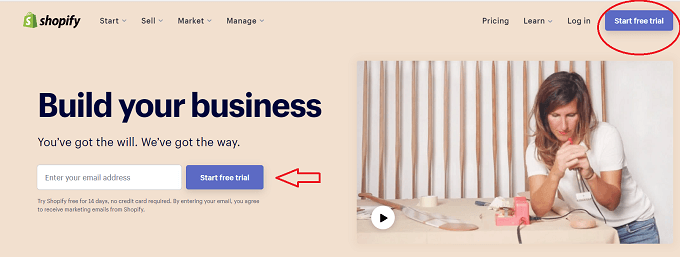
- Then fill out your email address, password, and store name. Don’t worry if you don’t know your store name — you can change this later.
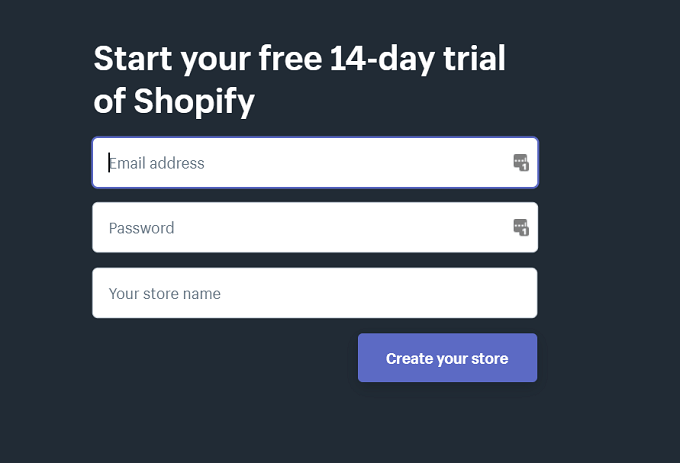
- Next, it’ll walk you through setting up your profile, which includes submitting your address, where you are in the business, and your expected revenue range.
- After completing the two steps, Shopify will take you to your dashboard.

Selecting a Store Theme
- On the left side of your dashboard, click Online store. This will drop down a menu of options.
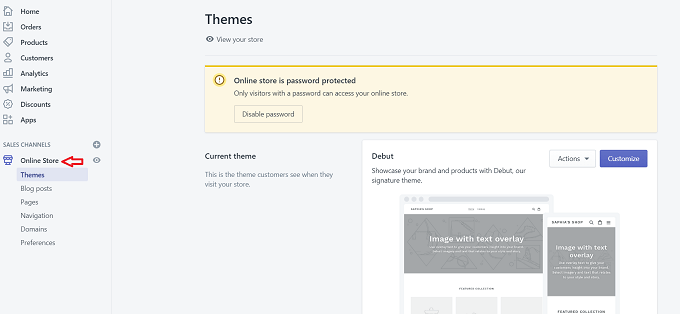
- Next, click Themes and then you’ll see the option to either customize your current theme or to choose from free or paid Shopify themes.
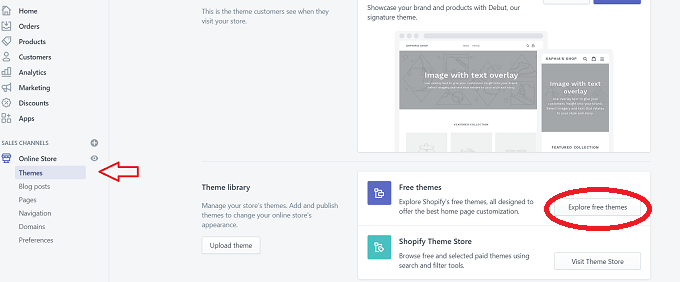
- To keep things cheap, you can click Explore free themes. There aren’t many options, but you can customize them to your liking.
We’re going to select the Supply theme. When you click on each theme, it’ll list the features it comes with. The Supply theme comes with:
- Large catalogs
- Collection filter in the sidebar
- Slideshow
- Featured collections (shows on the home page)
Then you have two styles to choose from — light or blue. It also shows how your site will look on a mobile device.
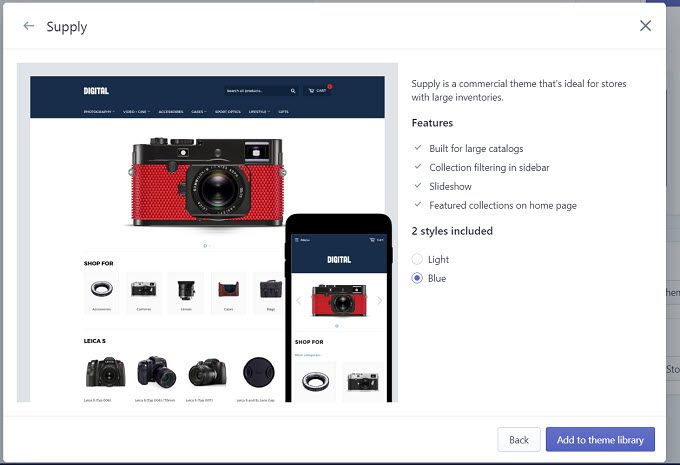
- Once you’re ready, click Add to theme library.
- You’ll see an area show up with your theme — select customize to get started making the design your own.

From here, you’ll be able to add things to your website like:
- Slideshows
- Collection lists
- Featured collections
- Rich text
- Footer/Header
You’ll find this in the Sections tab at the top. You can see how the site layout changes as you add each section.
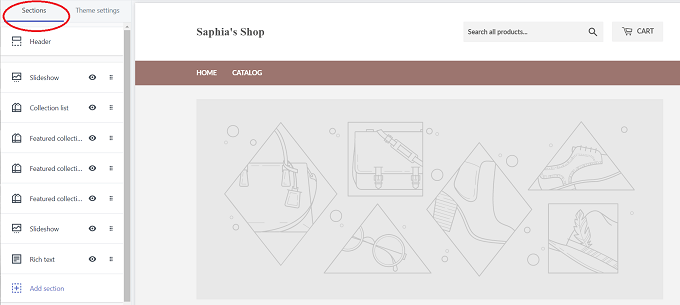
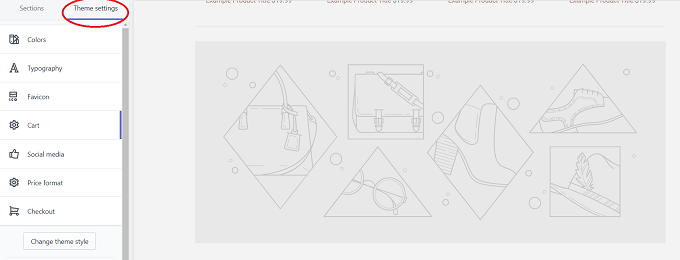
Then when you click the Theme settings tab, you’ll be able to tweak the:
- Colors
- Typography
- Favicon
- Cart
- Social Media
- Price format
- Checkout
What’s great about Shopify is that you can have a fully functional website created without knowing any coding knowledge.
Selecting a Payment Processor
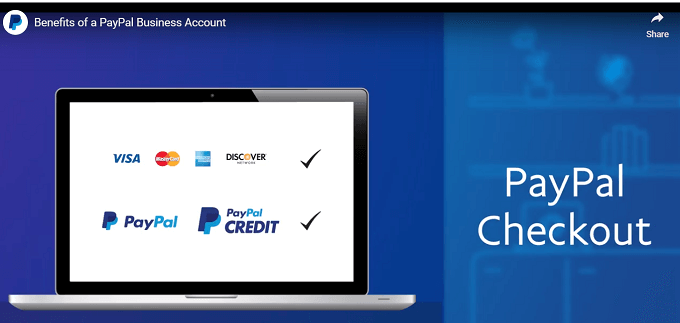
You don’t want to publish your online store without a way to accept digital payments. Lucky for you, there are several platforms to choose from.
One of the most prominent is PayPal, which connects with your store cart. You can then accept PayPal, credit cards, debit cards, and e-checks. PayPal also allows you to extend credit to your customers so they can finance your products. This is ideal if you’re selling high-ticket items.
Here is a list of the top payment processors:
Expect to pay fees per transaction. For instance, with PayPal (and most others), there is a 2.9% + $0.30 per transaction. However, there are no setup fees to worry about.
Where To Purchase Inventory

The key is to find a supplier for the products you want to sell. One of the most popular is Alibaba. Here, you can find thousands of manufacturers and suppliers who will not only sell you items in bulk — but they’ll also customize your product.
For example, if you want to sell UV protection glasses, you can make your product unique by including a case and a microfiber cleaning cloth. This will help to set your product apart from others on the market so customers are more likely to buy from you.
Another option is to go with a dropshipper. These companies will supply and ship products for you. Some also offer customizations for products. One example of a dropshipper is Chinabrands.
How To Get Products To Your Customers
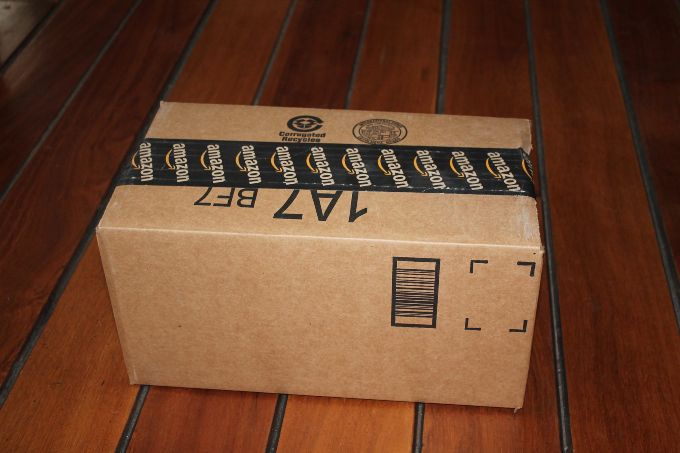
When you’re first starting out, you may not have space to store large amounts of inventory.
There are two main ways e-commerce sellers maintain their inventory — dropshipping and fulfillment services.
If you decide to go with dropshipping, you’re entering into a relationship with the manufacturer. They manage the storage of the items and will ship to your customers for you. There’s no need to buy anything in bulk, since items are shipped as they’re purchased. You then split the costs with the manufacturer.
Order fulfillment services, on the other hand, require you to buy items in advance and ship it to the fulfillment warehouse. They will then create a SKU and ship the items for you. This is ideal if you have a good relationship with a manufacturer, but need someone to handle the warehousing and shipments.
The costs for the two vary, but you can expect to spend more upfront with order fulfillment since you need to buy bulk products in advance.
Also, keep in mind the location of your customers. You’ll need to find dropshippers and fulfillment service providers in the regions you plan to sell to.
Set Up Your E-Commerce Store In No Time
If you play your cards right, you can have your online store published and ready to go within weeks. Dropshipping is the best option if you’re trying to get started as soon as possible.
However, if you want to spend more time searching for manufacturers and perfecting your product, then order fulfillment may be the way to go. Don’t forget to invest in quality photos and product demo videos to help sell your goods.
