A template you can reuse again and again
By setting up an email signature, you don’t have to type your name, contact information, or website at the bottom of every email you send. Instead, you can create an email signature and automatically insert it or choose to add it to individual emails.
We’ll show you how to create a signature in Gmail, Outlook, Hotmail, Yahoo, and iCloud Mail. Whether you include your name and job title or add a closing like “Thank you,” setting up an email signature upfront saves you time from manually typing it later. Think of it as a template that you can reuse again and again.
How to Create a Signature in Gmail
You can create an email signature easily if you have a Gmail account. Plus, you can set up multiple signatures using Gmail on the web. This allows you to use a professional email signature for business and a personal email signature for casual emails.
In the Gmail Mobile App
You can set up a signature in just minutes when you’re using the Gmail mobile app on Android or iPhone.
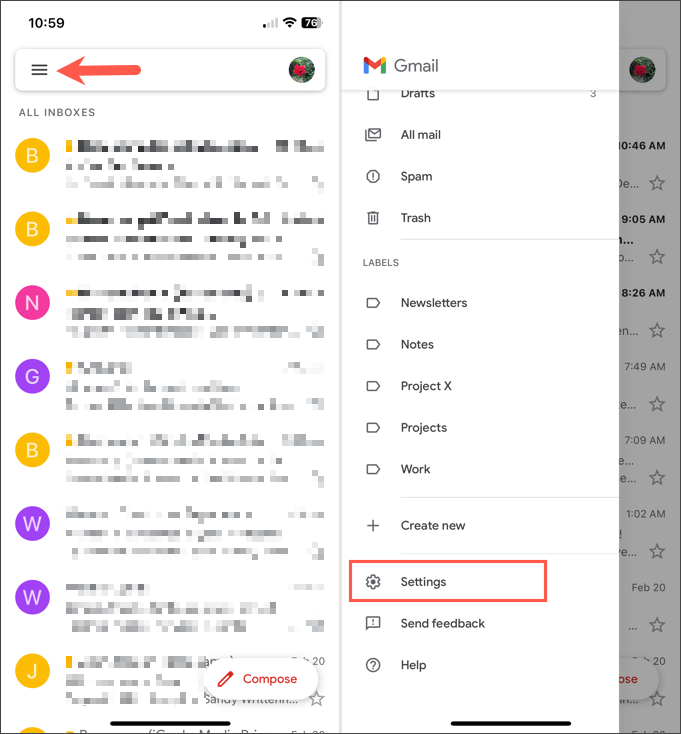
- Open the Gmail app and tap the Menu icon (three lines) on the top left.
- Move down to and pick Settings in the menu.
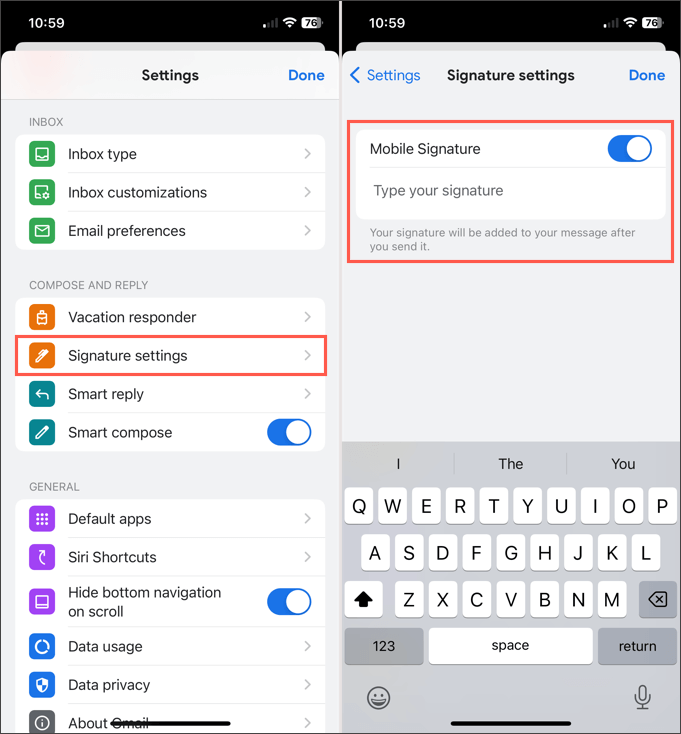
- Choose Signature settings in the Compose and Reply section.
- Turn on the toggle at the top to enable a Mobile Signature.
- Select the box beneath and type the signature you want to use.
- When you finish, tap Done.
If you have multiple Gmail accounts, you can create signatures in the mobile app for those as well. First, on the main Gmail screen, tap your profile icon on the top right and select the account. Then, follow the above steps to create the email signature.
Currently, you can only set up one signature per account in the Gmail mobile app, and the signature is added automatically to all outgoing emails.
On the Gmail Website
Visit Gmail on the web and sign in. Then, follow these steps to create your email signature.
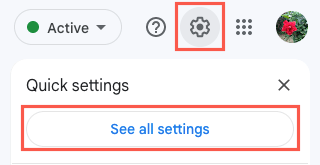
- Select the gear icon on the top right and choose See all settings in the displayed sidebar.
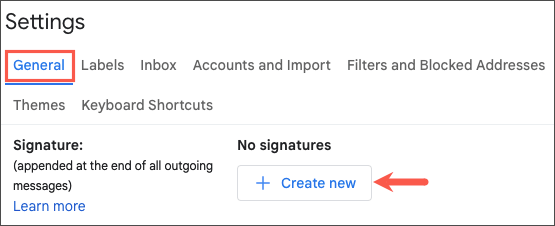
- Go to the General tab and move down to the Signature section.
- Select Create new.
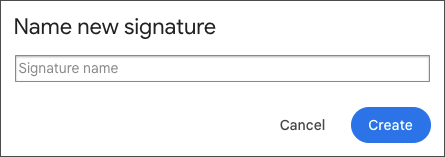
- Give your signature a name and pick Create.
- Enter the text for your signature in the box and use the formatting options in the toolbar for font style, bold, italics, or inserting an image like a headshot.
- If you’d like to set the new signature as the default for new emails and/or replies and forwards, select it in the drop-down boxes below Signature defaults.
- Optionally, check the box for inserting the signature before quoted text in replies.
- When you finish, select Save Changes at the bottom of the screen.
If you want to set up other signatures for different types of emails, simply follow the same steps as above. Just note, you can only choose one signature as the default for new emails or replies and forwards.
Select a Signature on the Gmail Website
If you decide not to set a default or want to choose a different signature for your email, this is easy to do.
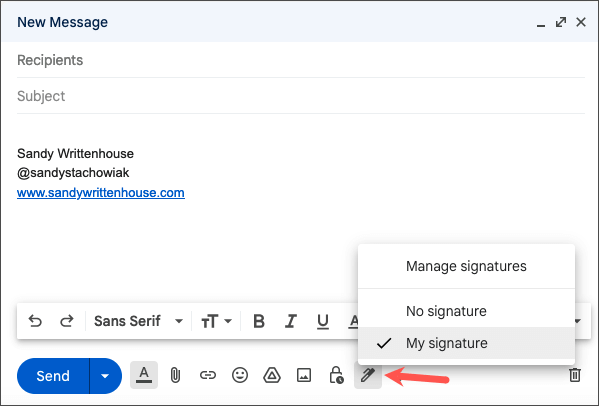
In the toolbar at the bottom of the email Compose window, select the Insert signature icon (pen). Then, pick the signature you want to insert in the pop-out menu.
How to Create a Signature in Outlook and Hotmail
Whether you have an outlook.com or hotmail.com email address, you can create your signature in the Outlook mobile app or on the Microsoft Outlook website.
In the Outlook Mobile App
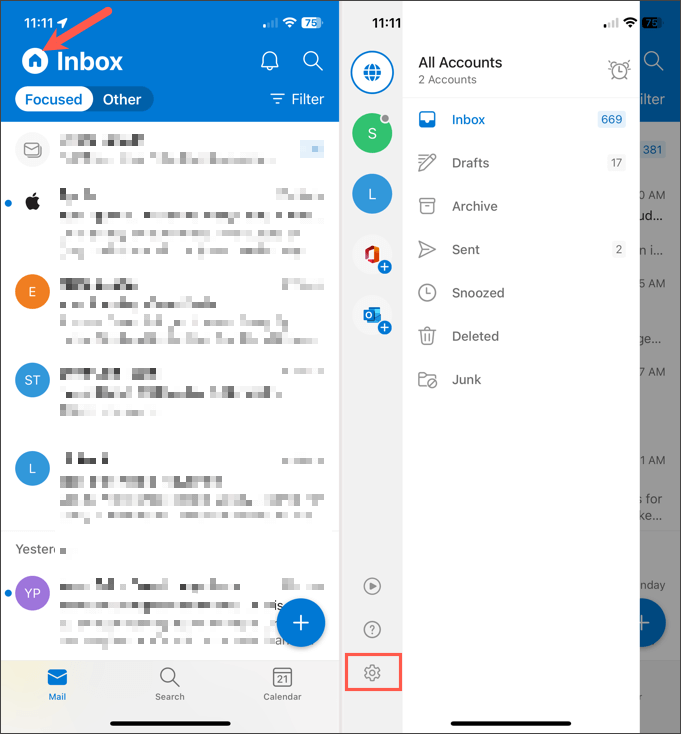
- Open the Outlook app on Android or iPhone and tap the Home icon on the top left.
- Select the gear icon on the bottom left to open the Settings screen.
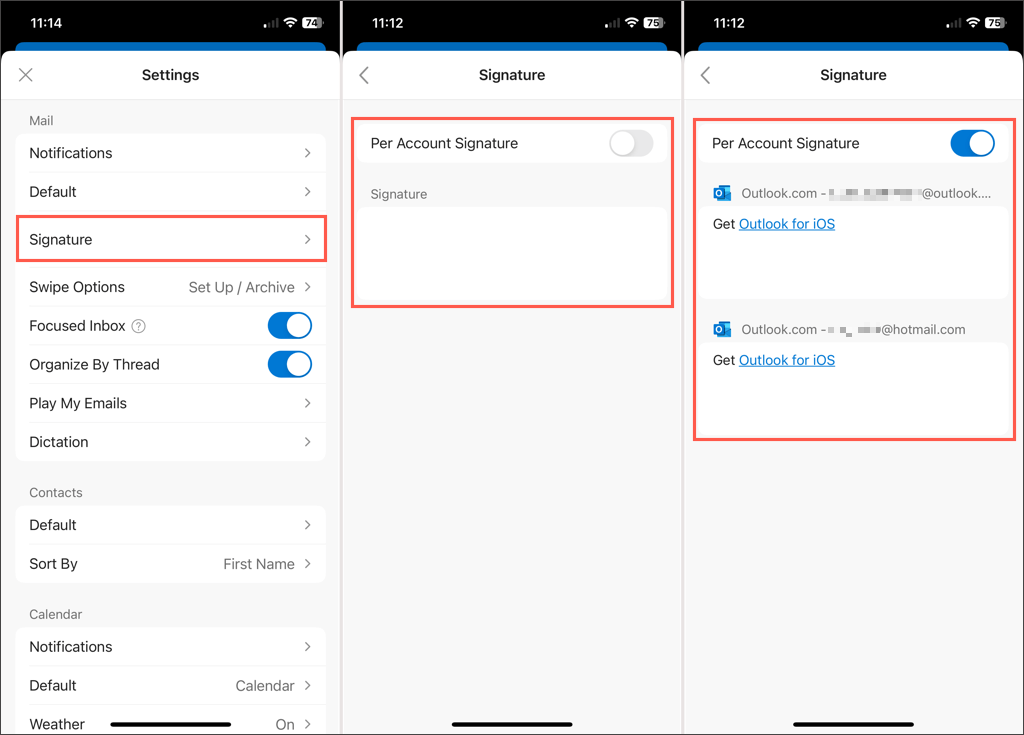
- Choose Signature in the Mail section.
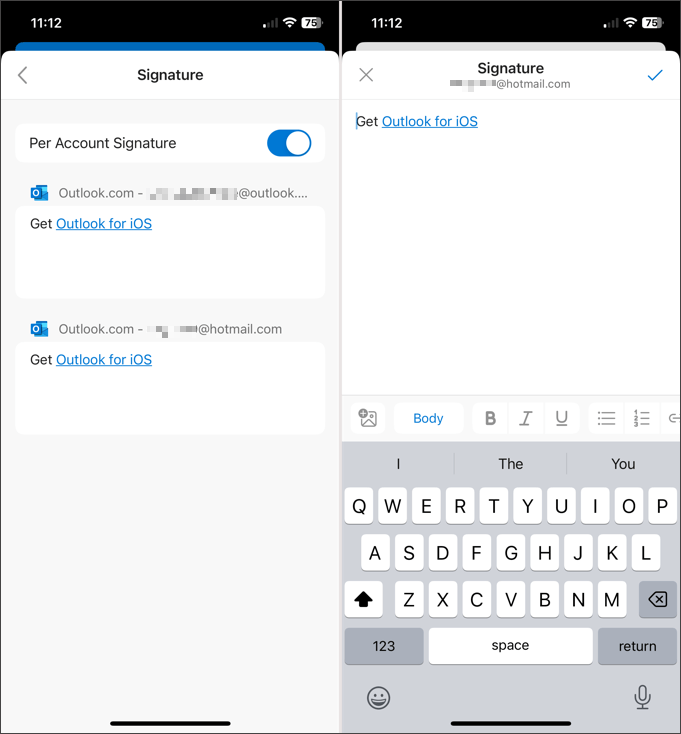
- If you want to create a separate signature for each account, turn on the toggle for Per Account Signature. If you don’t enable this feature, the same signature will be used for all accounts.
- Select a box(es) below the toggle and then enter your signature in the editor that appears. Tap the checkmark on the top right when you finish.
Tap the back arrow on the top left to exit and the X to close the Settings. Your changes are saved automatically.
On the Outlook Website
Visit Outlook on the web and sign in. Then, follow these steps to create your email signature.
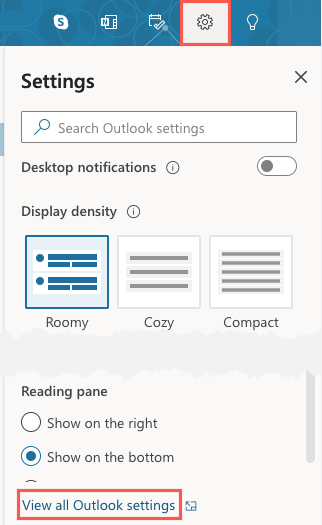
- Select the gear icon on the top right and choose View all Outlook settings in the sidebar that displays.
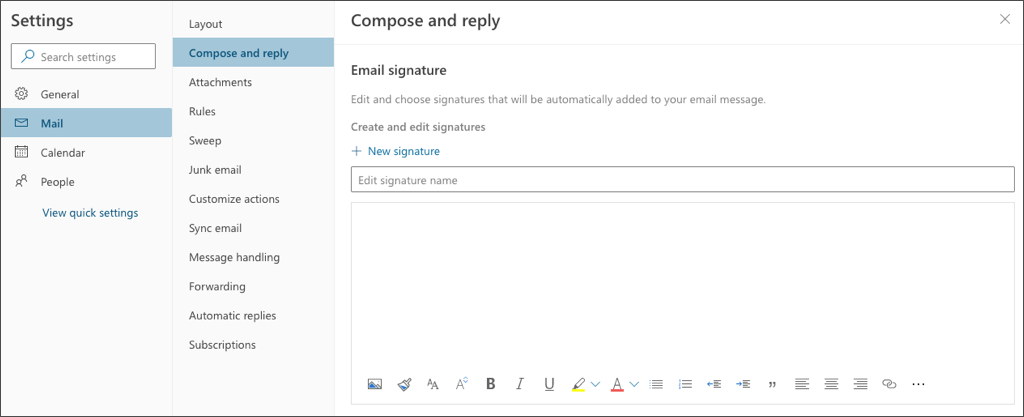
- In the pop-up window, pick Mail on the far left and then Compose and reply to the right.
- At the top, you’ll see the Email signature section.
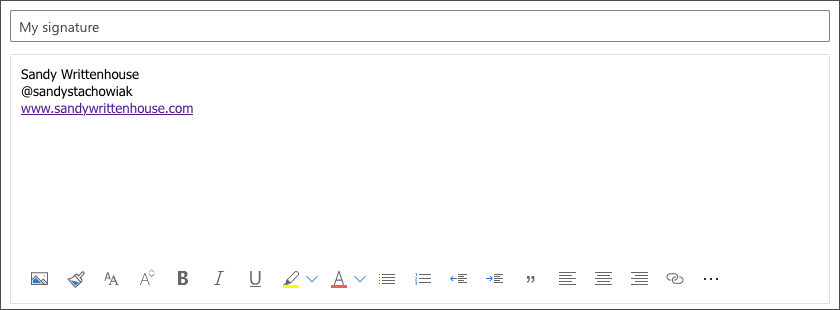
- Give your signature a name and enter the text in the box beneath. Like Gmail, you can format the signature using the toolbar in the editor. Apply bold or underline to a phone number, add an image or company logo, or insert social media links.
- Select Save on the bottom right.
- If you’d like to set the new signature as the default for new emails and/or replies and forwards, select its name in the drop-down boxes below Select default signatures. Be sure to Save the signature first, otherwise it won’t display as an option.
- When you finish, select Save on the bottom right and then the X to close the window.
To set up additional signatures, follow Steps 1 through 3 above. Then, select New signature and follow the remaining steps.
If you also use Outlook on Windows or Mac, take a look at how to add a signature to Outlook on those platforms.
Select a Signature on the Outlook Website
If you don’t select a default signature in Outlook or want to pick a different one for the current email, this is simple.
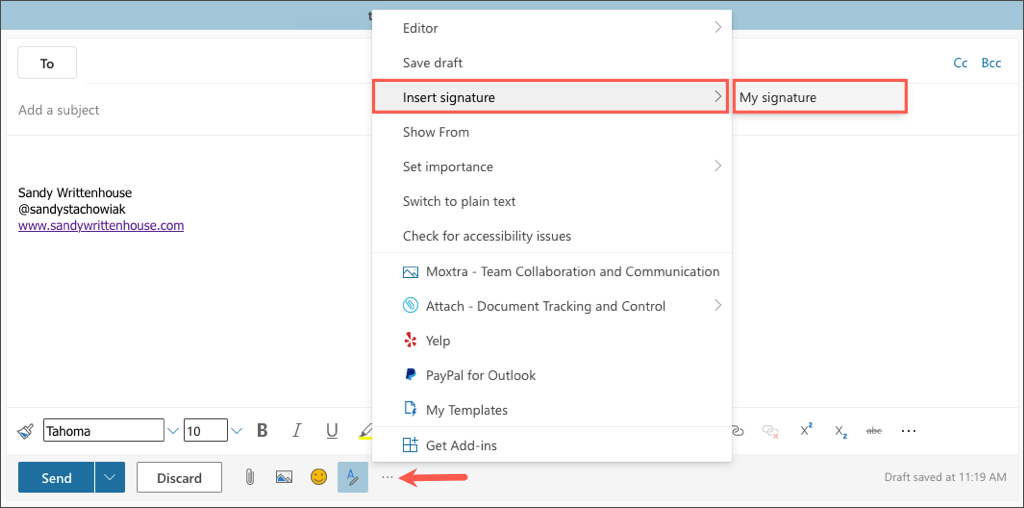
In the toolbar at the bottom of the New mail window, select the three dots on the far right. Move to Insert signature and pick the signature in the pop-out menu.
How to Create a Signature in Yahoo Mail
Are you still using Yahoo for your email? If so, you can create a signature in the mobile app or on the website just like the other email services listed here.
In the Yahoo Mail Mobile App
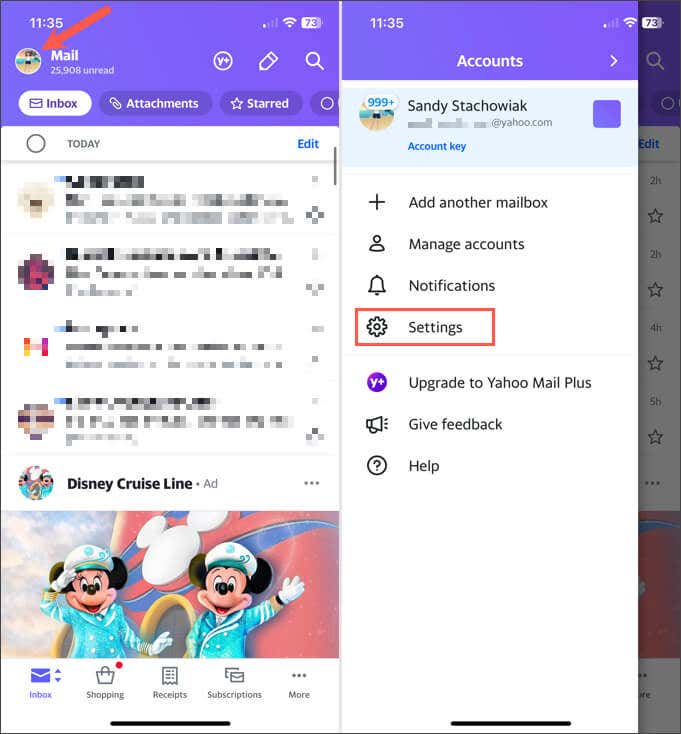
- Open the Yahoo Mail app on Android or iPhone and tap your profile icon on the top left.
- Move down to and pick Settings in the menu.
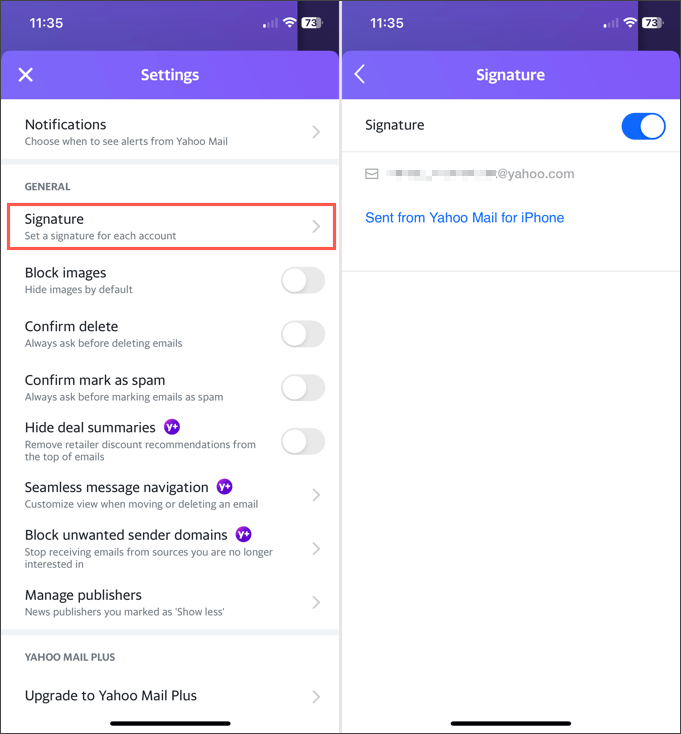
- Tap Signature in the General section.
- Turn on the toggle at the top for Signature.
- Enter the text for your signature in the box beneath.
Tap the back arrow on the top left to exit and the X to close these Settings. Your changes are saved automatically.
On the Yahoo Mail Website
Visit Yahoo Mail on the web and sign in. Then, follow these steps to create your email signature.
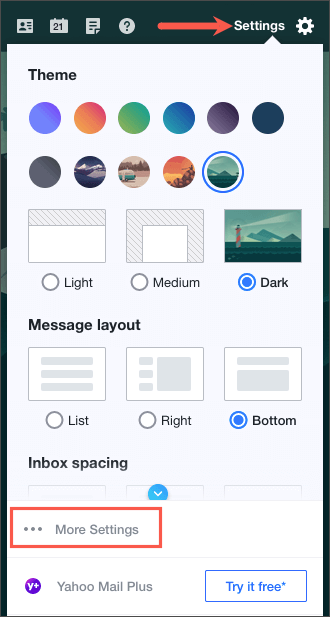
- Select Settings on the right side and then More Settings in the sidebar that displays.
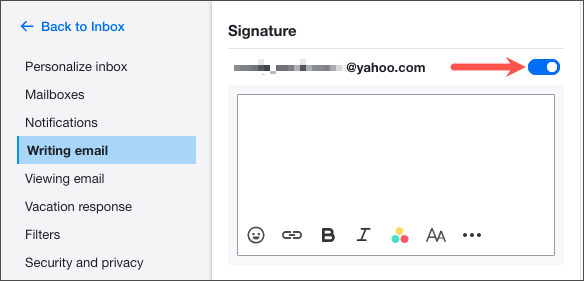
- Pick Writing email on the left.
- To the right, turn on the toggle below Signature, next to your email address.
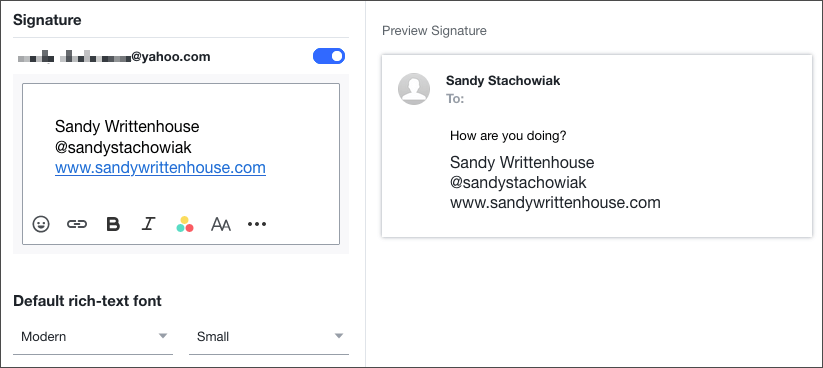
- Enter the signature details in the box beneath and format them using the toolbar below the editor. As you create and format your signature, you’ll see a preview of it on the right.
When you finish, you can use the Back to Inbox link on the top left. Your signature is saved and automatically added to your outgoing emails.
How to Create a Signature in iCloud Mail
If you use iCloud Mail as your preferred email service, you can create a signature there on the web or on your iPhone or iPad just as easily as the others above.
In the Apple Mail Mobile App
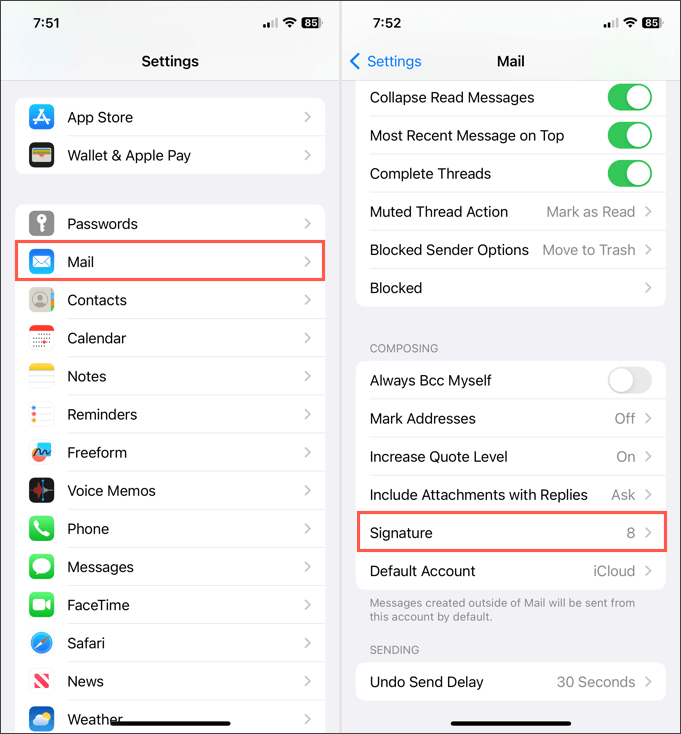
- Open the Settings app on your iPhone or iPad and select Mail.
- Tap Signature in the Composing section.
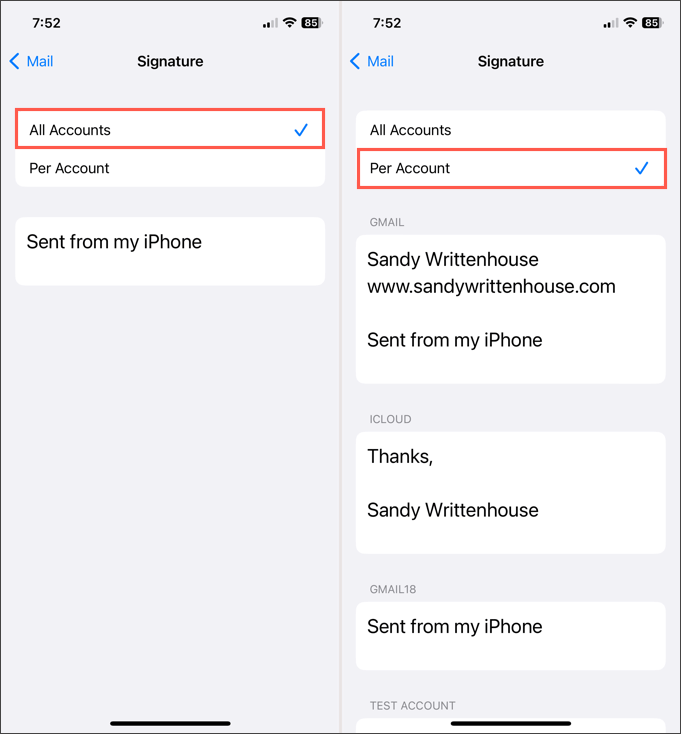
- You can then create a single signature for all accounts or each individual account.
- Turn on the toggle for All Accounts to use the same signature for every connected account. Then, enter the signature in the box beneath.
- Turn on the toggle for Per Account to use a different signature for each connected account. Then, enter the signature in each account’s box.
Tap the back arrow on the top left to exit. Your signature(s) will be automatically added to your outgoing emails.
On the iCloud Website
Visit iCloud Mail on the web and sign in. Then, follow these steps to create your email signature.
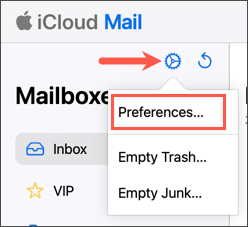
- Select the gear icon at the top of the left-hand sidebar and pick Preferences.
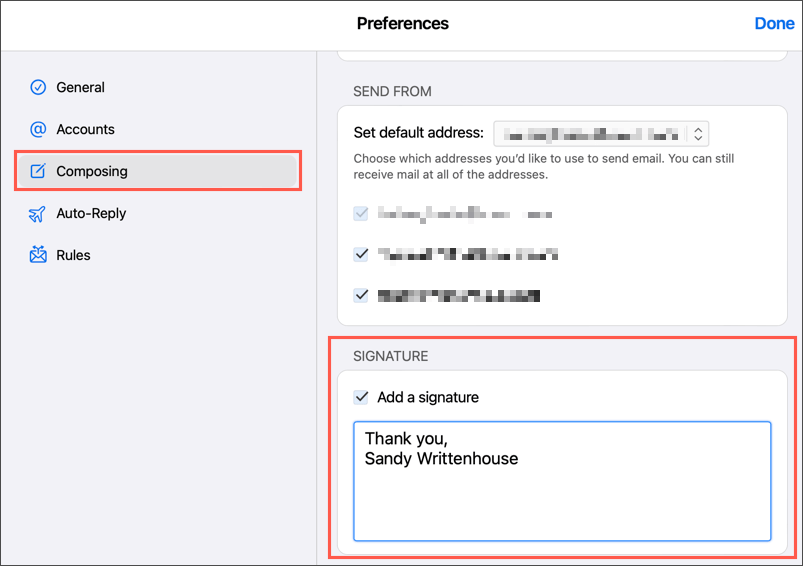
- Pick Composing on the left side of the pop-up window.
- Move to the bottom on the right side and check the box for Add a signature.
- Enter your signature in the box beneath.
- When you finish, select Done on the top right.
Your new signature is automatically added to all emails you send from iCloud Mail on the web.
Save Time With a Signature
An email signature gives you a quick and easy way to provide your contact details, social media links, or even a disclaimer if your company requires it. Without manually typing this information each time, simply create a signature and you’re set.
For more, look at how to use HTML email signatures for your messages.

