With the latest release of iOS, Apple has enabled a new feature called Two Factor Authentication. They previously had enabled a feature called Two-Step Verification, but that isn’t as robust or as secure as the new authentication method.
In order to use the stronger two factor authentication with your iCloud account, you first have to disable two step verification. In this article, I’ll walk you through the entire process step by step so that you can ensure only trusted people can access your account.
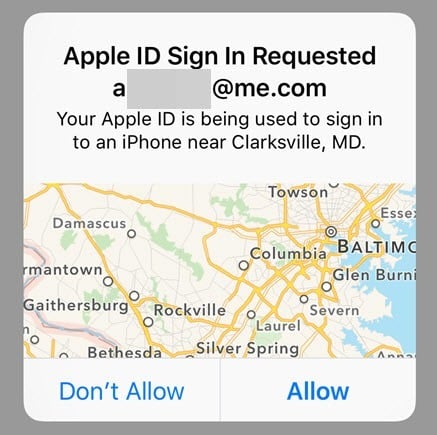
Once you enable two factor authentication for your iCloud account, any device trying to sign into your account will need to be approved by another trusted device. Once approved, the trusted device will also receive a code that needs to be entered onto the device signing in. What’s cool is that the trusted device will also be able to see a map of where the attempted sign in was originating from.
Disable Two Step Verification
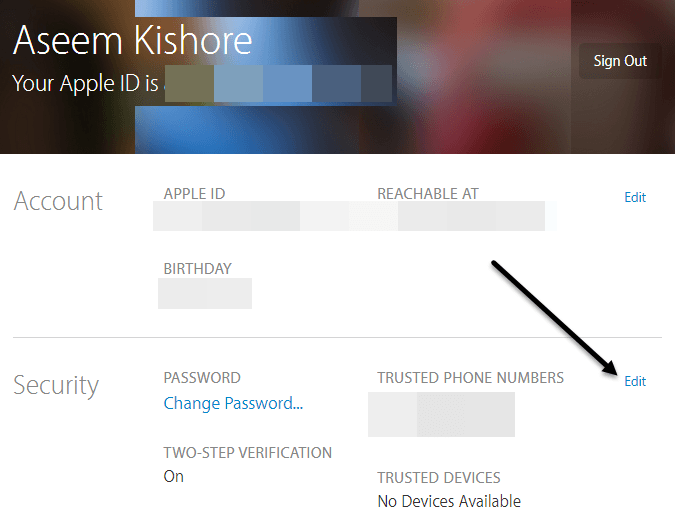
Firstly, if you have two-step verification enabled, you will need to disable it. If you don’t have that enabled, you can skip this step. To get started, go to appleid.apple.com and sign in with the Apple ID you use for iCloud.
Once logged in, go ahead and click on the Edit button that is located to the right of the Security section.
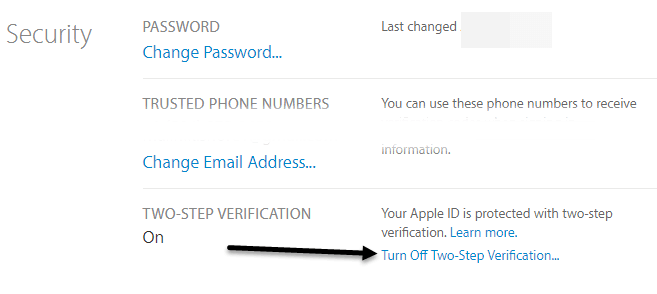
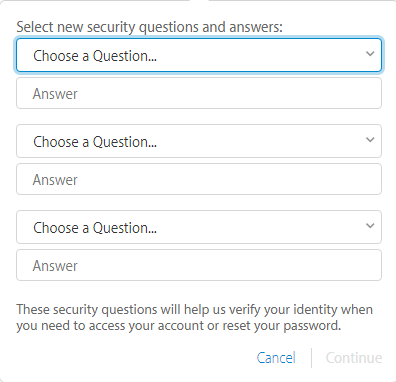
Scroll down all the way to the bottom and you’ll see a link called Turn Off Two-Step Verification. When you click on that, you’ll be asked to confirm that you want to do that and then you’ll get another dialog where you have to pick three security questions.
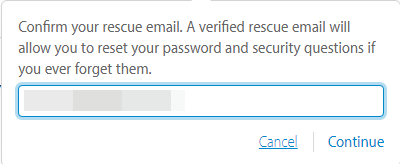
Once you have picked your questions, click Continue and you’ll be asked to verify your birthday. Click Continue again and you’ll be asked to enter a rescue email address. It has to be something different than your Apple ID email address.
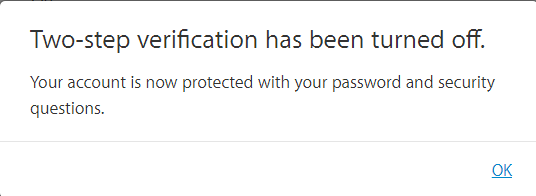
Finally, you’ll get a message stating that two-step verification has been turned off. At this point, you can go ahead and sign out of the website.
Enable Two Factor Authentication
Now let’s go ahead and enable two factor authentication. In order to do that, we have to go to an iPhone or iPad that is already updated with the latest version of iOS. If the device is not already logged into your iCloud account, you’ll get a new message asking if you want to enable this feature when you try to sign in.
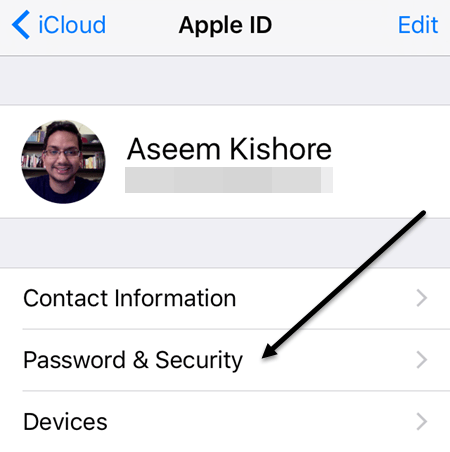
If your device is already signed into iCloud, then tap on Settings, iCloud and then tap on your name at the very top.
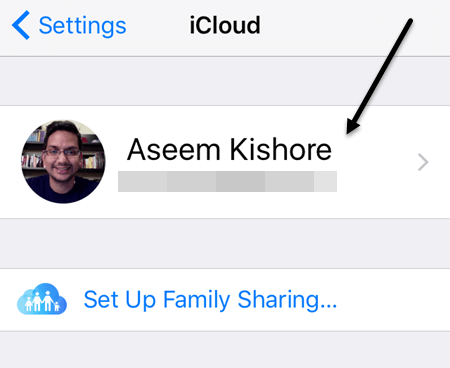 On the next screen, tap on Password and Security.
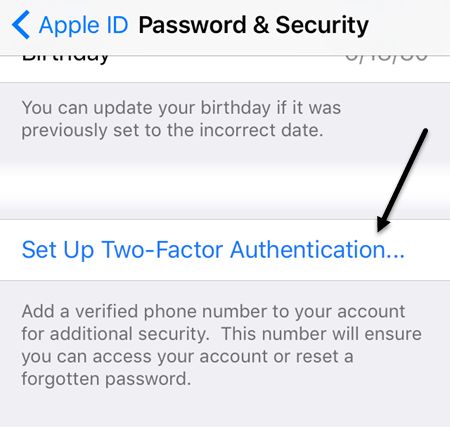
Again, scroll all the way to the bottom and tap on the Set Up Two-Factor Authentication link.
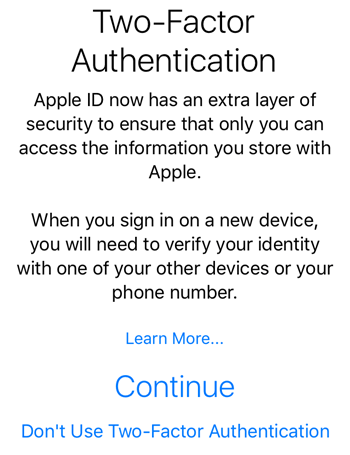
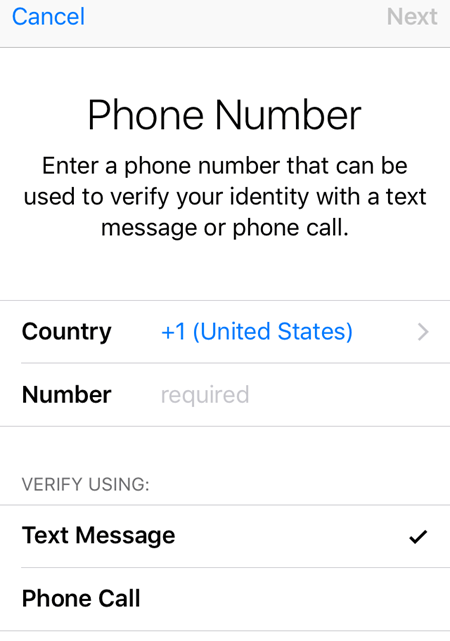
The next screen will show you the two factor authentication overview, which is the first image above in this section. Tap Continue and then enter the number for the phone you want to use as a trusted device. The code and approval will have to come from the number you enter here.
Once you verify the phone number, you may or may not have to enter the answers to the security questions on your account. On one of my Apple IDs, I had to answer all three security questions, but when I setup two factor for a different Apple ID, I didn’t have to answer the security questions.
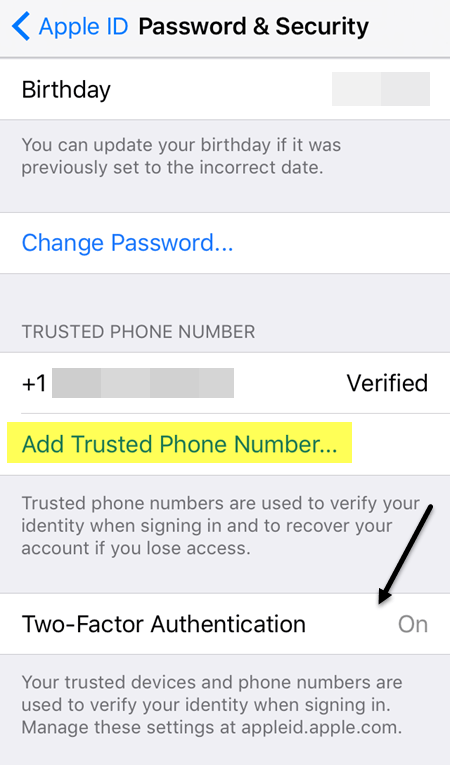
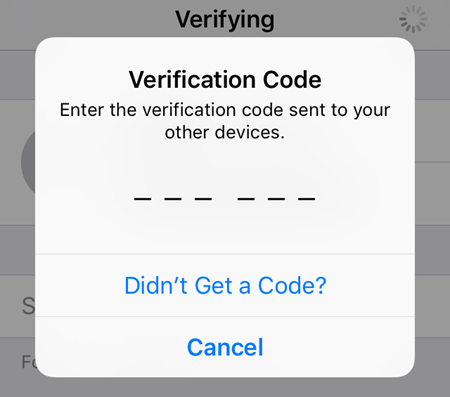
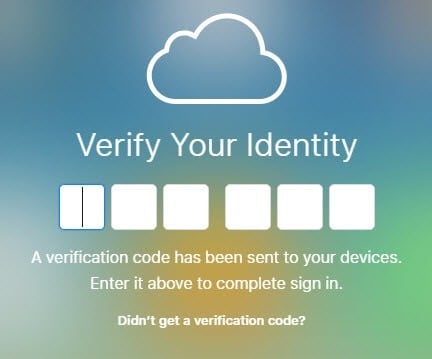
You should now see at the bottom that two factor is On. At this point, you can add another trusted phone number if you like. Now that two factor is setup, try to log into iCloud on another device and you’ll be asked to enter the verification code sent to the trusted devices.
On the trusted device, a message will appear that shows a map of where the sign in was requested and the options to Allow or Don’t Allow.
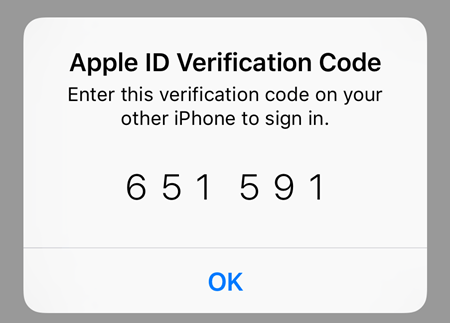
If you tap Don’t Allow, the person will not be allowed to sign into the account. If you tap Allow, you’ll then get a popup with the six-digit verification code that has to be entered on the other phone so that it can sign in.
As you can see, this is a lot more secure than just enabling two-step verification. The only downside is that it can be a little inconvenient, especially if you have several family members logging into the same iCloud account. However, once the initial setup is done and everyone is verified, it won’t come up that often.
Also, when you go to sign into iCloud.com, you’ll have to get approval before you can load anything. Previously, if you had two-step verification enabled, you were still able to login and use the Find My iPhone app, while everything else was disabled until you verified your identity.
Now with two factor, you won’t even be able to see the Find My iPhone app until you are verified using a trusted device. This is more secure, but again, less convenient. You can choose to trust the browser, so that you won’t be prompted to enter the code each time you login, but then you need to make sure you sign out, otherwise someone could just come and sit on your computer and go to iCloud.com and you’ll still be logged in.
Overall, two-factor authentication does a better job of protecting your account from unauthorized access and is a great step for those who want to ensure their digital privacy. If you have any questions, feel free to comment. Enjoy!
