
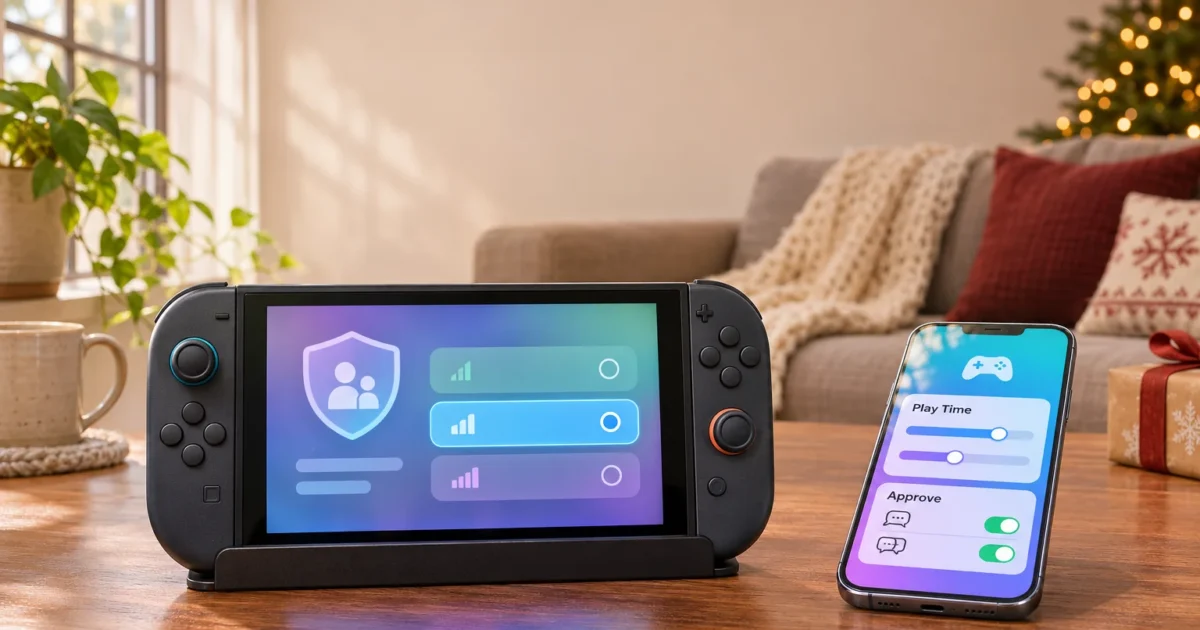
A shiny new Switch 2 is sitting under the tree, or maybe your older kid’s original Switch is about to become a hand-me-down. Either way, you probably want some guardrails in place before little hands grab the controller. Nintendo Switch parental controls work in two linked halves. The console holds a PIN-protected settings menu, and a free phone app called Nintendo Switch Parental Controls sends your rules to the console over the internet.
Here’s the short answer. Install the free app on your iPhone (iOS 16.0 or newer) or Android phone. Link it to the console under System Settings > Parental Controls. Then set a restriction level, a daily play-time limit, and, on Switch 2, GameChat approval. Setup goes faster if your Nintendo Account and family group are already in place.
| What you want to do | Where you do it | Works on |
|---|---|---|
| Link console to your phone | Console + app | Switch 2 and Switch |
| Block games by age rating | App (or console) | Switch 2 and Switch |
| Limit daily play time | App | Switch 2 and Switch |
| Approve GameChat, friends, and video chat | App only | Switch 2 only |
| Set or change the PIN | App or console | Switch 2 and Switch |
| Manage phone voice chat and eShop spending | Phone settings / your Nintendo Account | Not part of this app |
What You Need for Nintendo Switch Parental Controls
Think of the console as the lock and the app as the remote control for that lock. The console stores the PIN and enforces the rules. The app is where you pick those rules, check play activity, and approve GameChat requests.
Before you start, gather these:
- A Nintendo Switch 2 or original Nintendo Switch with an internet connection
- A Nintendo Account for you, the parent or guardian, assigned the Parent/Guardian role in a Nintendo Account family group
- A child or supervised Nintendo Account for your kid, added to that same family group with the Supervised role (needed for Switch 2 GameChat approval)
- An iPhone running iOS 16.0 or newer, or an Android phone
- For GameChat on Switch 2: a Nintendo Switch Online membership (GameChat’s free open-access period ended on March 31, 2026) and a phone number registered to the managing Nintendo Account. Nintendo also notes that GameChat terms and requirements apply, so expect to review them during setup.
If your kid doesn’t yet have a Nintendo Account, create one through the Nintendo Account website and add it to your family group with the Supervised role. The parent or guardian managing the group should be assigned the Parent/Guardian role; both of these matter for Switch 2 GameChat approval.
The app itself costs nothing, according to Nintendo’s official app page.
Nintendo Switch Online is a separate paid subscription, and it’s required to use GameChat. Nintendo let everyone use GameChat free during an open-access period that ended on March 31, 2026 (Nintendo Switch Online FAQ). If your kid won’t use GameChat, you don’t need a membership for the parental controls themselves.
How to Install the Nintendo Switch Parental Controls App
Grab the app first. The console will ask for a code that only the app can provide, so having it ready saves you a trip back and forth across the living room.
For iOS
- Open the App Store on your iPhone.
- Search for:
Nintendo Switch Parental Controls
- Tap Get next to the app published by Nintendo. Expected result: the app icon appears on your home screen.

- Open the app and tap Sign In. Use your own Nintendo Account (the parent account, not your kid’s).
If the App Store says the app isn’t compatible, your iPhone needs updating. The app requires iOS 16.0 or newer (Nintendo support).
For Android
- Open the Google Play Store.
- Search for:
Nintendo Switch Parental Controls
- Tap Install on the listing from Nintendo. Expected result: an Open button replaces Install.
- Open the app and sign in with your parent Nintendo Account.
On the Web
There’s no browser version of the controls themselves. The web is still handy, though. Nintendo’s support site holds the official PIN-recovery steps and setup guides you’ll want later. Bookmark the Parental Controls app page and the Switch 2 setup guide now.
Step 1: Link Your Switch 2 or Switch to the App
Linking is a one-time handshake. You follow the app’s prompts, enter the code it displays on the console when asked, and Nintendo’s servers pair the two. After that, changes you make in the app reach the console whenever it’s connected to the internet.
- On the console’s HOME Menu, select System Settings.
- Scroll down the left side and select Parental Controls.
- Select Parental Controls Settings.
- Choose Use Your Smart Device (Nintendo’s wording can vary slightly by firmware and region).
- In the app on your phone, follow the prompts until it shows a registration code.
- Enter that code on the console when asked.
- Confirm the link on both screens. Expected result: the app shows your console’s name on its home screen.
If the app can’t see a Switch 2, update the app to the latest version from the App Store or Google Play. An outdated app won’t recognize the newer console.
Step 2: Choose a Restriction Level
A restriction level is a pre-made bundle of rules matched to an age group. Pick the closest preset, then fine-tune individual settings if it’s too strict or too loose.
- In the app, open the settings for your linked console.
- Tap Restriction Level.
- Pick a preset that matches your kid’s age, or choose Custom Settings to build your own.
- Under custom settings, check the age-rating limit. Games rated above it won’t launch.
- Review In-Game Communication with Others. This blocks in-game chat and sharing or viewing of user-generated content, either for every game or for specific titles.
- Tap Save. Expected result: the app confirms the change and lists the new level.
That communication setting matters more than it sounds. Some kid-friendly games still let players share custom creations, and this toggle is your switch for that. (If your kid also plays Roblox or Minecraft elsewhere, those platforms have their own separate controls.)
Settings saved in the app apply once the console connects to the internet. If the console is offline in a drawer, nothing changes until it’s back on Wi-Fi.
Step 3: Set a Daily Play-Time Limit
Play-time limits let you set how long and how late the console can be used each day. This is where the app beats the on-console menu by a mile.
- In the app, tap Play-Time Limit.
- Set the daily amount of play time allowed.
- Set different limits for specific days if you want (weekends usually get a little extra).
- Choose what happens when time runs out:
- Alarm: an on-screen notice tells your kid time’s up, but the game keeps running.
- Suspend Software: the game pauses automatically and can’t continue.
- Tap Save. Expected result: the new limit appears on the app’s summary screen.
Which one should you pick? I’d start with the alarm for older kids who can handle “finish your level and save.” For younger kids, Suspend Software avoids the nightly negotiation. It’s blunt, but blunt beats a 45-minute “just one more race” standoff.
The app also keeps a play activity report showing which games got played and for how long. That’s useful for spotting when a time limit needs adjusting.
Step 4: Approve GameChat on Switch 2
GameChat is Switch 2’s built-in voice and video chat, and it only exists on Switch 2. For any player under 16, or anyone using a Supervised account, GameChat stays off until a parent or guardian approves it in the app (Nintendo support). Approval happens per user, so siblings can get different rules.
Before any of this works, your kid’s Nintendo Account needs to be in your family group with the Supervised role, and your account needs the Parent/Guardian role in that same group. If your kid’s profile doesn’t show up in the app, add their account to the family group through the Nintendo Account website first, then reopen the app.
Before you start, confirm these pieces are in place:
- The console is a Switch 2 and it’s linked to your app
- Your kid’s account has the Supervised role in your family group, and yours has the Parent/Guardian role
- A phone number is registered to the managing Nintendo Account
- The console is online
Then:
- In the app, open the GameChat settings for your Switch 2.
- Select your kid’s user profile and approve GameChat for that user.
- Review friend requests. Your kid has to send a request to add a friend, and you approve or deny each request one by one in the app.
- Know that approval can run both ways. If the other player is also under 16 or on a Supervised account, their parent or guardian may need to approve the friendship on their end too before the two can chat.
- Decide on video chat separately. Tap the three-dot icon next to your kid’s username and select Using Video Chat. You can require permission for every chat session, which sends an approval request to your phone each time your kid wants to video chat, or not allow video chat at all. Video chat also needs a camera connected to the Switch 2.
- Save your choices. Expected result: your kid’s profile shows GameChat as approved.
Exact screen names inside GameChat settings vary by app version, so look for the user, friends, and video options rather than a precise label. You can withdraw any approval later, including permission for the current video chat session. While video chat is in use, you can also change the camera’s field of view (face only, no background, or no filter) from Play Activity in the app.
Step 5: Set or Change the Console PIN
The PIN is a 4- to 8-digit code that guards the Parental Controls settings on the console. Anyone who knows it can change those settings, so a curious kid with the PIN could open System Settings and loosen everything.
Using the app
- In the app, open your console’s settings.
- Tap PIN to view or change the console’s Parental Controls PIN.
- Tap the red Save button to confirm. Expected result: the console asks for this PIN the next time anyone opens Parental Controls.
Directly on the console (no app)
- Go to System Settings > Parental Controls > Parental Controls Settings.
- Choose the option to set up on the console instead of a smart device (wording varies by firmware).
- Pick your restrictions, then choose a PIN between 4 and 8 digits long and re-enter it to confirm.
Console-only setup handles the PIN and some restrictions. Nintendo says the app offers the fullest set of controls, and GameChat approval for kids under 16 requires the app.
Write the PIN down somewhere your kid won’t find it. (Not a sticky note on the dock. Kids find those.)
Moving From an Original Switch to a Switch 2
Nintendo’s Switch 2 FAQ covers system transfers, and Nintendo’s Parental Controls app page says you can transfer your Parental Controls and other settings from Switch to Switch 2 as-is.
A transfer should bring your rules along, but it’s still worth confirming the app link, PIN, restrictions, and play-time limits on the new console. GameChat settings don’t exist on the original Switch, so there’s nothing to bring across for that feature. You’ll set GameChat up fresh on the Switch 2 regardless.
After any transfer, do a quick audit:
- Open the app and confirm it shows the Switch 2 as linked
- Check that the restriction level and play-time limits look right
- Set up GameChat approval for each young user (Step 4)
- Open Parental Controls on the console and confirm your PIN works, or set a new one
If you’re also bringing games and progress over, follow a separate guide to move Nintendo Switch save data to another console.
For the hand-me-down Switch going to a younger sibling, re-check everything. A restriction level that suited a 12-year-old is probably too loose for a 6-year-old.
What the Parental Controls App Doesn’t Cover
Two gaps catch parents off guard:
- Phone voice chat: The separate Nintendo Switch App on a phone has its own voice chat for some online games. For that, use the phone’s own controls, like Screen Time on iPhone or Family Link on Android.
- eShop spending: Manage spending through your Nintendo Account settings, as covered on Nintendo’s parental controls page. Some parents skip stored payment cards entirely and hand out a Nintendo eShop gift card as an allowance.
Troubleshooting Switch Parental Controls
Problem: The app can’t find or link to the console
- Update the app to the latest version from the App Store or Google Play.
- Update the console under System Settings > System > System Update.
- Retry linking from Step 1.
Problem: The app won’t install on an iPhone
- Open Settings > General > Software Update on the iPhone.
- Install iOS 16.0 or newer, then try the App Store again.
Problem: Changes don’t seem to apply
- Make sure the console is connected to Wi-Fi.
- Wait for it to connect. Rules apply once the console is back online.
Problem: GameChat settings are missing or grayed out
- Confirm the console is a Switch 2 and the app is linked.
- Check that your kid’s account has the Supervised role in your family group, and that your account has the Parent/Guardian role.
- Check that a phone number is registered to the managing Nintendo Account and the console is online.
- Confirm the account has an active Nintendo Switch Online membership. GameChat requires one.
Problem: You forgot the console PIN
Use Nintendo’s official PIN recovery process through the Parental Controls support pages. If the app is linked, you can also set a new PIN from your phone.
Problem: Your kid seems to be getting around the limits
- Check that the restrictions and GameChat approval apply to the profile your kid actually uses.
- Confirm the console has synced online since your last change.
- Change the PIN in case it was spotted.
Nintendo Switch Parental Controls FAQ
Is the Parental Controls app free? Yes. The app is free, but GameChat itself requires a paid Nintendo Switch Online membership.
Do I need the app, or can I do everything on the console? The console handles the PIN and some restrictions. Play-time limits with activity reports, and GameChat approval for kids under 16, need the app.
What’s the difference between Switch and Switch 2 parental controls? Both handle restriction levels, play time, and a PIN. Switch 2 adds GameChat approval for each user, each friend, and video chat.
Can two parents manage the same console? Yes. Shared Parental Controls lets two guardians check play activity and set play-time limits from their own phones.
What happens when play time runs out? Either an alarm appears and play continues, or the software suspends automatically, depending on what you chose in Step 3.
Wrapping Up
Once the app is linked, nearly everything happens on your phone. That’s the big win over squinting at TV menus with a controller. Set the restriction level and time limit first, add GameChat approval if it’s a Switch 2, and lock it all with a PIN you won’t forget.
My take? The play-time limit with Suspend Software prevents more household arguments than any other setting here. Just remember the two blind spots, phone voice chat and eShop spending, and handle those separately.
| Step | Action | Applies To |
|---|---|---|
| 1 | Link console to app with a registration code | Switch 2 and Switch |
| 2 | Pick and fine-tune a restriction level | Switch 2 and Switch |
| 3 | Set daily play time with Alarm or Suspend Software | Switch 2 and Switch |
| 4 | Approve GameChat, friends, and video chat | Switch 2 only |
| 5 | Set or change the console PIN | Switch 2 and Switch |