
Tired of having an email address that ends with @gmail.com or @yahoo.com? You’re not alone. Whether you’re planning a wedding and want something like invite@jackandkelly.com or starting a business and need hello@yourcompany.com, a custom domain email address makes you look way more professional (and it’s pretty cool to have).
The good news is that creating your own custom domain email has gotten much easier since the old days. You’ve got free options now, faster setup times, and way better interfaces. The not-so-good news? You still need to own a domain name first and there’s no way around that. But don’t worry, we’ll walk you through the entire process, from finding an available domain to sending your first email in under an hour.
What is a Custom Domain Email Address?
A custom domain email address is an email that uses your own domain name instead of a generic provider like Gmail or Yahoo. So instead of yourname@gmail.com, you get yourname@yourdomain.com (or whatever domain you choose).
Key Benefits:
- Professional appearance: Looks way more legit for business or personal branding
- Complete control: You own the domain, so you control the email addresses
- Unlimited addresses: Create as many email addresses as you want (info@, support@, wedding@, etc.)
- Better deliverability: Your emails are less likely to end up in spam folders
- Memorable: Easier for people to remember than a random Gmail address
Before You Begin
Make sure you have:
- A computer with internet access
- A credit/debit card for domain registration (domains start around $1-15/year)
- About 30-60 minutes to complete the setup
Step 1: Find and Register Your Domain
First things first – you need to find a domain name that’s actually available. The tricky part is that popular domains (like love.com or wedding.com) are already taken, but there are tons of creative alternatives.
Head over to Namecheap.com as it’s one of the best places to search for domains because it shows you every possible option for your keyword.
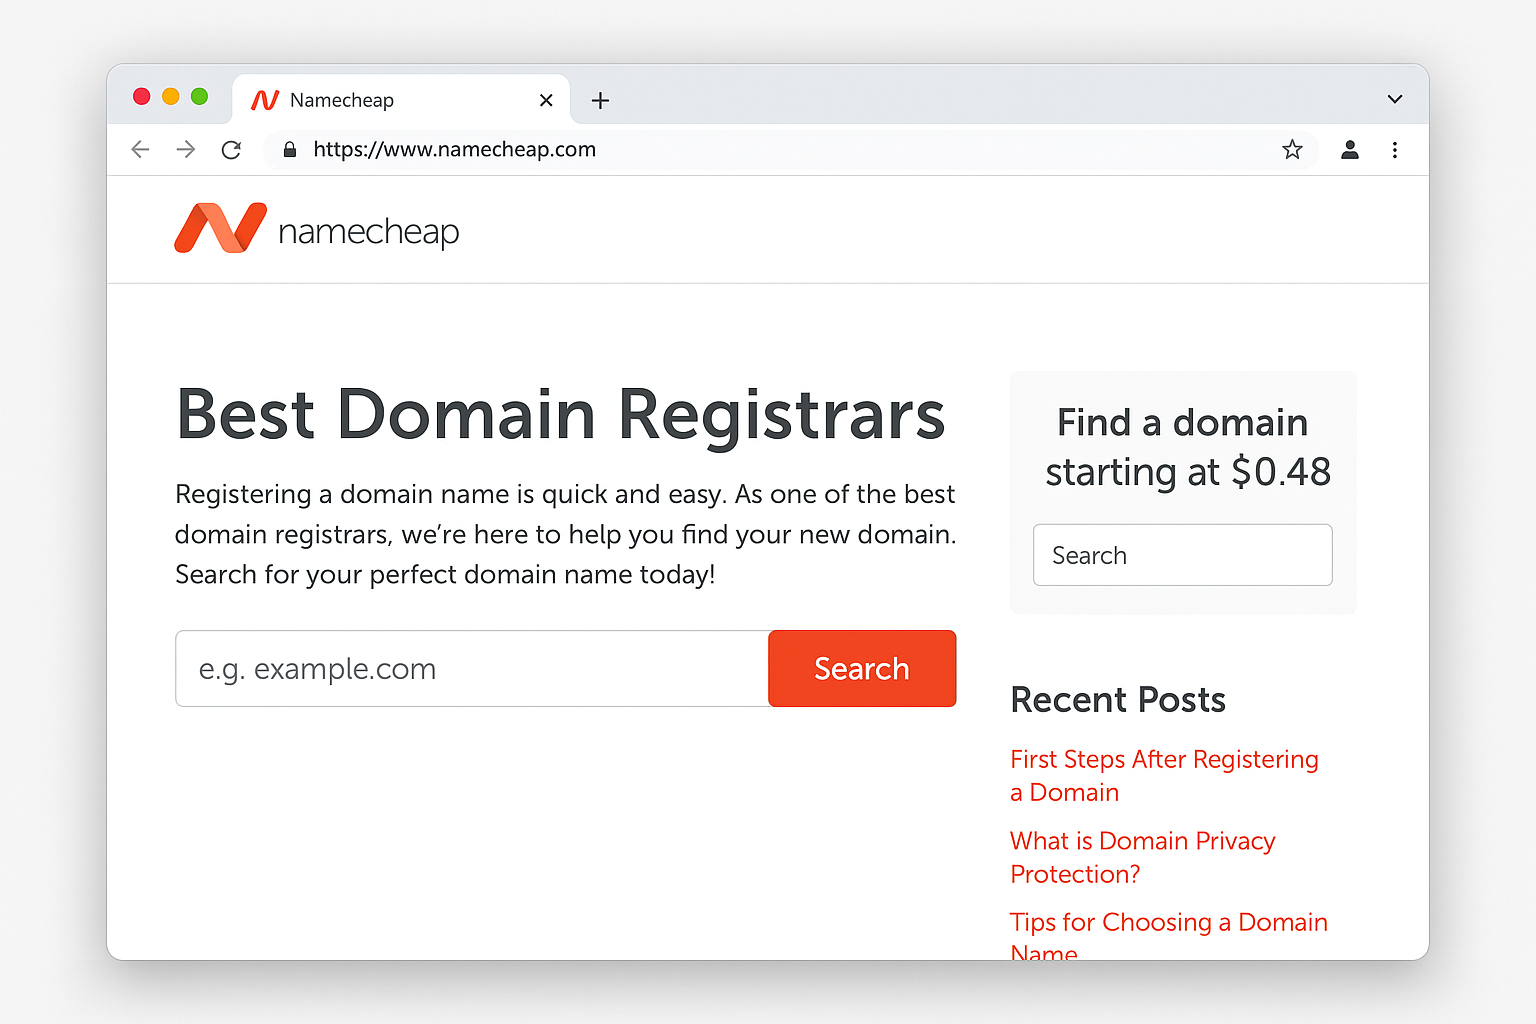
Type your desired domain name (like “jackandkate” if you’re planning a wedding) into the search box and hit Search.
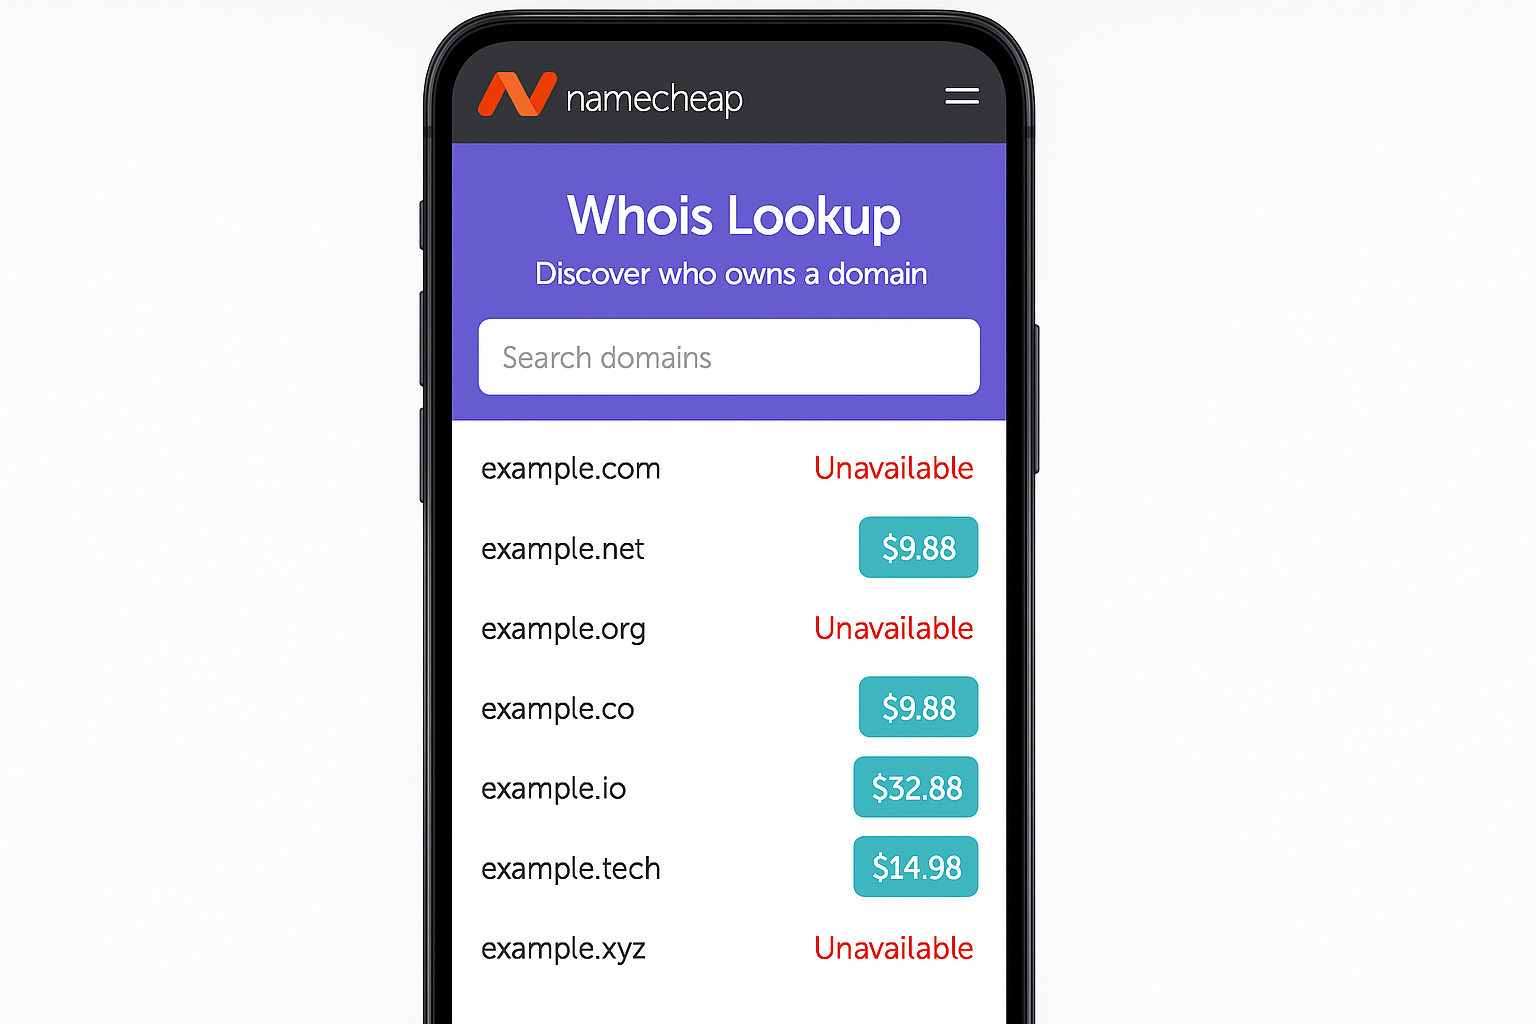
You’ll see results across four tabs: Popular, New, International, and Favorites. Don’t panic if the .com version is taken as there are tons of other options that actually sound pretty cool. For example, jackandkate.rocks or yourname.photography can be way more memorable than a boring .com.
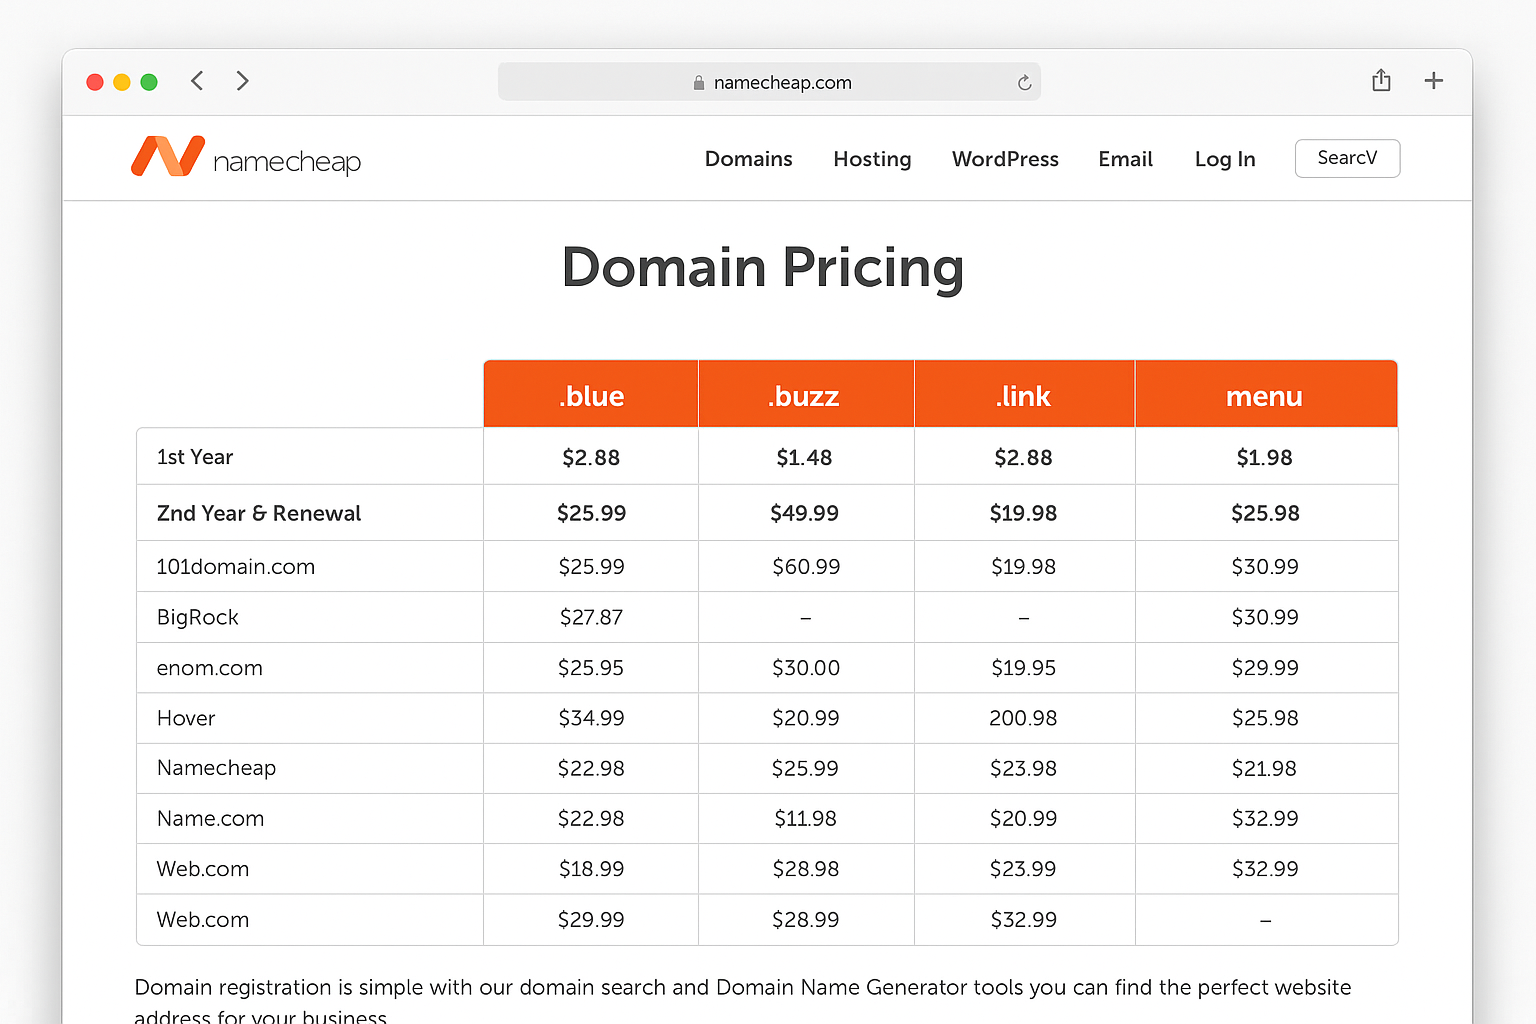
Pro tip: Click the New tab to see all the newer domain extensions like .fitness, .wedding, .photography, etc. They cost a bit more but can be perfect for specific purposes.
Once you find a domain you like, add it to your cart. But hold on, don’t checkout just yet! Read the next section first because you can bundle email hosting and save some money.
Step 2: Choose Your Email Hosting Option
Now here’s where things have gotten way better since the old days. You’ve got several solid options for hosting your email, including some free ones that are actually good.
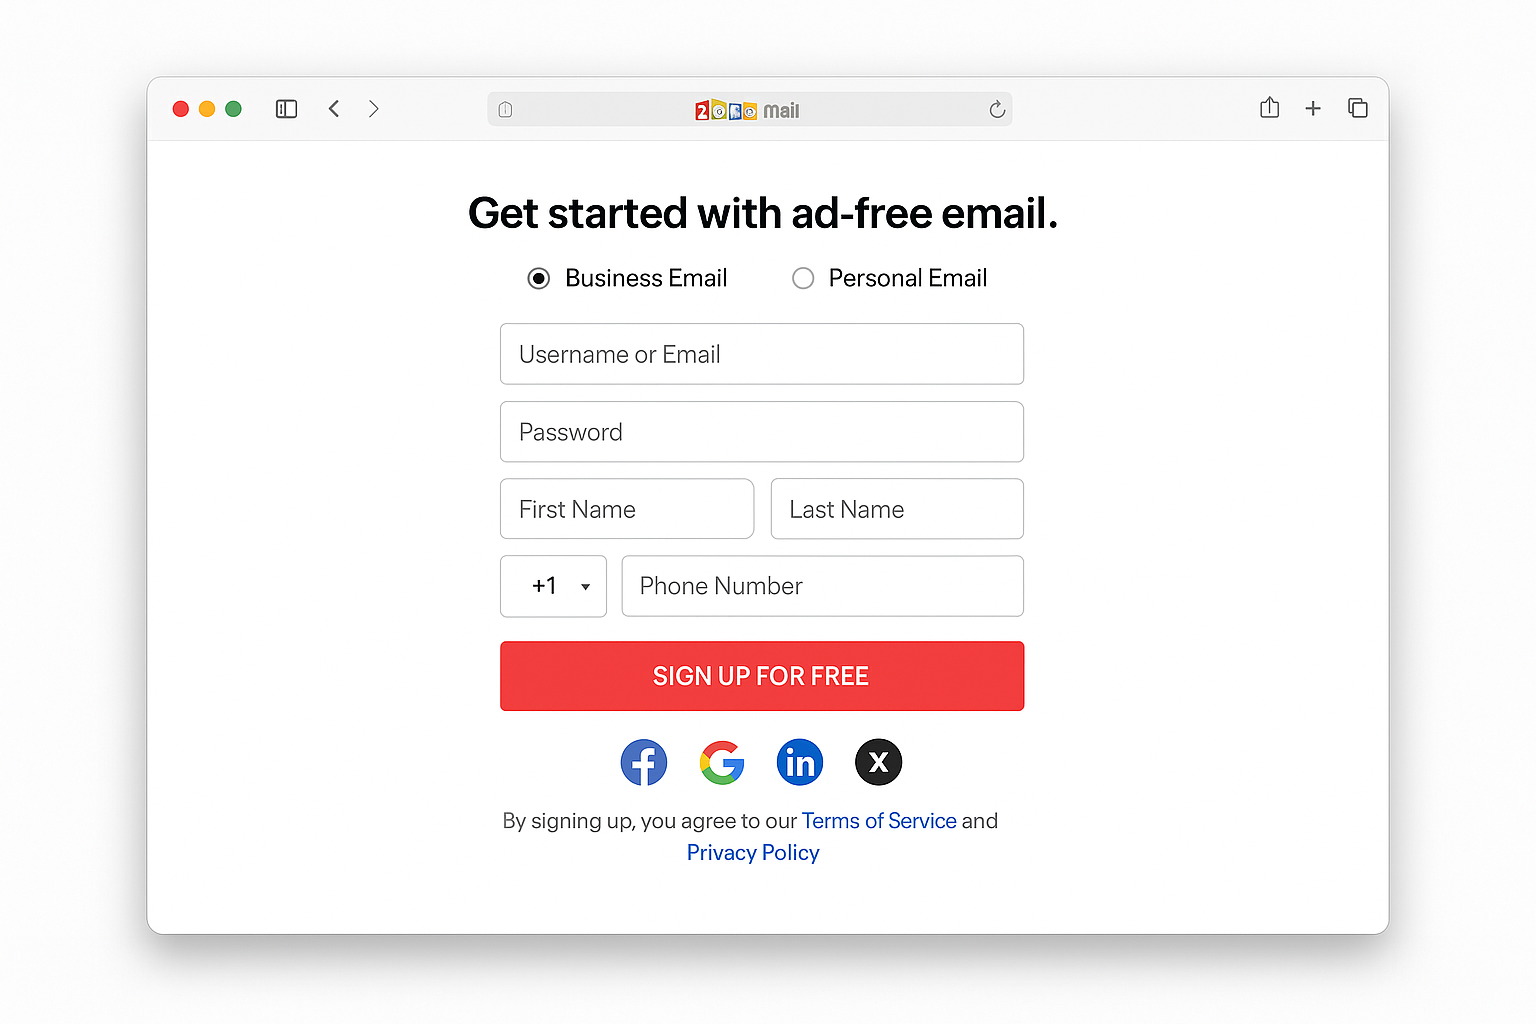
Option 1: Zoho Mail ($1 for Up to 5GB)
Zoho Mail offers an almost free plan that includes 5GB storage per user and costs $1 a month. It’s perfect for personal use or small businesses just starting out.
Best for: Personal use, small teams, anyone wanting the cheapest possible solution
Cost: $1 (5 GB), paid plans start around $3/user/month
Option 2: Bundled with Domain Registrar
Many domain registrars like Namecheap offer email hosting that you can add during checkout. It’s usually cheap and convenient since everything is in one place.
Best for: People who want everything managed in one place
Cost: Usually $1-3/month per email address
Option 3: All-in-One Platforms (Neo, Bluehost, etc.)
Services like Neo or Bluehost bundle domain + email + website hosting for a low monthly fee. Some even include a free domain for the first year.
Best for: Anyone planning to build a website too
Cost: Around $3-10/month for everything
For this guide, we’ll use Zoho Mail since it’s cheap and works great for most people.
Step 3: Set Up Your Email with Zoho Mail
Go to Zoho Mail and click Sign Up Now.
Enter your domain name (the one you just registered) and click Add Domain.
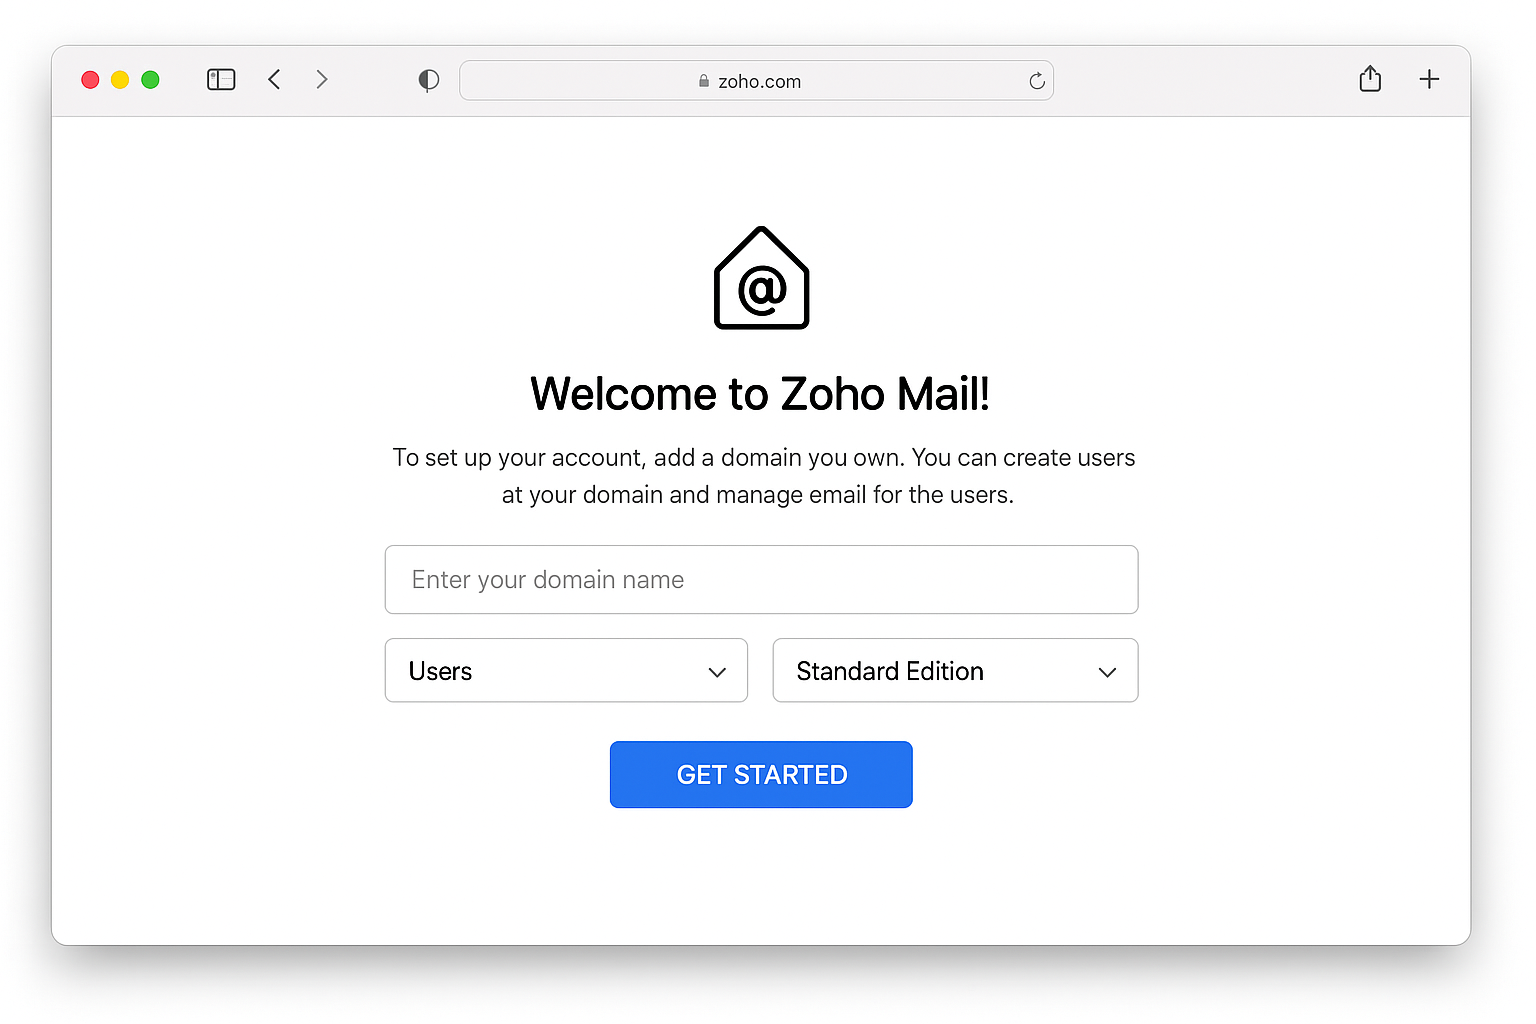
Create your Zoho account by filling in your personal details. This becomes your admin account for managing all the email addresses on your domain.
Step 4: Verify Domain Ownership
Zoho needs to verify that you actually own the domain before they’ll let you create email addresses for it. They’ll give you a special code (called a TXT record) that you need to add to your domain’s DNS settings.
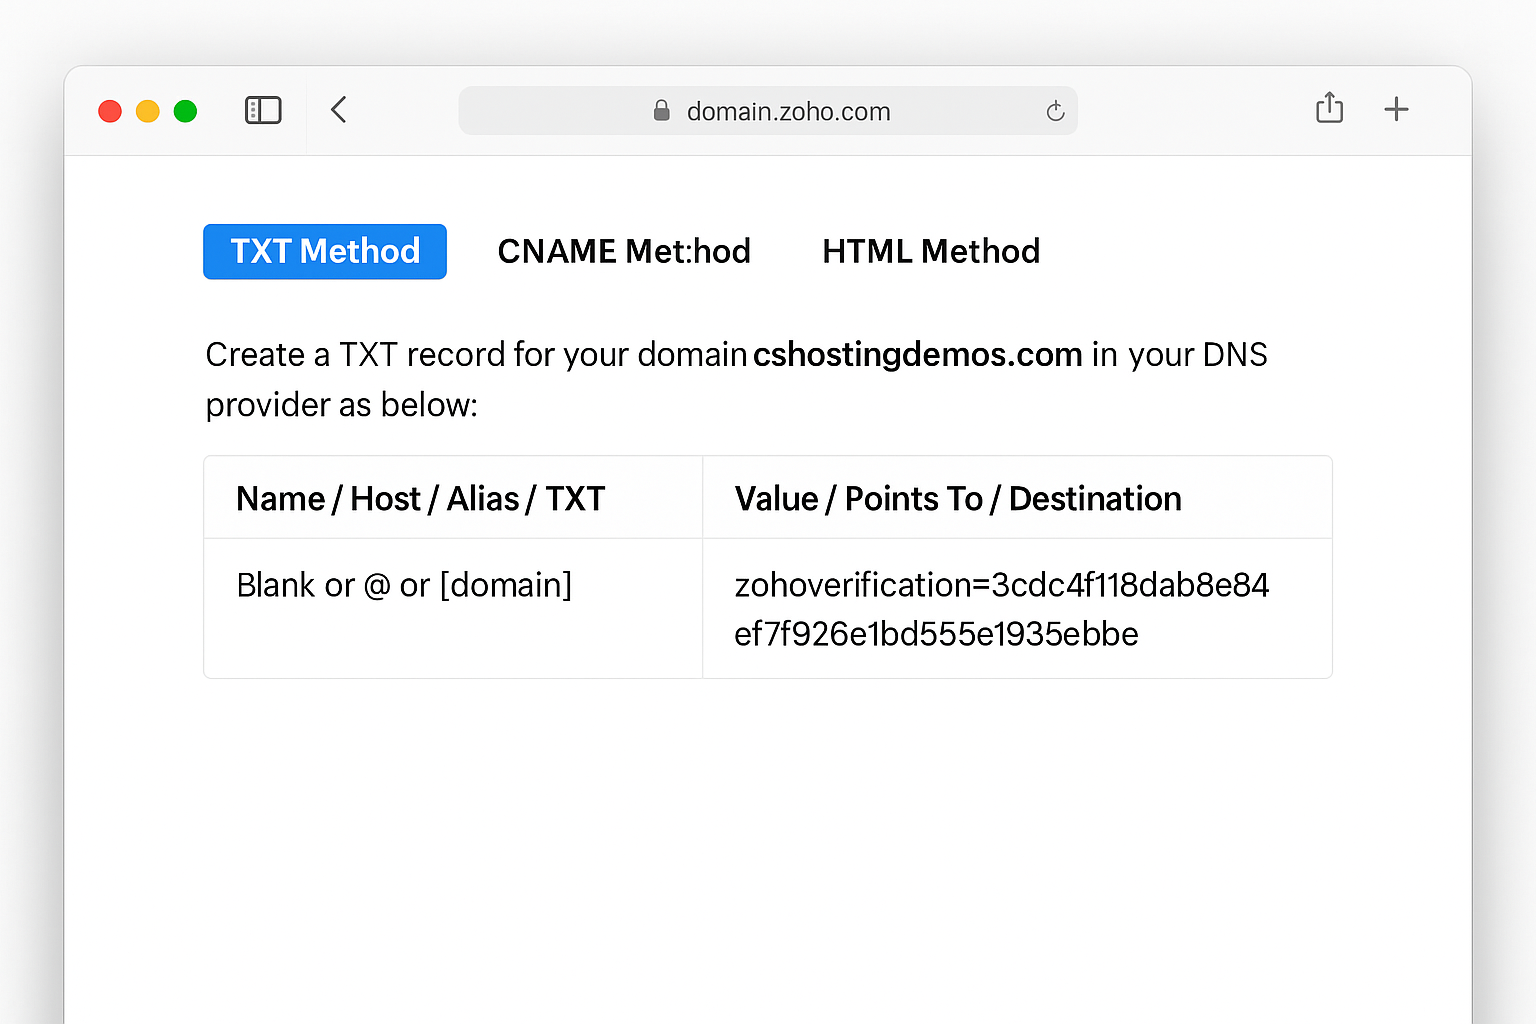
Copy the TXT record code, then open a new tab and log into your domain registrar (like Namecheap).
Adding the TXT Record in Namecheap
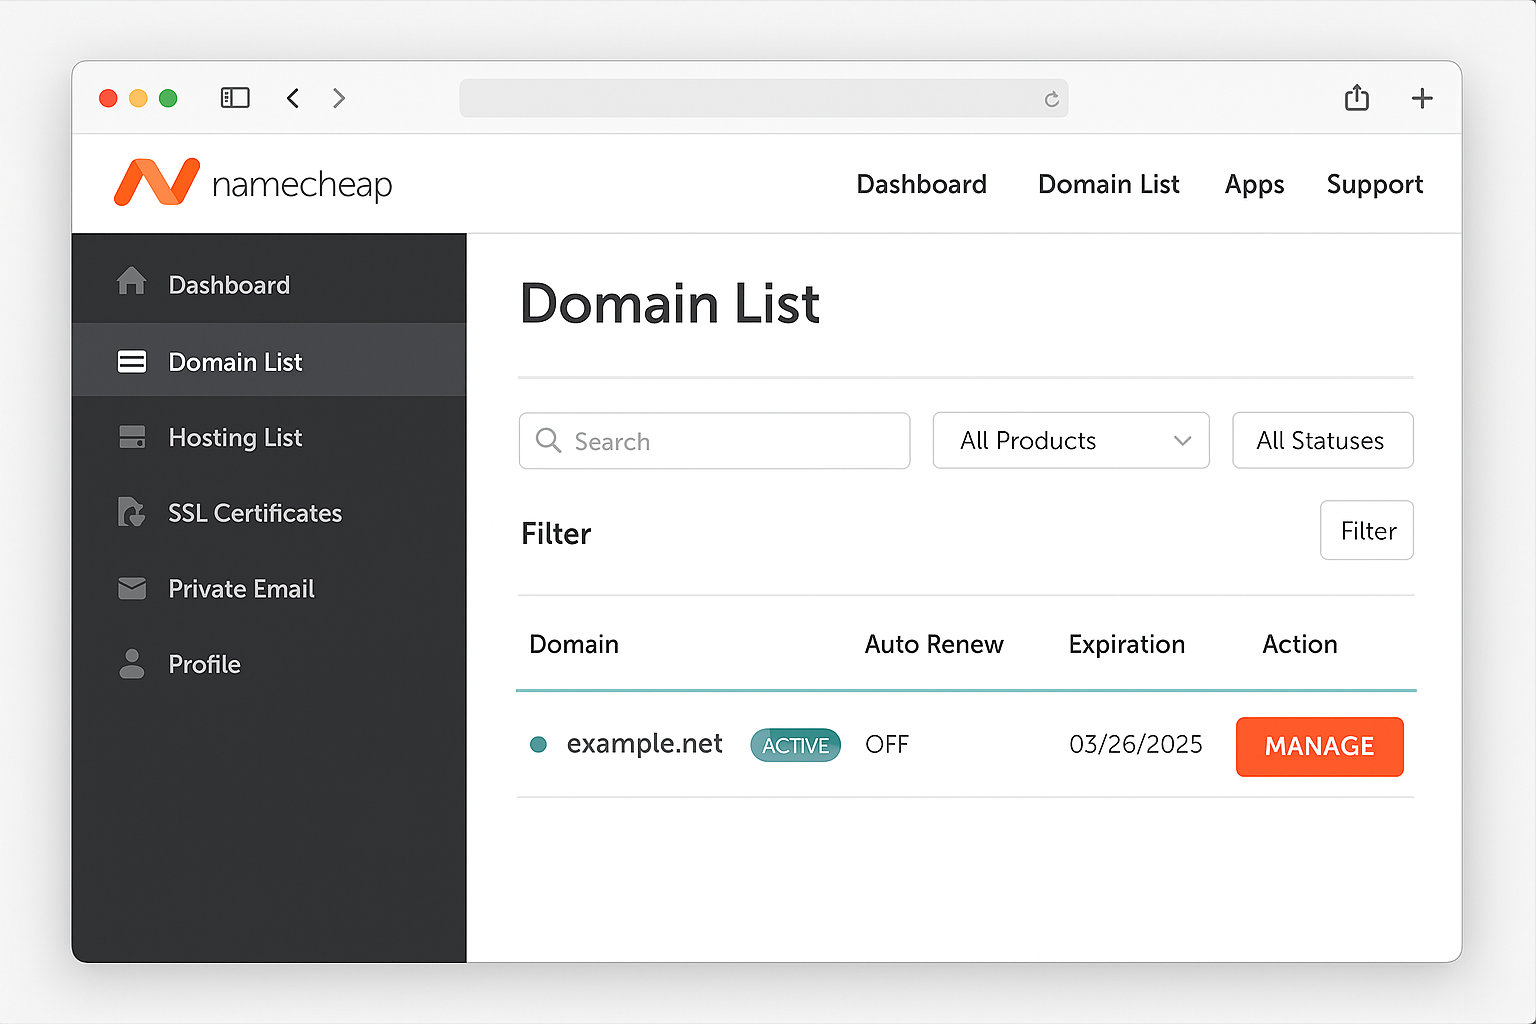
In your Namecheap dashboard, find your domain and click Manage.
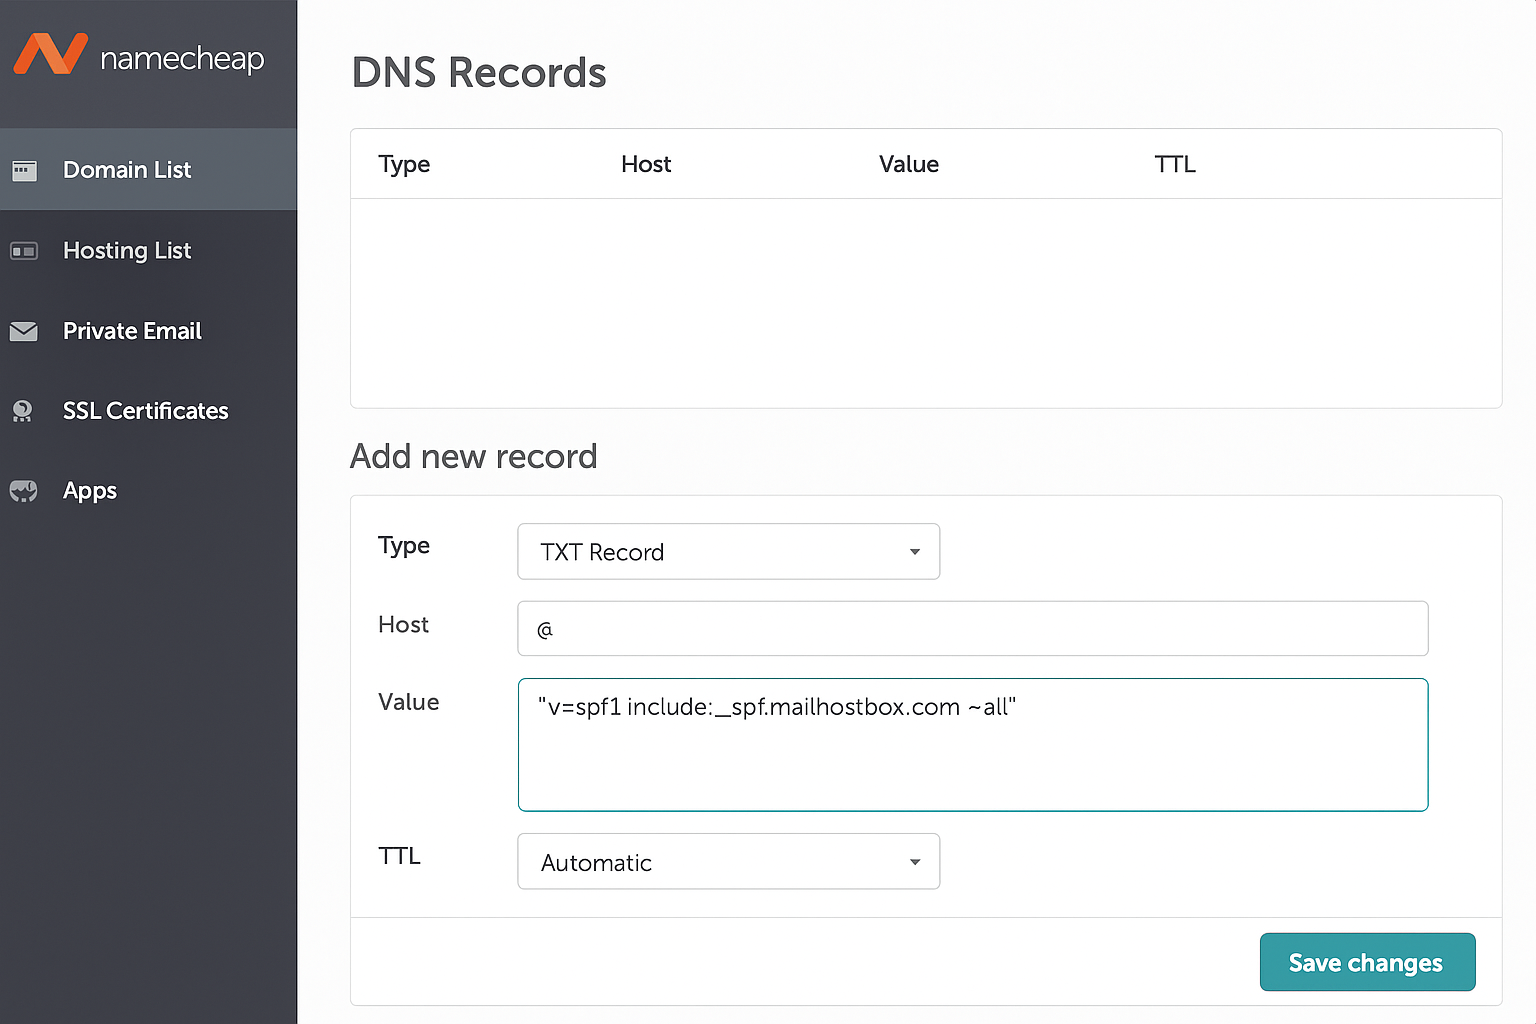
Click the Advanced DNS tab, then Add New Record.

Select TXT Record from the dropdown, paste the code from Zoho into the Value field, and click Save All Changes.
Go back to Zoho and click Verify. It might take a few minutes for the verification to work — DNS changes can take up to 48 hours to fully propagate, but it’s usually much faster.
Step 5: Configure Email DNS Records
Once your domain is verified, Zoho will ask you to add MX records (these tell the internet where to deliver your emails) and some security records.

Back in Namecheap’s Advanced DNS section, add these records one by one:
MX Records:
- Priority 10: mx.zoho.com
- Priority 20: mx2.zoho.com
- Priority 50: mx3.zoho.com
SPF Record (TXT): v=spf1 include:zoho.com ~all

These records help prevent your emails from being marked as spam and ensure reliable delivery.
Step 6: Create Your Email Addresses
Back in Zoho, you can now create your actual email addresses. Click Add User and create addresses like:
- you@yourdomain.com
- info@yourdomain.com
- hello@yourdomain.com
- wedding@yourdomain.com

Remember, you only get 1 email address with Zoho’s smallest plan, so make it count!
Step 7: Access Your Email
You can access your new email in several ways:
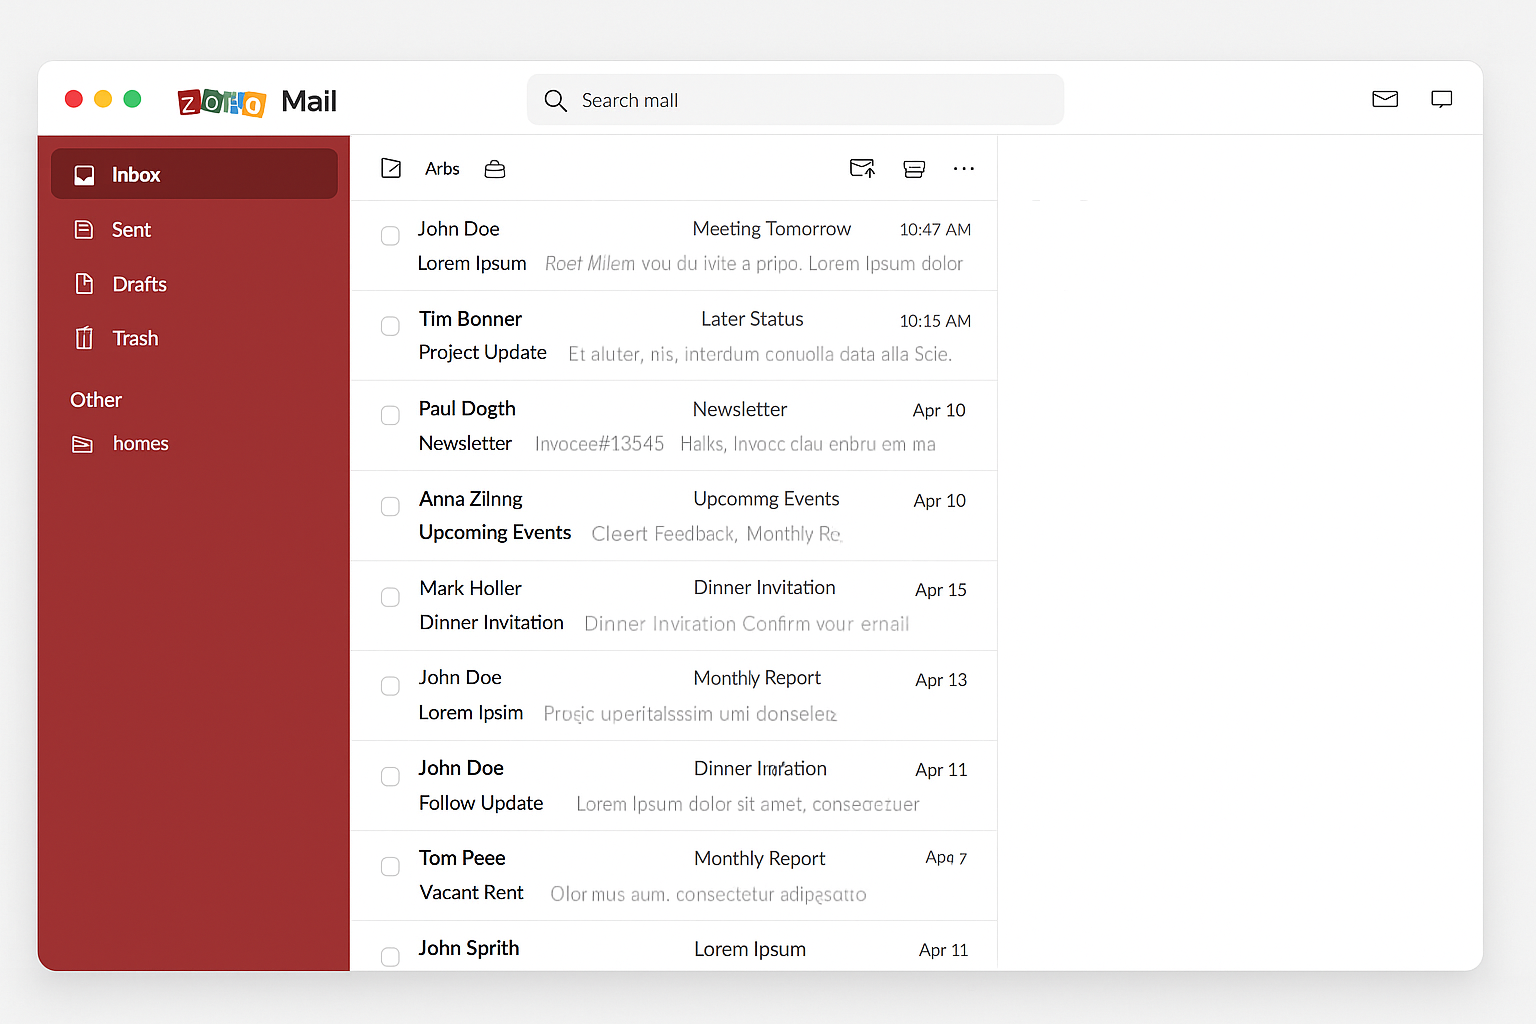
Web Browser: Go to mail.zoho.com and log in with your new email address.
Mobile App: Download the Zoho Mail app for iPhone or Android.
Desktop Email Client: Set up your email in Outlook, Apple Mail, or Thunderbird using IMAP settings (Zoho provides these in your account settings).
Step 8: Send Your First Email
Click Compose and send a test email to yourself or a friend. Make sure to send it from your new custom domain address!

Tips and Troubleshooting
Common Issues
Problem: DNS verification is taking forever
DNS changes can take up to 48 hours to propagate, but it’s usually much faster. You can check the status using online DNS checker tools like MX Toolbox.
Problem: Emails are going to spam
New domains often trigger spam filters. Make sure you’ve added all the DNS records (especially SPF and DKIM), and start by sending emails to people you know. Avoid sending bulk emails right away, warm up your domain slowly.
Problem: Can’t access the TXT record verification
Make sure you’re logged into the right registrar account and have access to DNS management. Some hosting providers lock DNS access – if that’s the case, you might need to contact support.
Pro Tips
- Set up forwarding: You can forward emails from your custom address to your regular Gmail account if you prefer to manage everything in one place
- Create aliases: Set up multiple email addresses that all go to the same inbox (like info@, hello@, and contact@)
- Use a password manager: You’ll have multiple accounts to manage, so keep track of all your passwords securely
- Consider email signatures: A professional signature makes your custom domain email look even better
Alternative Options for 2026
If Zoho doesn’t suit your needs, here are other solid options:
| Service | Cost | Best For | Key Feature |
|---|---|---|---|
| Google Workspace | $6+/month | Businesses | Gmail interface, Google Drive integration |
| Microsoft 365 | $6+/month | Teams, businesses | Outlook, Office apps included |
| Bluehost Email | ~$3/month | Website owners | Free domain included with hosting |
| Neo | ~$2-5/month | All-in-one needs | Domain + email + website builder |
Wrapping Up
Creating your own custom domain email address isn’t as complicated as it used to be, and with cheap options like Zoho Mail, it doesn’t have to break the bank either. Sure, you still need to buy a domain name, but once you’ve got that sorted, the email setup is pretty straightforward.
The best part? You now have complete control over your email addresses and can create as many as you need. Whether you’re sending wedding invitations from invite@yournames.com or building a business with hello@yourcompany.com, you’ll look way more professional than someone still using their old AOL address (yes, people still do that).
If you run into any issues during setup, don’t panic as DNS changes can take time, and most problems resolve themselves within a few hours. Just be patient and double-check that you’ve copied all those DNS records correctly!