
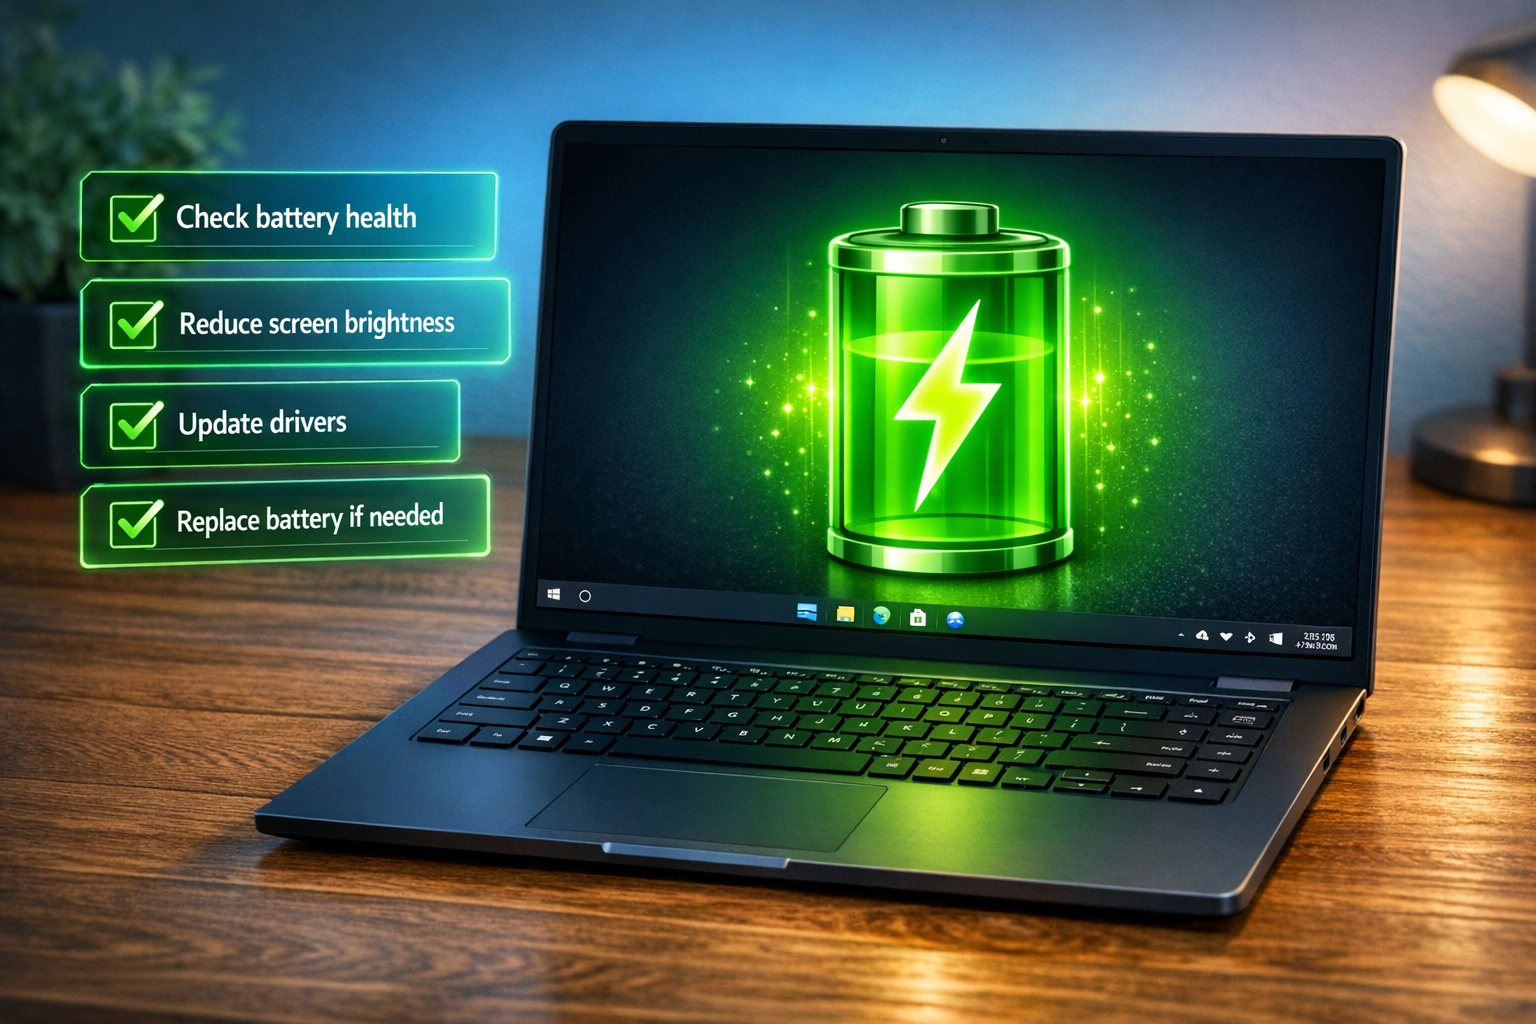
Is your laptop battery dying faster than your motivation on Monday morning? You’re definitely not alone. Nothing’s more frustrating than being stuck tethered to a wall outlet because your battery barely lasts an hour (or worse, your laptop shuts down at 30% charge for no apparent reason).
Here’s the thing: while you can’t actually restore a dead battery’s capacity, you can often fix the annoying symptoms that make you think your battery is toast. In this guide, you’ll learn how to calibrate your battery, diagnose real problems, and figure out when it’s time to bite the bullet and get a replacement.
What’s Actually Wrong With Your Battery?
Before we dive into fixes, let’s get one thing straight: modern laptop batteries are lithium-ion or lithium-polymer, and they don’t magically get their capacity back once it’s gone. What you can fix is when your laptop’s battery sensor gets confused and gives you wildly inaccurate readings.
Signs your battery needs calibration (not replacement):
- Erratic percentage jumps: Your battery goes from 40% to 10% in minutes
- Unexpected shutdowns: Laptop dies even though it showed 20% remaining
- Won’t charge to 100%: Stops at 95% or some other random number
- Wildly wrong time estimates: Says “3 hours remaining” but dies in 30 minutes
Signs you actually need a replacement:
- Battery health below 80% (we’ll show you how to check this)
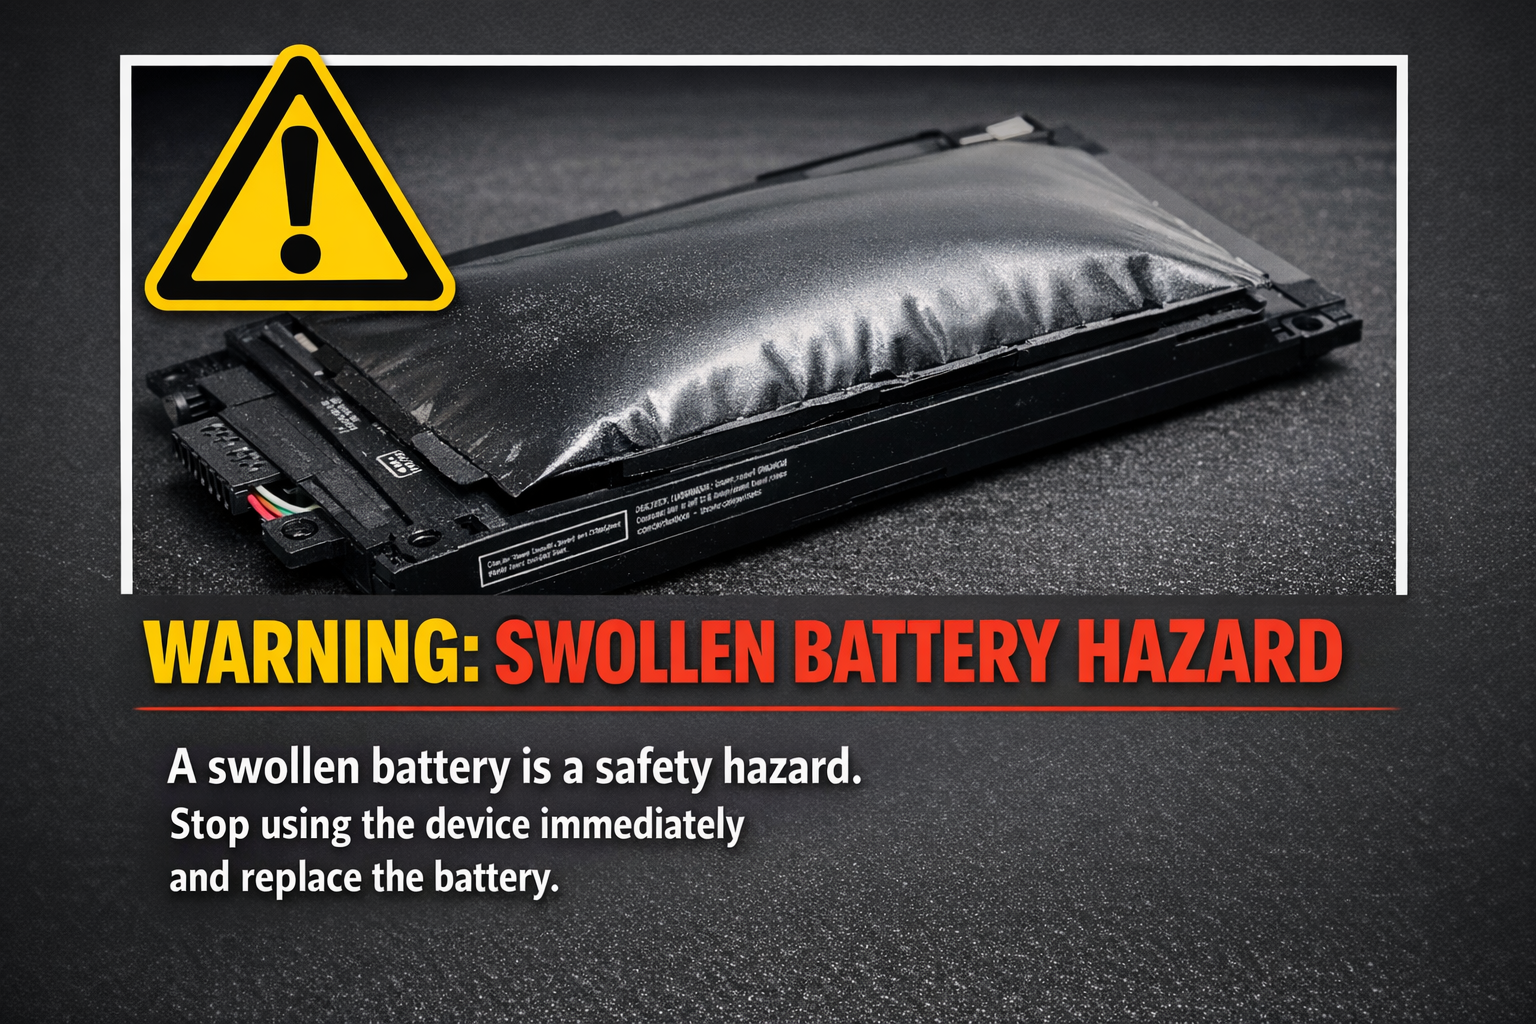
- Physical swelling or bulging
- Gets extremely hot during charging
- Won’t hold any charge at all
Before You Begin
Make sure you have:
- A laptop running Windows 10/11, macOS, or Linux
- About 2-3 hours of time for the calibration process
- Access to your laptop’s power adapter
Step 1: Check Your Battery Health First
Let’s start by figuring out if your battery is actually dying or just confused. This will save you time if replacement is your only real option.
On Windows
- Press
Windows + Xand select Windows PowerShell (Admin) or Command Prompt (Admin).
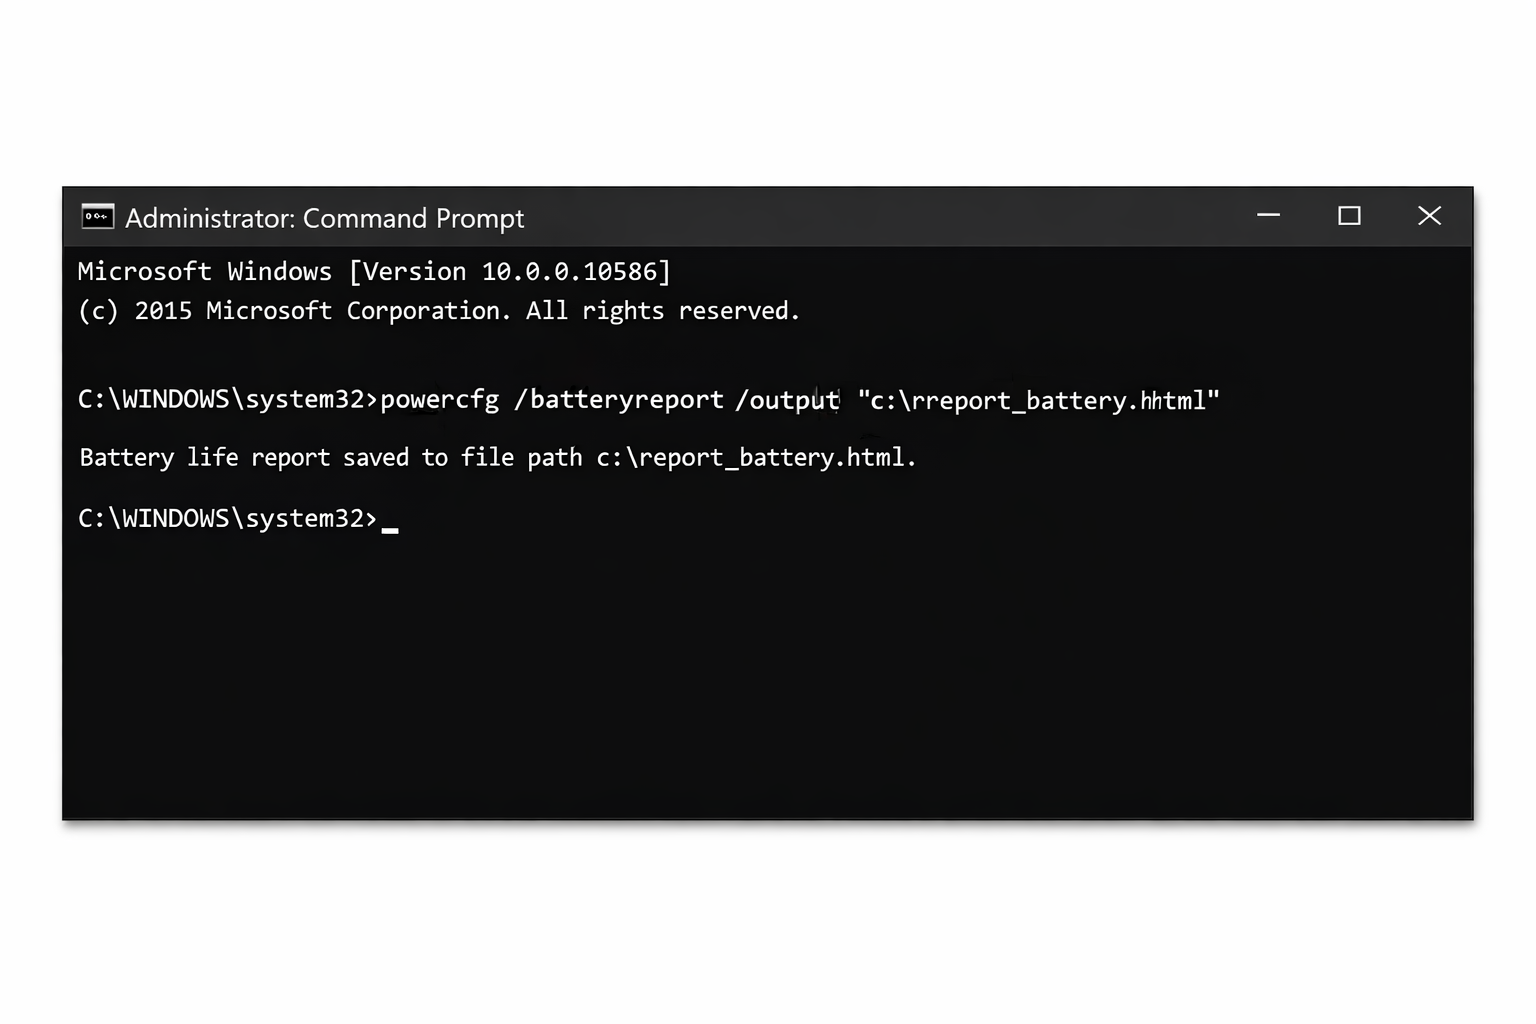
- Type
powercfg /batteryreportand press Enter.
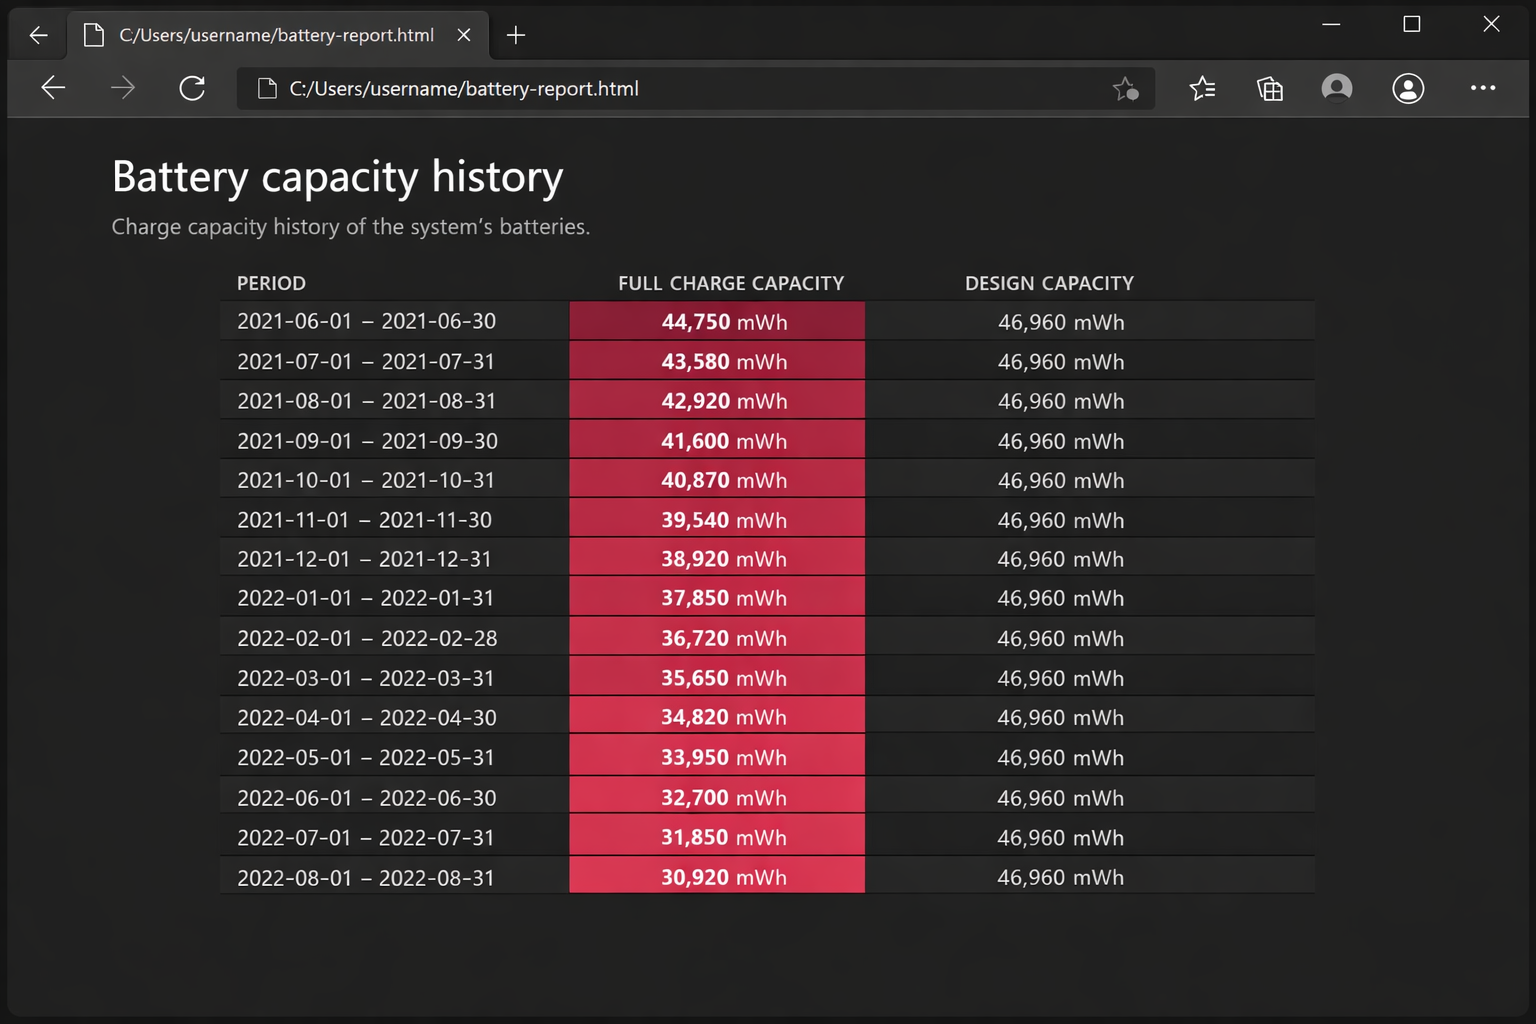
- Navigate to the file location shown (usually something like
C:\Users\YourName\battery-report.html) and open it in your browser.
- Look for the Design Capacity vs. Full Charge Capacity section. If your full charge capacity is below 80% of the design capacity, your battery is genuinely worn out and needs replacement.
On macOS
- Hold the
Optionkey and click the Apple menu.
- Select System Information.
- Click Power in the sidebar.
- Look for Condition – if it says anything other than “Normal,” your battery may need replacement.
You can also check battery health directly via System Settings > Battery > Battery Health, which shows your maximum capacity percentage and condition. This path is current as of macOS Sequoia (15).

On Linux
Most Linux distributions (including Ubuntu) include the upower tool by default — no extra installation needed.
- Open a terminal.
- Find your battery’s device path by running:
upower --enumerate
Look for a line like /org/freedesktop/UPower/devices/battery_BAT0.
- Get detailed battery info by running (replace the path if yours differs):
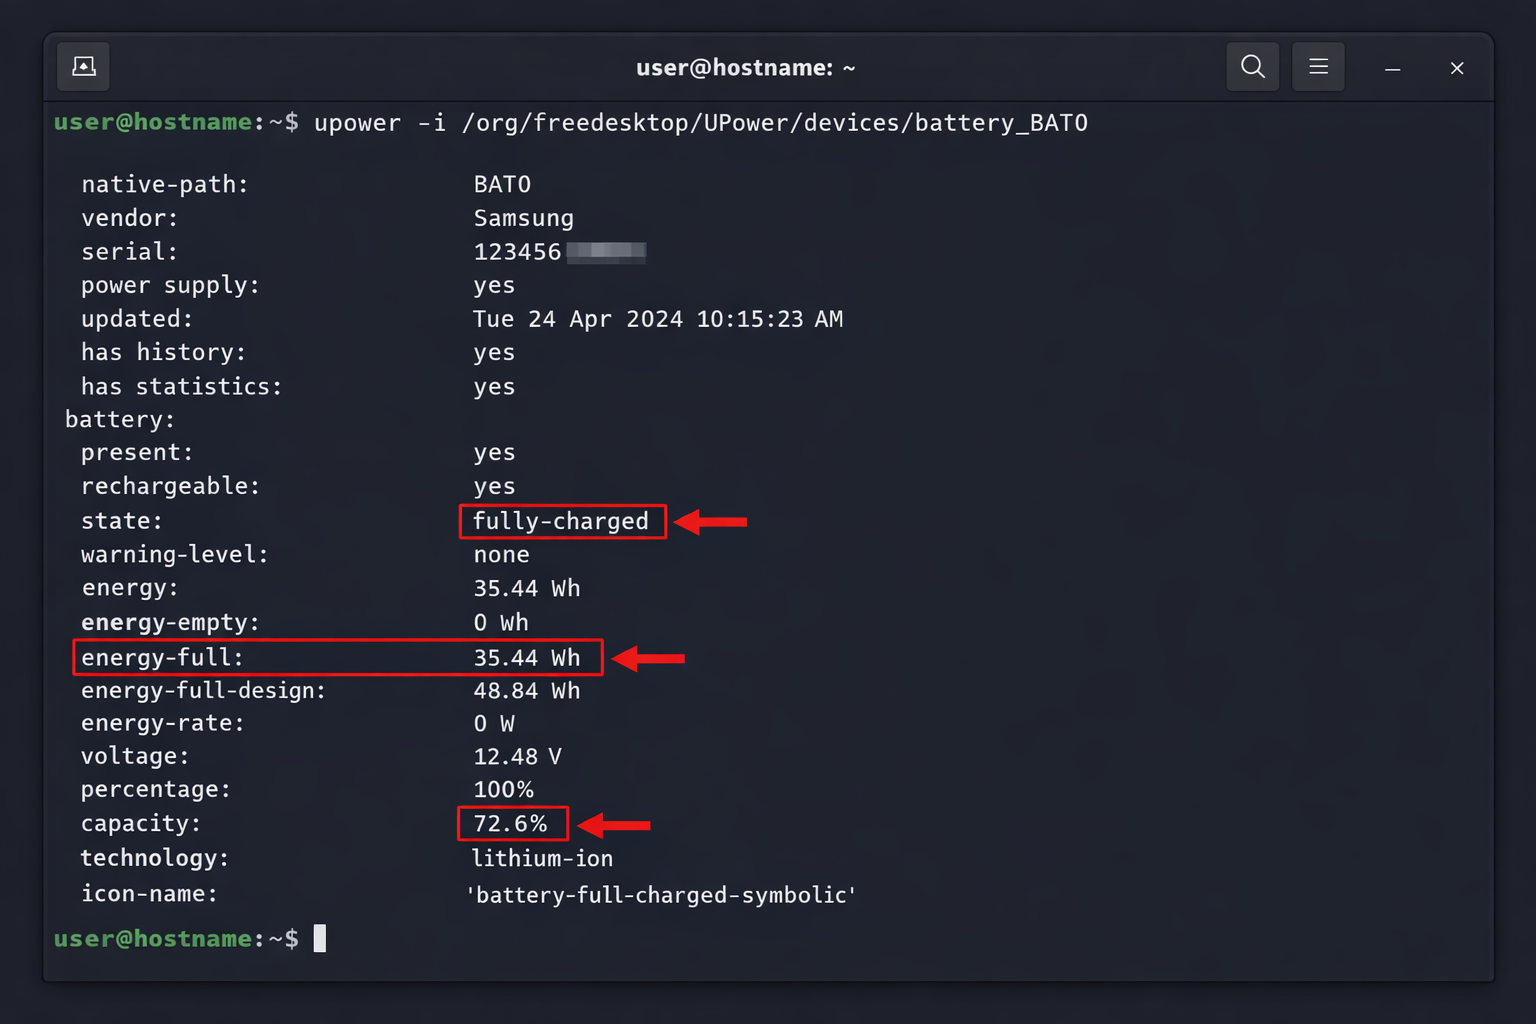
upower -i /org/freedesktop/UPower/devices/battery_BAT0
This shows capacity, energy-full vs. energy-full-design (for health percentage), cycle count, state, and current charge percentage. For a quick summary, use:
upower -i /org/freedesktop/UPower/devices/battery_BAT0 | grep -i "state\|percentage\|energy\|capacity"
If your capacity value is below 80%, your battery is worn and replacement is worth considering.
Step 2: Calibrate Your Battery (The Most Effective Fix)
If your battery health looks decent but you’re getting weird readings, calibration usually fixes the problem. This process resyncs your laptop’s battery sensor with the actual charge level.
Important: Calibration doesn’t restore capacity – it just makes the readings accurate again. Think of it like resetting a scale that’s been giving wrong measurements.
The Calibration Process
- Charge to 100%: Plug in your laptop and let it charge completely. Keep it plugged in for an extra 2 hours after it hits 100% to make sure it’s truly full.
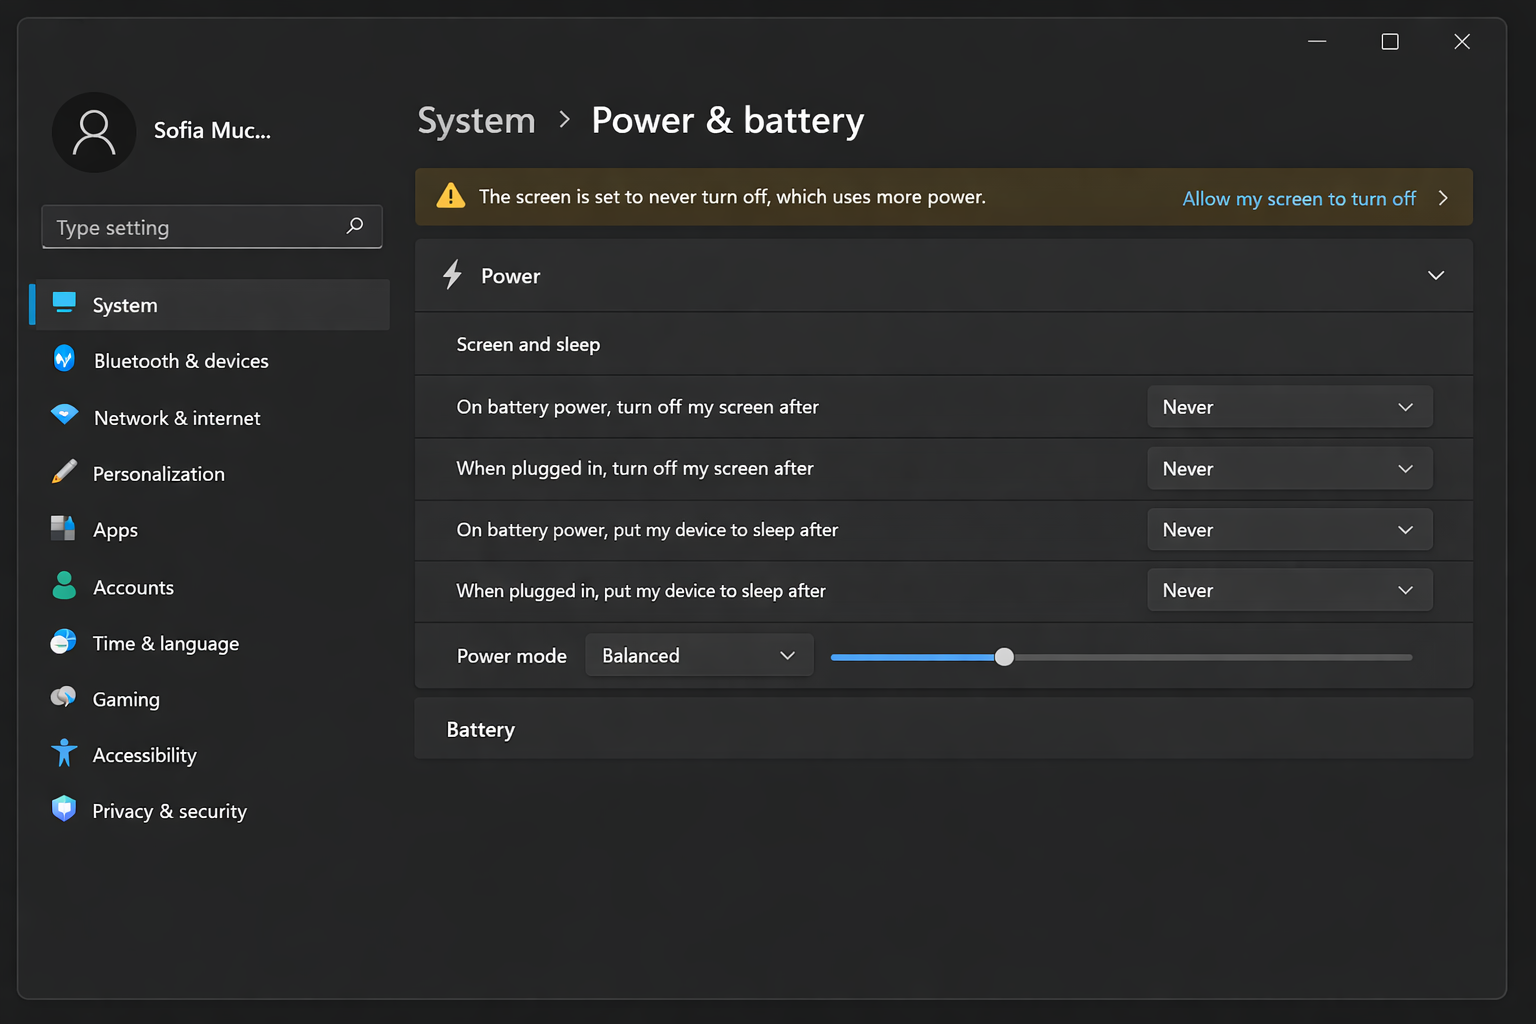
- Adjust power settings: Go to your power settings and set the laptop to never sleep or hibernate when on battery power. You want the screen to stay on during the drain process.
On Windows: Go to Settings > System > Power & battery > Screen and sleep. Set both options to “Never” temporarily.
On macOS: Go to System Settings > Battery and set “Turn display off after” to “Never” for battery power.
- Unplug and drain completely: Remove the power adapter and let your laptop run until it completely shuts down. Don’t just let it sleep – it needs to drain until the laptop powers off on its own.
- Wait it out: Leave the laptop off for 3-5 hours. This ensures any residual charge is completely gone.
- Recharge without interruption: Plug it back in and charge to 100% without using the laptop. Don’t unplug it during this charge cycle.
- Reset your power settings: Put your sleep and display settings back to normal.
That’s it! Your battery readings should now be much more accurate.
Step 3: Keep Your Laptop Cool
Heat is the enemy of lithium-ion batteries. If your laptop runs hot, it can make your battery drain faster and degrade quicker over time.
Quick cooling fixes:
- Clean your vents: Use compressed air to blow out dust from your laptop’s cooling vents
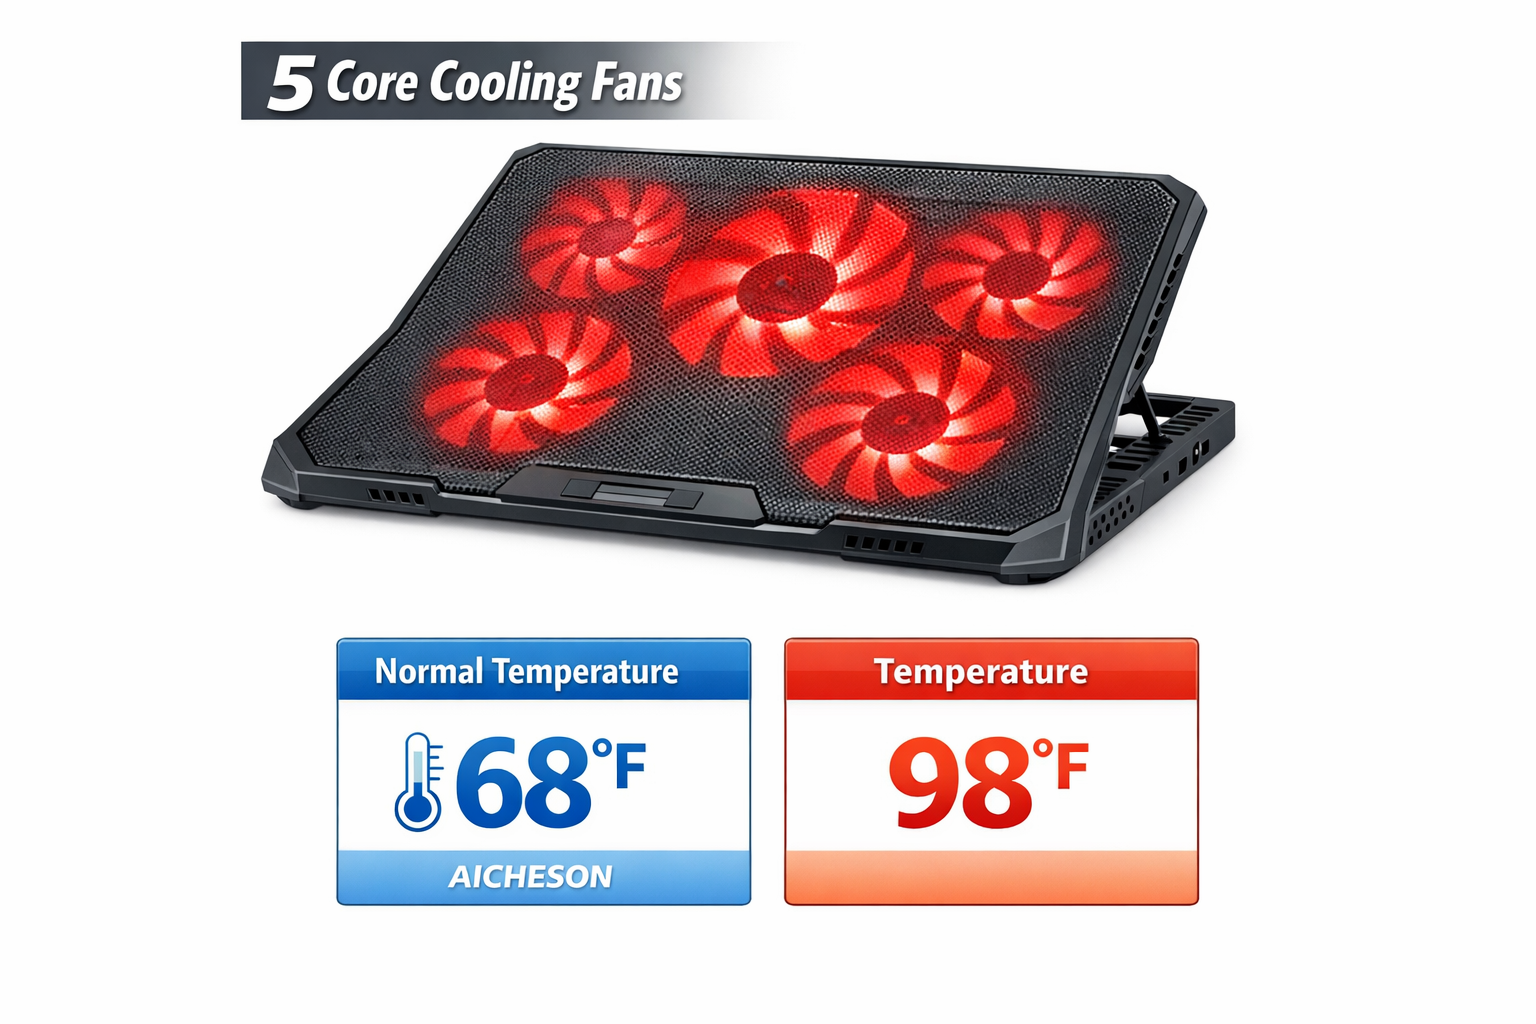
- Use a cooling pad: A laptop cooling pad with built-in fans can help reduce operating temperatures and extend battery life. Look for one sized to fit your laptop at any major electronics retailer
- Avoid soft surfaces: Don’t use your laptop on beds, couches, or other surfaces that block airflow
- Close unnecessary programs: Check Task Manager (Windows) or Activity Monitor (macOS) for programs eating up CPU and making your laptop work harder
Step 4: Optimize Your Charging Habits
Modern laptops are pretty smart about battery management, but you can help extend your battery’s lifespan with better charging habits.
Best practices for lithium-ion batteries:
- Stay in the sweet spot: Try to keep your battery between 20% and 80% most of the time
- Don’t stress about overnight charging: Modern laptops stop charging at 100%, so leaving it plugged in won’t hurt
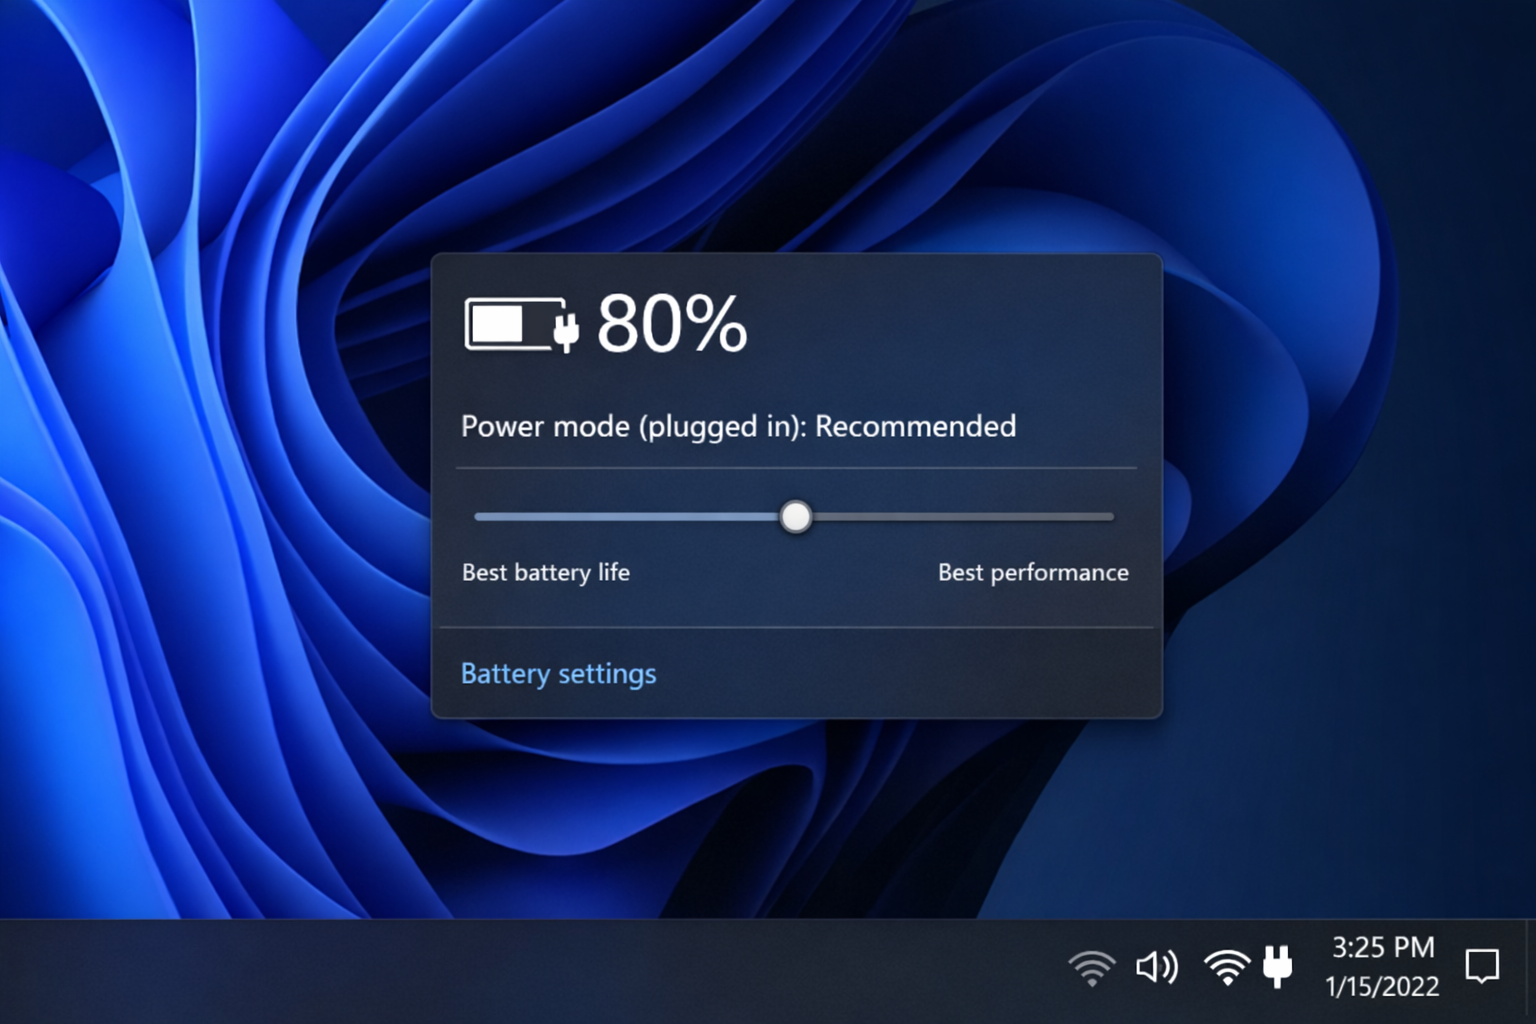
- Use battery saver mode: Enable it when you need maximum runtime
- Update your BIOS: Newer BIOS versions often include better battery management
When to Remove Your Battery (If You Can)
Most modern laptops have non-removable batteries, but if you have an older laptop with a removable battery, you might benefit from taking it out when you’re always plugged in. This only works if:
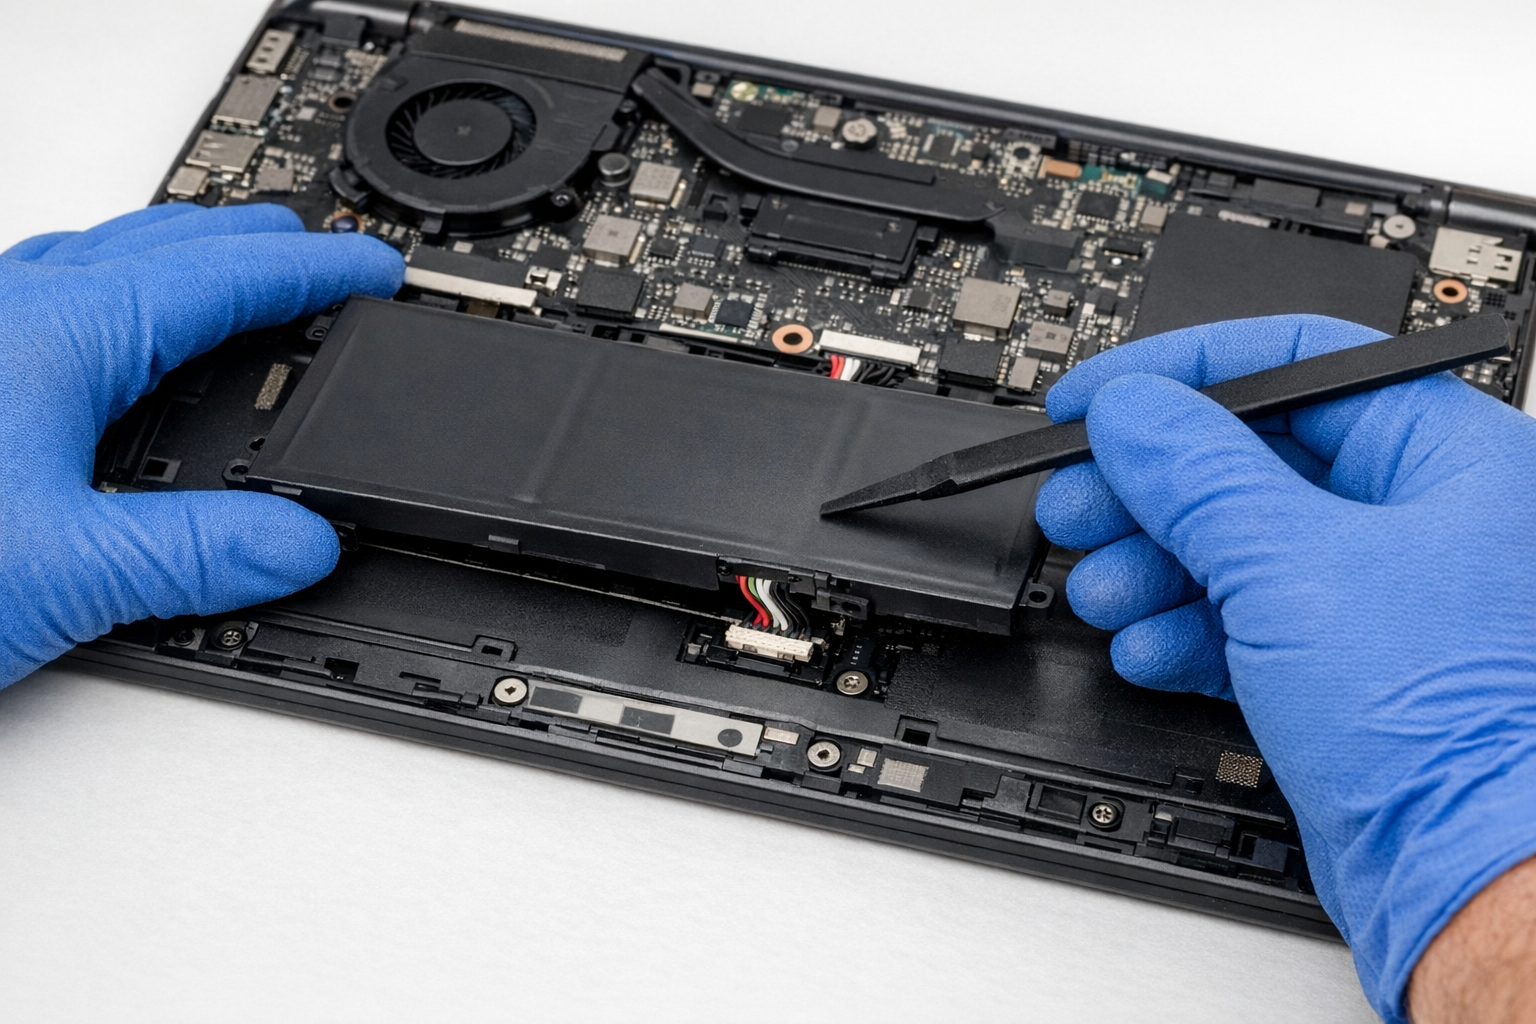
- Your laptop functions normally without the battery
- You have reliable power (no frequent outages)
- You don’t mind the hassle of swapping it back in for portable use
Honestly, this method is more trouble than it’s worth for most people, but it’s an option if you’re really trying to squeeze every bit of life out of an old battery.
Troubleshooting Common Issues
My Battery Still Shows Wrong Percentages After Calibration
Try the calibration process one more time, but this time let the laptop drain even more slowly by reducing screen brightness and closing all unnecessary programs. Some batteries need a more gradual drain to calibrate properly.
My Laptop Won’t Charge Past a Certain Percentage
Check your power management software. Some manufacturers (especially business laptops) include battery longevity features that limit charging to 80% or 90% to extend battery lifespan. Look for settings like “Battery Care” or “Adaptive Battery Optimizer” in your laptop’s pre-installed software.
The Battery Drains Super Fast Even After Calibration
Run a malware scan – some malicious software can cause excessive battery drain by running background processes. Also check your startup programs and disable anything you don’t need running all the time.
My Battery Report Shows Very High Cycle Count
Laptop batteries are typically rated for 300-500 full charge cycles (up to 1,000 on some modern models). If you’re seeing 800+ cycles on a standard battery, your battery is genuinely worn out and calibration won’t help much. Time to start shopping for a replacement.
Pro Tips for Better Battery Life
- Use keyboard shortcuts: Press
Windows + XthenUtwice to quickly put Windows to sleep, orCmd + Option + Poweron macOS - Check background apps: Type “background apps” in Windows search or check System Settings > General > Login Items on macOS to see what’s running unnecessarily
- Lower screen brightness: Your display is usually the biggest battery drain – even dropping brightness by 25% can add significant runtime
- Use dark mode: On laptops with OLED screens, dark mode can actually save battery power
When It’s Time to Replace Your Battery
If your battery health is below 80% or your cycle count is well past the rated limit, replacement is the right call. As of 2026, laptop battery replacement costs have come down considerably. Here’s what to expect:
- Budget / third-party batteries: $50–$80 (e.g., generic 11.1V Li-ion packs for common Dell, HP, or Lenovo models)
- OEM or refurbished batteries: $90–$150 (e.g., Apple M1 MacBook batteries run around $130; Dell XPS replacements around $110)
- Professional installation labor: Add roughly $50 if you’re not doing it yourself
Prices fluctuate 5–10% year over year due to supply chain factors, so check current listings at retailers like Amazon, Best Buy, or iFixit. Always verify compatibility using the retailer’s model-matching tool before purchasing. As a general rule, if your cycle count exceeds 500–1,000 or your capacity has dropped below 80%, a replacement battery is worth the investment.
A Word of Caution: Don’t Try DIY Cell Repair
You may come across advice online suggesting you can revive a dead Li-ion battery by freezing it, overcharging individual cells, or puncturing and re-wrapping cells. Do not attempt any of these methods. Lithium-ion batteries are sensitive to physical damage, extreme temperatures, and improper charging.
Tampering with Li-ion cells can cause thermal runaway – a chain reaction that leads to fire or explosion. If your battery is dead or swollen, the only safe options are professional replacement or proper recycling at a certified e-waste facility.
Wrapping Up
Battery calibration is your best bet for fixing erratic battery readings and getting accurate charge estimates again. If calibration doesn’t help and your battery health is below 80%, it’s time to accept that you need a replacement – no DIY tricks will safely bring back lost capacity and attempting them with Li-ion batteries can be genuinely dangerous.
The good news? Modern laptop batteries last longer than ever, and replacement costs are reasonable. Plus, many newer laptops make battery replacement much easier than the old days of disassembling half the machine. If you’re still struggling with battery life after trying these fixes, it might be worth chatting with a local repair shop about replacement options.