
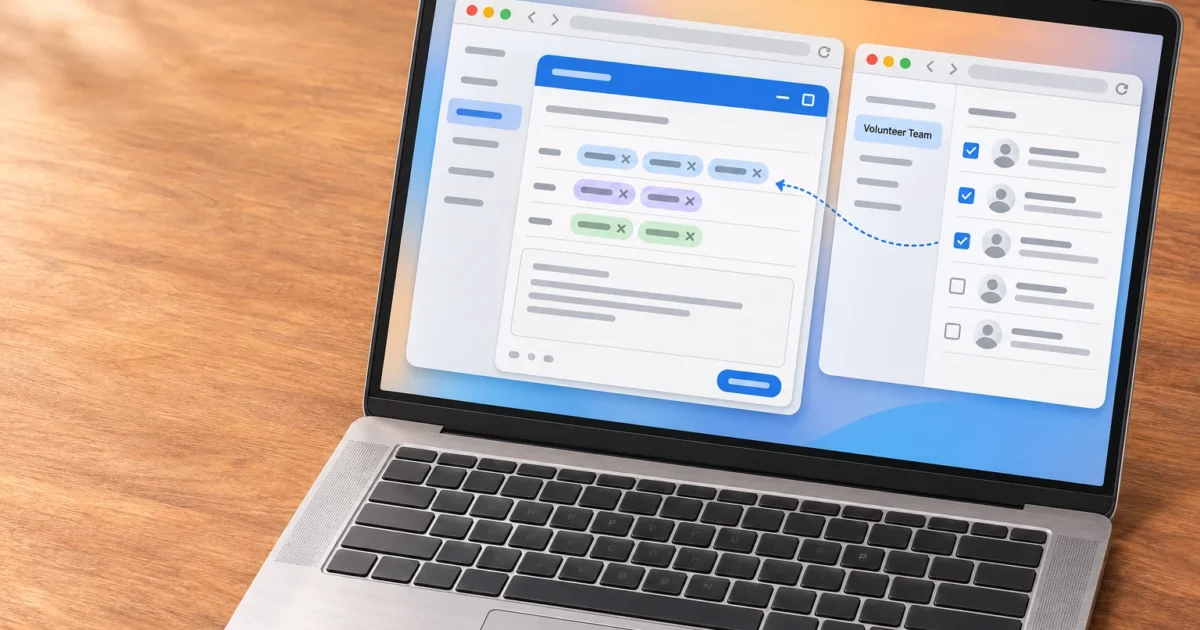
Typing the same addresses for every club update gets old quickly. Google Contacts saves that list as a label. Select it in Gmail, and its members appear as individual recipients. You can then check the addresses and choose who can see them.
You’ll use Google Contacts and Gmail in a desktop browser, with the same Google account open in both. There’s nothing to install. We’ll use a label called Volunteer Team and check its recipients before sending.
How to Create a Group Email in Gmail Using Google Contacts
A Contacts label gives you a reusable list of people. Think of it as a name tag for the contacts you’ll email together.
A Contacts label won’t have its own email address or shared inbox. You’ll still send messages from Gmail. Contacts labels organize people, while Gmail labels organize messages. Create this group in Google Contacts, even though you’ll use it in Gmail.
Contacts labels, Google Groups, and mail merge
A Contacts label isn’t the only way to reach several people at once. Here’s how it compares to two other Google tools people often confuse with it.
| Tool | Best for | Notes |
|---|---|---|
| Contacts label | A personal shortcut for people you email together often | No shared address or inbox; expands into individual recipients when you address a Gmail message |
| Workspace mail merge | Personalized bulk messages to many recipients | Available to eligible Google Workspace accounts; see Gmail mail merge help |
| Google Groups | A shared discussion address with managed membership | Members share one group email address; see Google Groups help |
This article covers the Contacts-label approach, which fits a small, recurring list you manage yourself.
Google’s contact-group instructions cover creating labels, managing members, and choosing a group when addressing email.
1. Check that Gmail and Contacts use the same account
Start with the account you’ll use to send the group’s messages.
- Open Gmail in your desktop browser.
- Click your profile picture or initial in the upper-right corner.
- Check the displayed Google account address.
- Open Google Contacts in another browser tab.
- Click the profile picture or initial there.
- Confirm that Contacts shows the same account address.
Expected result: Both tabs show the account that should hold your group’s contacts.
If you use personal and work accounts, this check matters. A perfectly good label in the wrong account won’t give you the intended mailing list.
Keep both tabs open. You’ll switch between them during setup.
2. Save and check each member’s email address
A person’s name alone isn’t enough for an email group. Their contact record needs the address you intend to use.
- In Google Contacts, click the search box.
- Search for an intended member’s name.
- Open the matching contact.
- Check the saved email address against your intended recipient list.
If the person isn’t saved yet:
- Click Create contact.
- Choose Create a contact.
- Enter the person’s name.
- Enter their intended email address.
- Click Save.
To correct an existing record:
- Open the contact.
- Click Edit.
- Correct the email details you can edit.
- Click Save.
Repeat for everyone you plan to include. Google’s Contacts setup guide covers creating and editing contacts.
For an unsent example, use these sample contacts:
| Contact name | Example email address |
|---|---|
| Alex Example | alex@example.com |
| Sam Example | sam@example.com |
These addresses are for examples, not delivery tests. Use real recipients you’ve been authorized to email when preparing a real message.
Expected result: Every intended member has a saved contact with an email address you’ve checked.
Check multiple addresses: Google says only a contact’s default email address is added to a label group. A contact with work and personal addresses needs extra care. Don’t assume Gmail will choose whichever address you used most recently. See Google’s default-address guidance.
3. Create the Volunteer Team label
Choose a clear name you’ll remember when writing a message.
- In Google Contacts, find Labels in the left sidebar.
- Click Create label beside Labels.
- Enter Volunteer Team.
- Click Save.
Expected result: Volunteer Team appears under Labels in the sidebar. The label exists, but you still need to add its members.

Avoid names that closely resemble individual contacts. A distinct name makes the correct Gmail suggestion easier to spot later.
4. Add contacts and review the saved membership
Now add the label to the people who belong in the group.
- Click Contacts in the left sidebar.
- Select the checkbox beside each intended member.
- Click Manage labels at the top.
- Select Volunteer Team.
- Click Apply.
Expected result: The selected contacts belong to Volunteer Team, following Google’s documented membership workflow.
Review the saved group before opening a message:
- Click Volunteer Team under Labels.
- Compare the displayed names with your intended membership list.
- Open each member’s contact record to check their saved email details.
Expected result: The label contains the people you intended, with no accidental additions.
A familiar group name can make a list feel trustworthy. Check it anyway (especially after selecting several nearby checkboxes).
5. Select the label in Gmail and inspect the recipients
Gmail turns the group selection into individual recipients. That gives you a chance to catch mistakes before anyone receives your message.
- Return to the Gmail tab.
- Click Compose.
- Click inside the To recipient field.
- Type Volunteer Team.
- Select the matching group from the suggestions.
Expected result: The group’s contacts appear as individual recipients in To. Google documents this sequence in its instructions for emailing a contact group.
Now check what Gmail actually shows:
- Look at each recipient chip that appears in To after the label expands.
- Compare the visible names and addresses against your intended recipient list.
- If Gmail reveals a contact’s full address when you click or hover over a chip, use that to double-check it; otherwise, go by the address already displayed.
- Remove any unintended recipient from the draft.
- Enter the intended address directly if a replacement is needed.
Expected result: Each intended person appears once, and you’ve checked the address Gmail is actually using. This is worth doing carefully every time, since it’s the last chance to catch a wrong address before sending.
Don’t stop at recognizing the names. “Alex Example” could still point to an outdated address.
If Gmail picks the wrong address for a contact with several addresses, correct the current message directly. Google’s guidance identifies Android Contacts as a way to change a contact’s default address. On your computer, check and replace the draft recipient to control where this message goes.
6. Choose To, Cc, or Bcc before sending
Where you place recipients controls who can see their addresses. Decide this before writing the message, while you’re already looking at the list.
| Field | When to use it | Address privacy |
|---|---|---|
| To | People directly receiving the message | Their addresses are visible to other recipients |
| Cc | People receiving a visible copy | Their addresses are visible to other recipients |
| Bcc | People whose addresses should stay hidden from fellow recipients | Their addresses are hidden from other recipients |
For a family conversation where everyone already shares addresses, To can make sense. For a class announcement or volunteer mailing, I’d usually choose Bcc.
Gmail provides all three recipient fields. Its sending guide covers how To, Cc, and Bcc work for any message you address. The label’s expansion behavior itself is documented in Google’s Contacts label guide.
To prepare a private mailing without relying on group suggestions in Bcc:
- Click Bcc in the compose window to show that field.
- Enter each checked group email address into Bcc.
- Remove those group recipients from To.
- Remove any group recipients from Cc.
- Inspect the completed Bcc list again.
Expected result: The group members appear in Bcc, with none accidentally left visible in To or Cc.
Check every field: Adding someone to Bcc doesn’t help if their address is also sitting in To. It’s an easy mistake when moving recipients around.
7. Maintain the label when people join or leave
Your saved member list needs a little housekeeping now and then. Make changes in Google Contacts, then check the recipients in a fresh Gmail draft.
Add a new member:
- Open Google Contacts.
- Select the new member’s contact checkbox.
- Click Manage labels.
- Select Volunteer Team.
- Click Apply.
Expected result: The new member appears when you open Volunteer Team.
Remove someone without deleting their contact:
- Open Google Contacts and select the departing member’s checkbox (find them under Volunteer Team or in your full contacts list).
- Click Manage labels.
- Clear the checkmark next to Volunteer Team.
- Click Apply.
Expected result: The person disappears from that label but stays saved as a contact. Clearing a label only removes group membership; it doesn’t delete the contact. Google’s Contacts label guide covers this distinction.
Correct an outdated address:
- Find the person in Google Contacts.
- Open their contact record.
- Click Edit.
- Update the email address if it’s editable.
- Click Save.
If an email address isn’t editable there, you can still check which address Gmail selects when you address a message.
Refresh your mailing:
- Start a fresh Gmail draft.
- Type Volunteer Team in To.
- Select the matching suggestion.
- Inspect the expanded recipients again.
Expected result: You’re checking the current membership instead of relying on an older draft.
8. Check the Message and Send It
Keep the draft open while checking each item:
- Sending account: Confirm Gmail is using the account you intended.
- Saved membership: Compare Volunteer Team with your current member list.
- Actual addresses: Check the recipient chips, especially for contacts with several addresses.
- Recipient privacy: Check To, Cc, and Bcc for addresses left visible by mistake or added twice.
- Subject: Enter a clear subject, such as “Volunteer Team: Saturday Schedule.”
- Message: Read the message and confirm its dates and instructions.
- Attachments: Check that any intended files are attached and correct.
- Demonstration data: Remove all example contacts before sending a real mailing.
Once every check passes, click Send.
Expected result: Gmail sends the message to the addresses you’ve placed in the recipient fields. Leave drafts containing example.com demonstration addresses unsent.
Fix Missing Groups and Wrong Recipients in Gmail
It’s frustrating when your saved label and Gmail’s recipient list don’t match. Use these checks to narrow down the problem.
| Problem | First check |
|---|---|
| Volunteer Team doesn’t appear | Confirm the account and saved Contacts label |
| Someone is missing | Check label membership and their saved email |
| The wrong address appears | Check which address the contact uses by default |
| A former member still appears | Remove label membership, then use a fresh draft |
| You created a label in Gmail | Create the contact label in Google Contacts |
- Group suggestion missing: Open Google Contacts and confirm Volunteer Team exists. Check that Gmail uses the same account. Refresh Gmail, start a new draft, and type the label name again.
- Member missing: Open Volunteer Team and look for the person. Check their contact’s email address. Add the label through Manage labels if needed, then check a fresh draft.
- Wrong address selected: Remove the unwanted recipient from the message. Enter the intended email address directly and check it before sending.
- Gmail label created instead: Open Google Contacts. Create the label beside Labels there, then add contacts through Manage labels.
- Sending error displayed: Read Gmail’s error before retrying. Creating a contact label doesn’t change the sending limits or rules that apply to your account.
Use Desktop Google Contacts and Gmail
These steps describe Google Contacts and Gmail in a desktop web browser. Create labels, manage membership, and check recipient addresses there.
- Desktop web (
contacts.google.comandmail.google.com): Google’s computer workflow covers creating labels, editing membership with Manage labels, and typing the label name in Gmail so its contacts expand individually. - Android Google Contacts app: Google documents separate Android Contacts label controls where you can open a label and send an email or message to that group.
- Before sending from any device: Confirm the expanded recipient addresses in your draft—or finish addressing the message in desktop Gmail—so you know which exact email address each contact is using.
Related Google Tools
If you’re bringing in contacts from a CSV spreadsheet or another email service, follow Google’s contact import guide before assigning your new Contacts label. For personalized bulk messages to a larger list, eligible Google Workspace accounts can use mail merge in Gmail.
Wrapping Up
Your Contacts label gives you a reusable starting point for group messages. Glancing over the expanded recipient chips and picking To, Cc, or Bcc before you hit Send keeps group updates accurate and private.