
Have you ever had that gut-punch moment where your phone just dies, and you realize every photo from the past year might be gone with it? Or maybe a hard drive failed and took years of irreplaceable memories along for the ride. It happens more than you’d think, and it’s completely avoidable.
If you’ve been struggling with where to store your photos, the good news is that cloud backup options in 2026 are better and more affordable than ever. Whether you shoot on an iPhone, an Android phone, or a DSLR with massive RAW files, there’s a setup that’ll protect your memories without requiring you to think about it. This guide covers exactly which services to use, how to set them up, and, importantly, how to make sure your photos are actually backed up, not just synced (those are very different things, and more on that in a second).
Backup vs. Sync vs. Sharing, Know What You Actually Need
Before picking a service, it’s worth spending 60 seconds understanding what these three terms actually mean, because “cloud storage” isn’t just one thing anymore, and choosing the wrong type can leave you thinking you’re protected when you’re not.
- Backup means making a protected copy of your files in case of loss or disaster. A true backup keeps your photos even if you delete them locally, and usually stores multiple versions. Services like Backblaze and IDrive are built around this.
- Sync means keeping the same photos across all your devices. The catch: if you delete a photo on your phone, it disappears from the cloud too, because that’s exactly what sync is supposed to do. iCloud Photos and Google Photos both work this way (though both offer a 30-day trash window before permanent deletion).
- Sharing means giving other people access to your photos through albums, links, or galleries. Most services support this, but it’s not the same as protecting your files, don’t confuse “shared album” with “backed up.”
Most people need a mix of all three. Keep reading and I’ll show you how to set it all up.
Best Cloud Services for Photos in 2026
There’s no single best service for everyone, it really depends on what devices you use and what you’re trying to accomplish. Here’s a quick comparison of the top options right now:
| Service | Best For | Free Storage | Paid Plans From |
|---|---|---|---|
| Google Photos | Android users, AI-powered search, easy family sharing | 15 GB (shared with Gmail/Drive) | ~$3/month (100 GB) |
| iCloud Photos | iPhone and Mac users, seamless Apple sync | 5 GB | ~$1/month (50 GB) |
| Adobe CC Photography | Lightroom users who want editing + cloud in one plan | None (subscription only) | ~$10/month |
| Backblaze Personal Backup | Unlimited whole-computer backup, no storage cap | None | ~$9/month |
| IDrive | Backup across multiple devices under one plan | 10 GB | ~$5/month (100 GB) |
| pCloud | Cloud drive with photo browsing, lifetime pricing option | 10 GB | ~$5/month or lifetime |
Prices are approximate, check each service’s website for current plans, since these change regularly.
How to Store Smartphone Photos in the Cloud
Your phone is probably where most of your photos come from, so let’s start here. The great news is that once this is set up, it runs completely on autopilot. You’ll never have to manually back up a photo again.
On iPhone (iCloud Photos)
If you’re in the Apple ecosystem, iCloud Photos is the easiest choice. Every photo and video you take gets uploaded automatically and stays in sync across your iPhone, iPad, and Mac, it just works, which is honestly the best thing you can say about any backup solution.
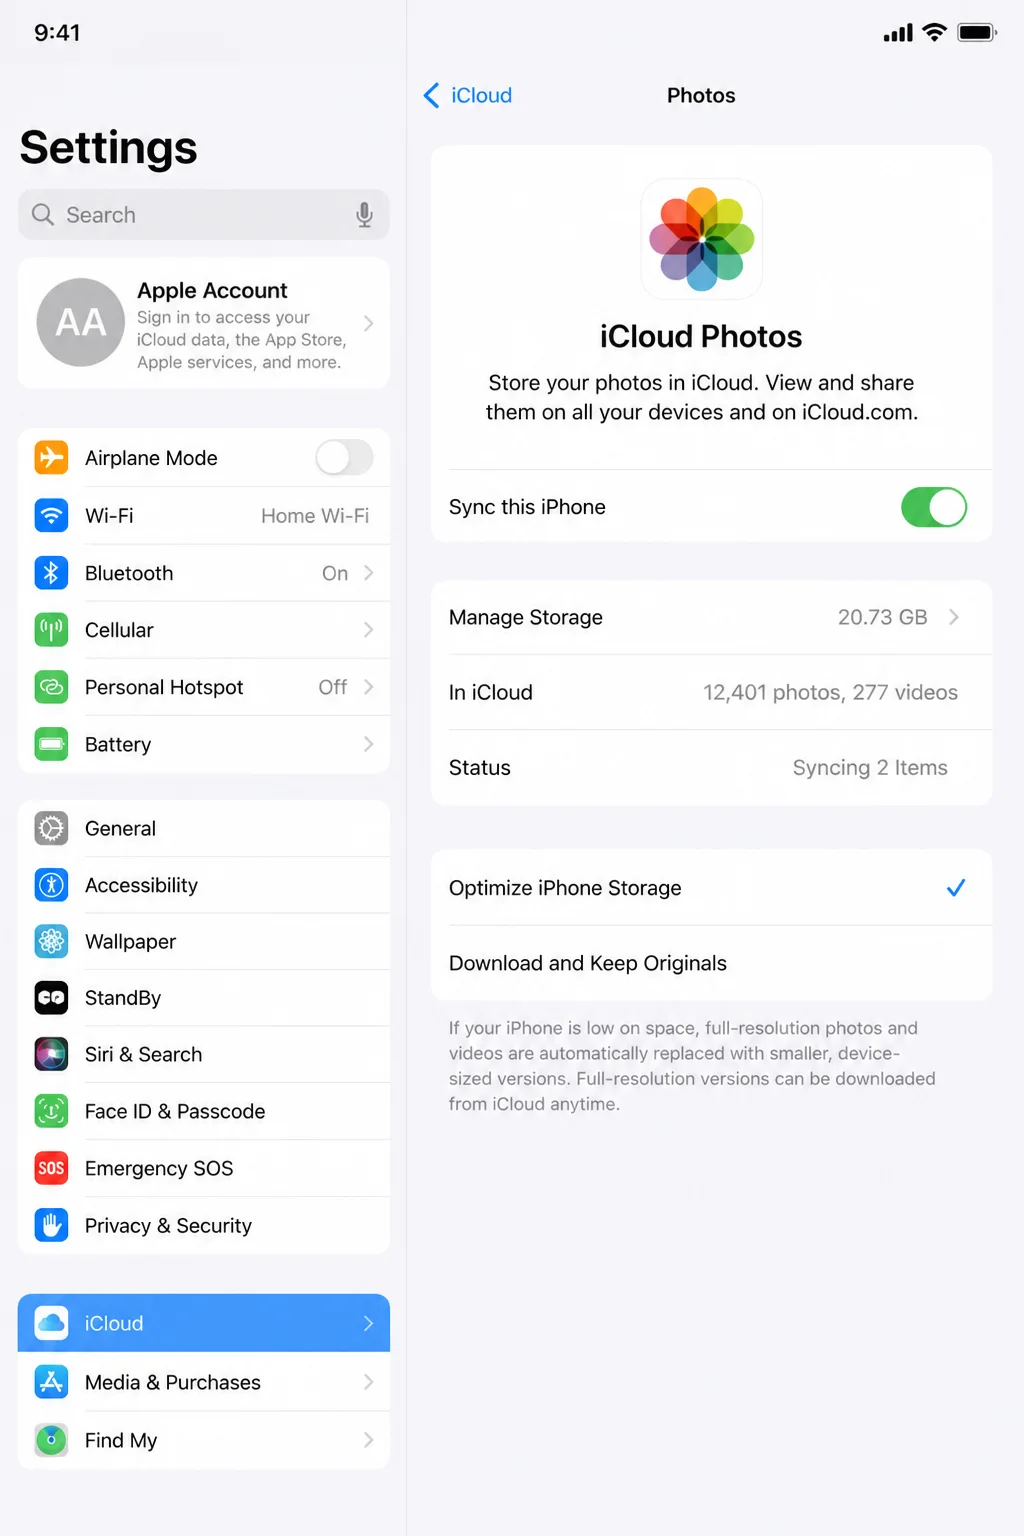
- Open the Settings app on your iPhone.
- Tap your name at the top, then tap iCloud.
- Tap Photos and turn on Sync this iPhone.
The free 5 GB fills up embarrassingly fast (a few videos and you’re done), so you’ll almost certainly need to upgrade. Apple’s paid plans start at about $1/month for 50 GB, genuinely one of the better deals in cloud storage. If you’re on an iCloud+ family plan, you can share that storage across up to five people.
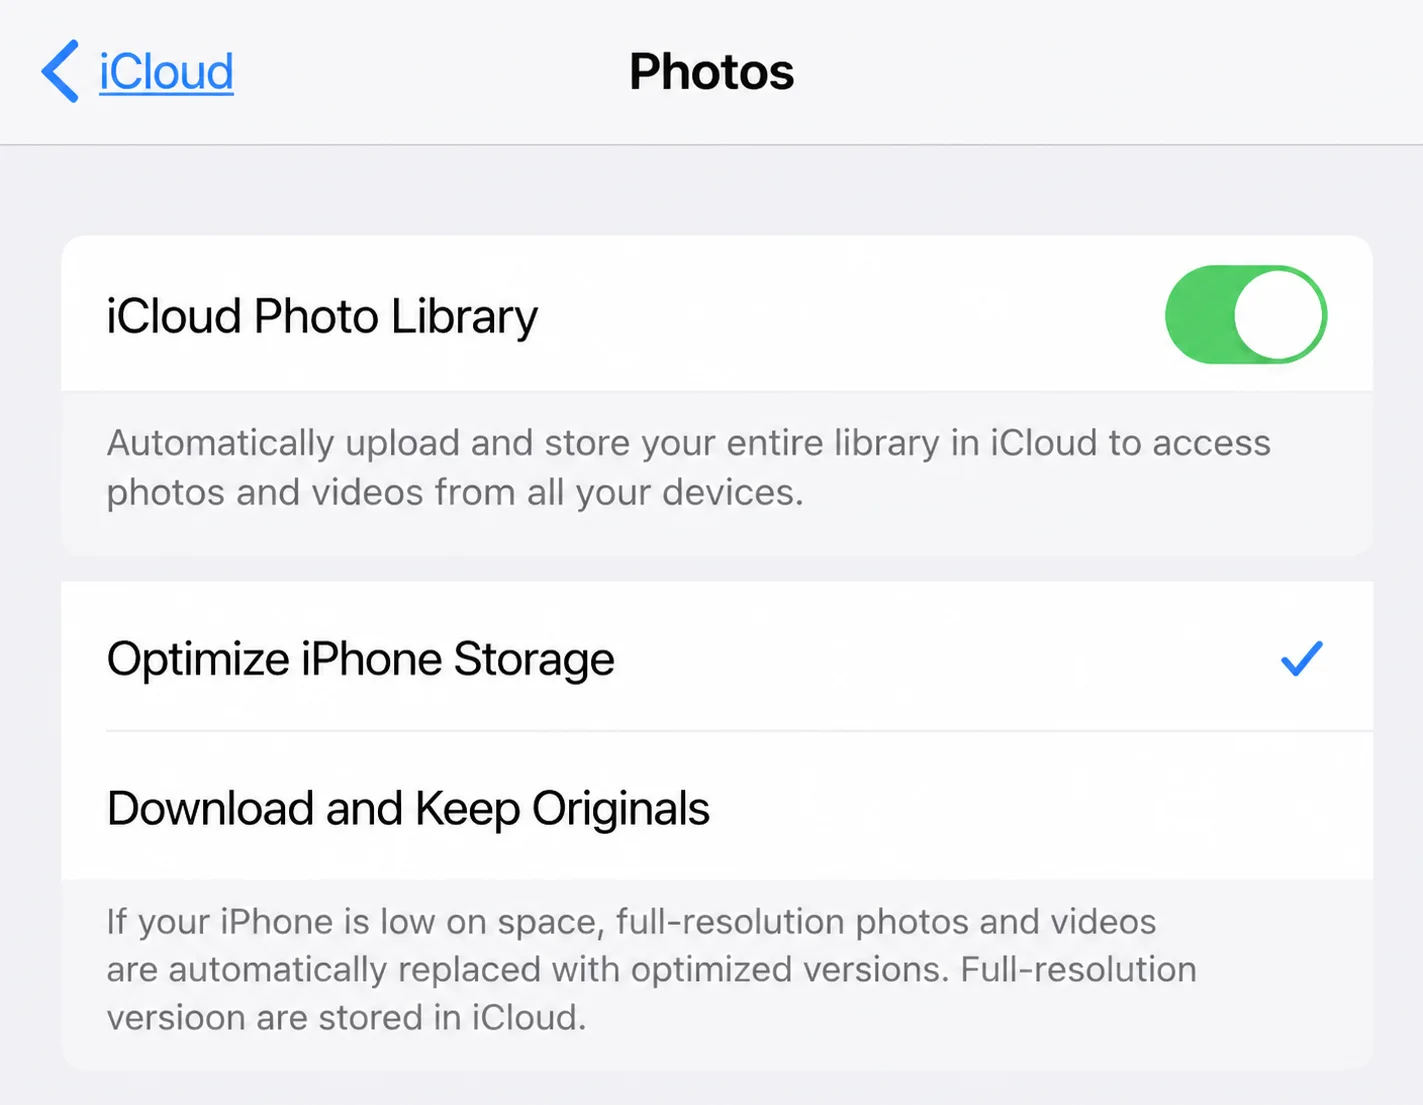
Pro tip: In Settings > Photos, enable Optimize iPhone Storage. This stores full-resolution originals in iCloud while keeping compressed previews on your phone, a great way to free up local space without losing anything.
On Windows: If you also use a Windows PC, download iCloud for Windows from Apple’s website. It adds your iCloud Photos to File Explorer so your full library is accessible directly from your PC.
On Android or Cross-Platform (Google Photos)
Google Photos is the go-to for Android users, and honestly, it’s good enough that many iPhone users run it alongside iCloud. The AI-powered search is genuinely impressive (try searching “beach sunset” or “birthday cake” and watch it pull up photos you forgot you had), and sharing albums with family takes about 30 seconds.
- Download Google Photos from the Play Store or App Store and sign in with your Google account.
- Tap your profile picture in the top-right corner, then tap Photos settings.
- Tap Backup and toggle Backup on.
- Choose your backup quality: Storage saver compresses photos slightly to stretch your quota; Original quality keeps full resolution but uses more storage.
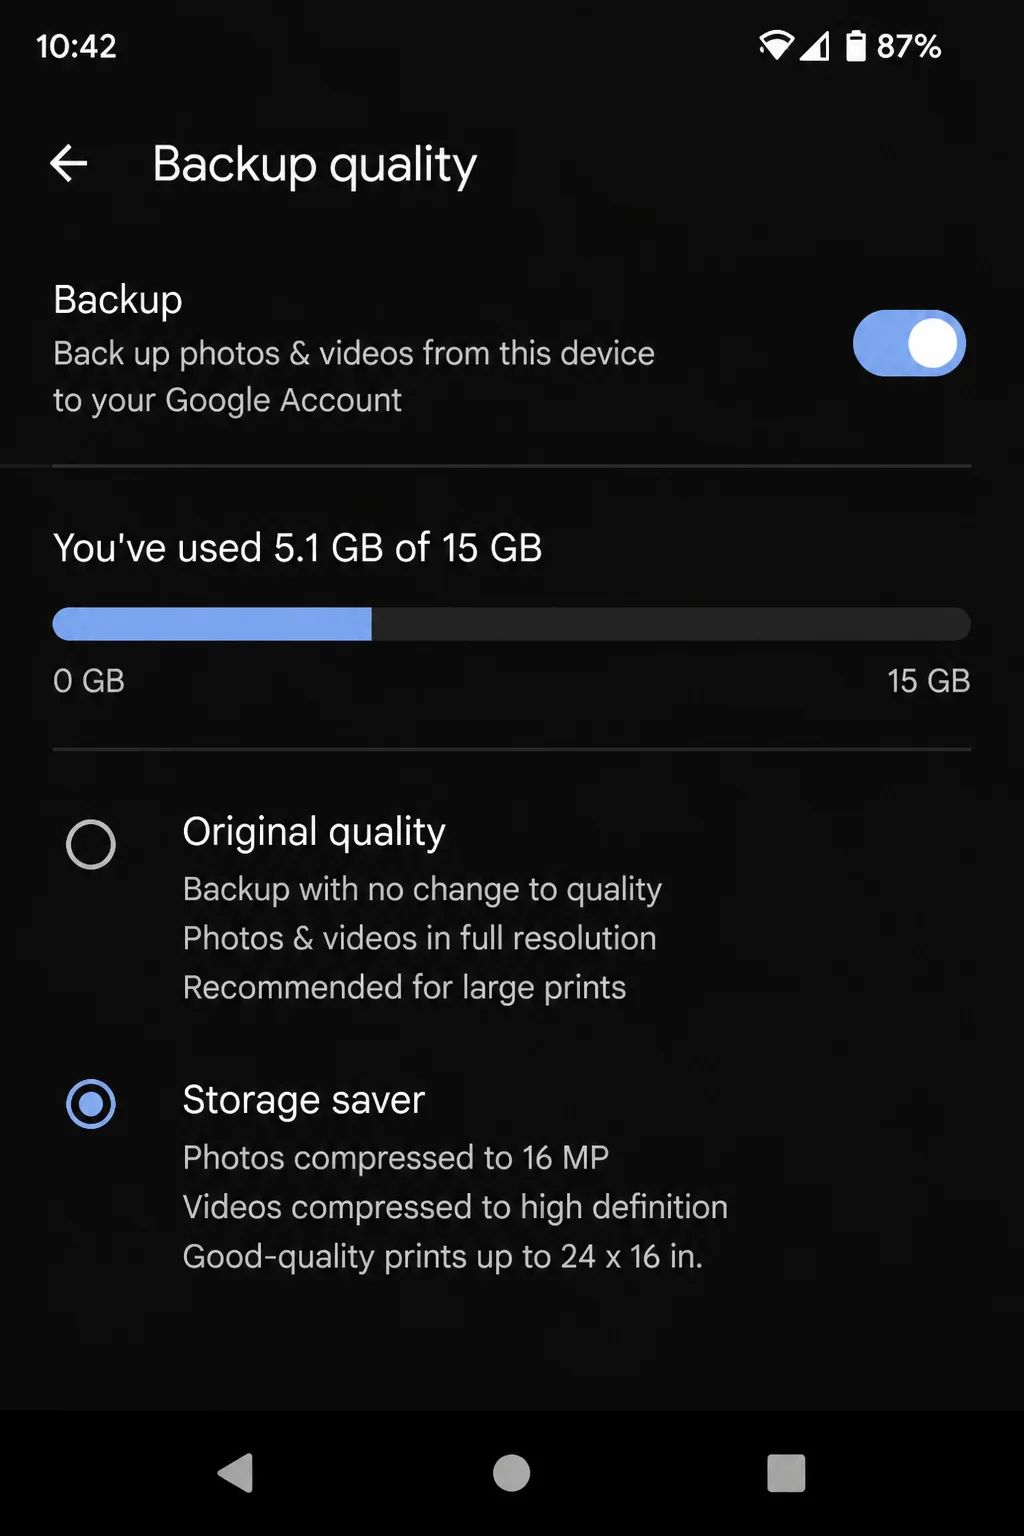
Google gives you 15 GB free, shared across Google Drive, Gmail, and Photos. Videos are the real storage drain here, a few minutes of 4K footage can eat a gigabyte in no time. If you’re hitting your quota fast, enable Storage saver mode or upgrade to a Google One plan for more room.
How to Store Digital Camera Photos and Videos
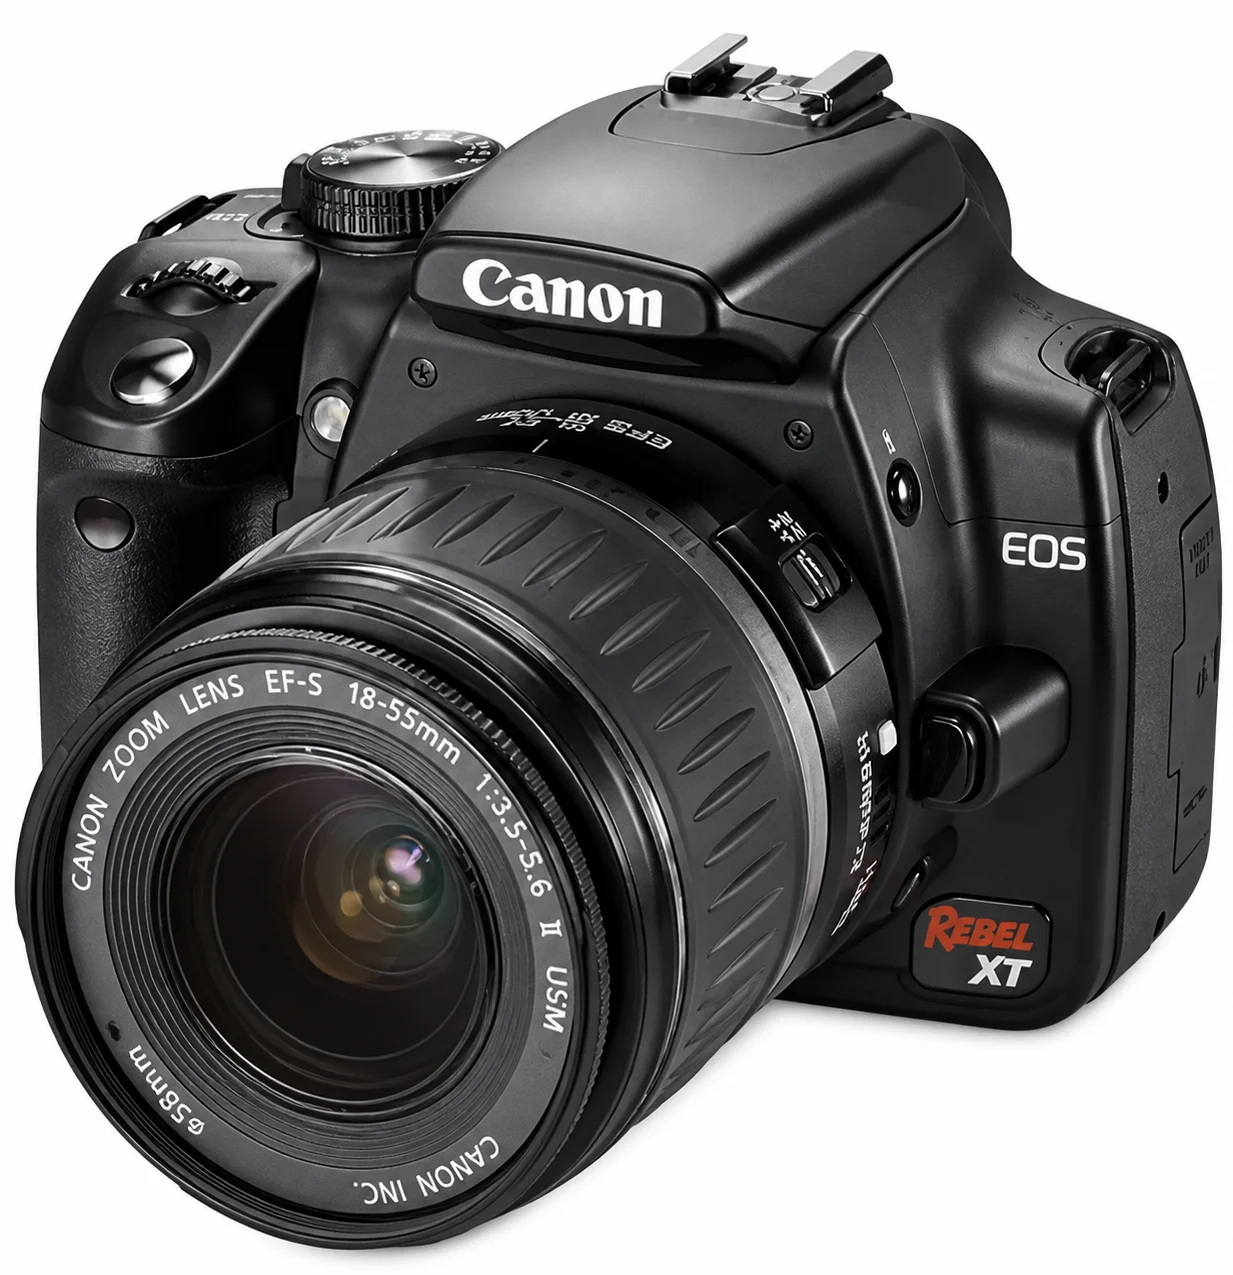
If you shoot with a DSLR or mirrorless camera, things get more interesting. RAW files are huge, we’re talking 25–50 MB per shot, and 4K video is even bigger. You can’t just casually dump that into a free cloud account and expect everything to work out. Here are the three approaches that actually handle this problem.
Option 1: Adobe Creative Cloud Photography (Best for Lightroom Users)
If you already edit photos in Lightroom, this is a no-brainer. Adobe’s Creative Cloud Photography plan bundles Lightroom, Photoshop, and cloud storage into one subscription. Your edits, presets, metadata, and full-resolution originals are backed up automatically as you work, no extra steps required.
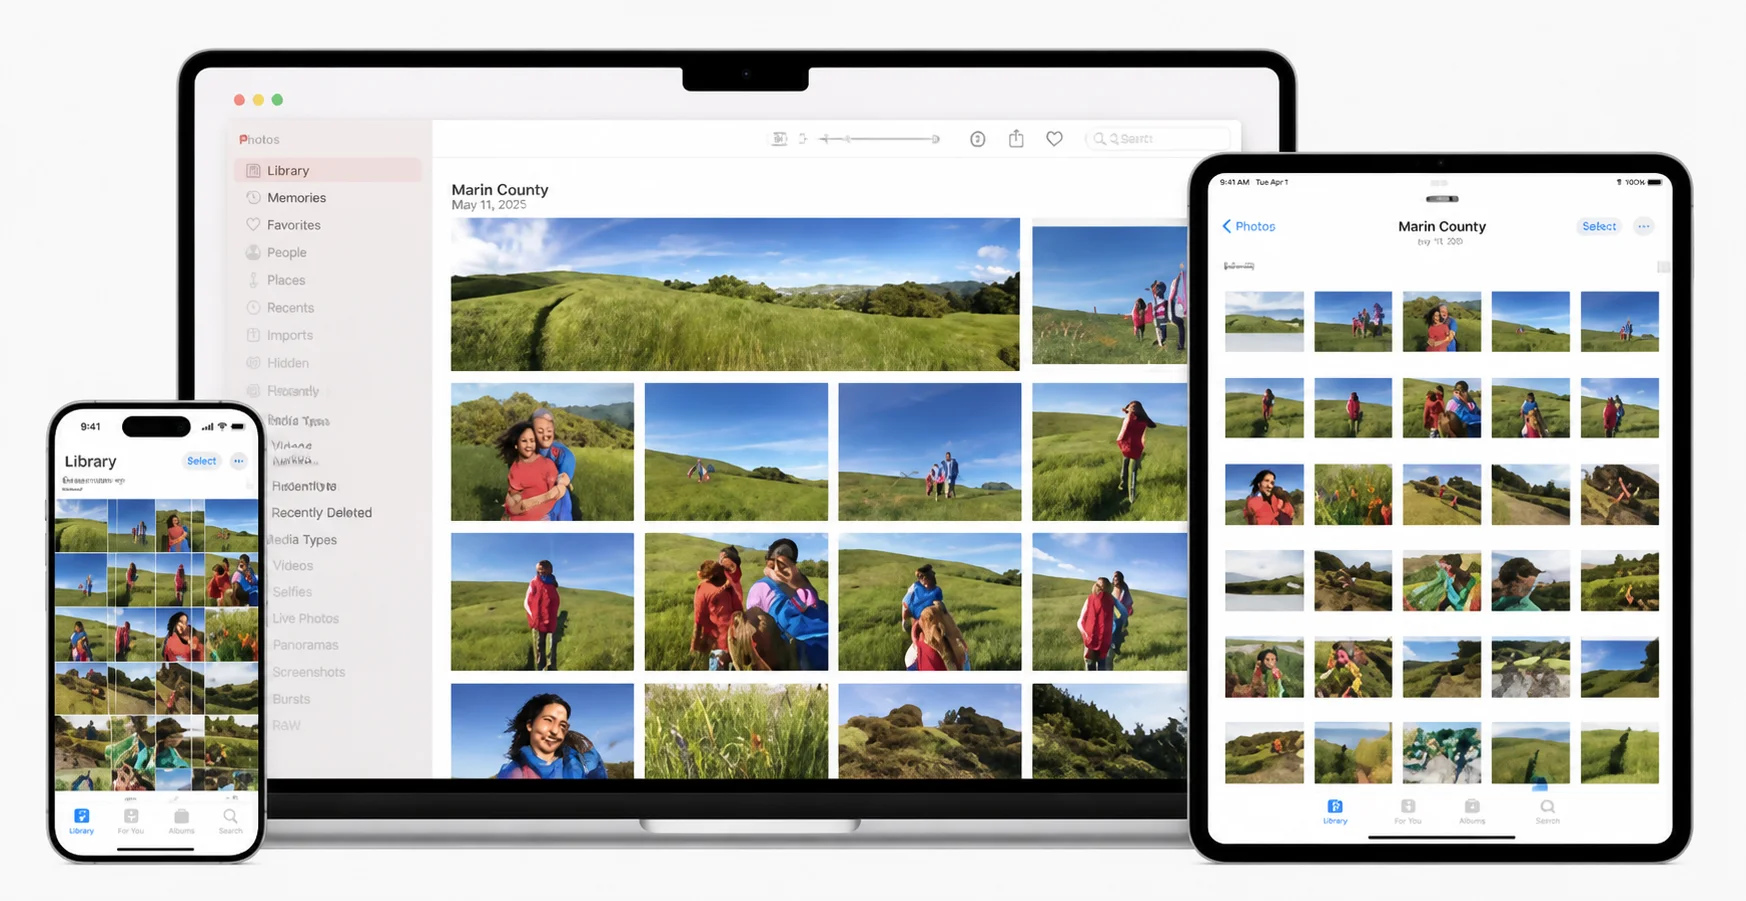
The downside: it’s a subscription (around $10/month) and the included cloud storage is limited at 20 GB on the base plan. Most serious shooters use Adobe CC for the editing workflow and pair it with a separate backup service for their full RAW archive.
Option 2: Backblaze or IDrive (Best for Backup-First Storage)
If your main goal is “make absolutely sure I never lose these files,” Backblaze Personal Backup takes care of this problem completely. For about $9/month, it backs up your entire computer, every folder, every photo directory, with no storage cap. Got a 500 GB RAW library sitting on your hard drive? Backblaze backs up all of it.
IDrive is another strong option, especially if you want to cover multiple computers or devices under one plan. Both services run quietly in the background and upload new files automatically as they land on your drive.
Just know that these are backup tools, not photo browsers. You won’t be scrolling through a pretty gallery or sharing albums from Backblaze. They handle the protection side of the equation, which is sometimes exactly what you need and nothing more.
Option 3: NAS + Cloud Backup (Best for Large Archives)
If you’re sitting on multiple terabytes of photos and video, a NAS (Network Attached Storage) device paired with off-site cloud backup is the gold standard. A NAS is basically a little box you plug into your home router that acts as your own personal media server, accessible from anywhere on your network, and configurable to automatically sync the important stuff to a cloud service like Backblaze B2 for off-site protection.
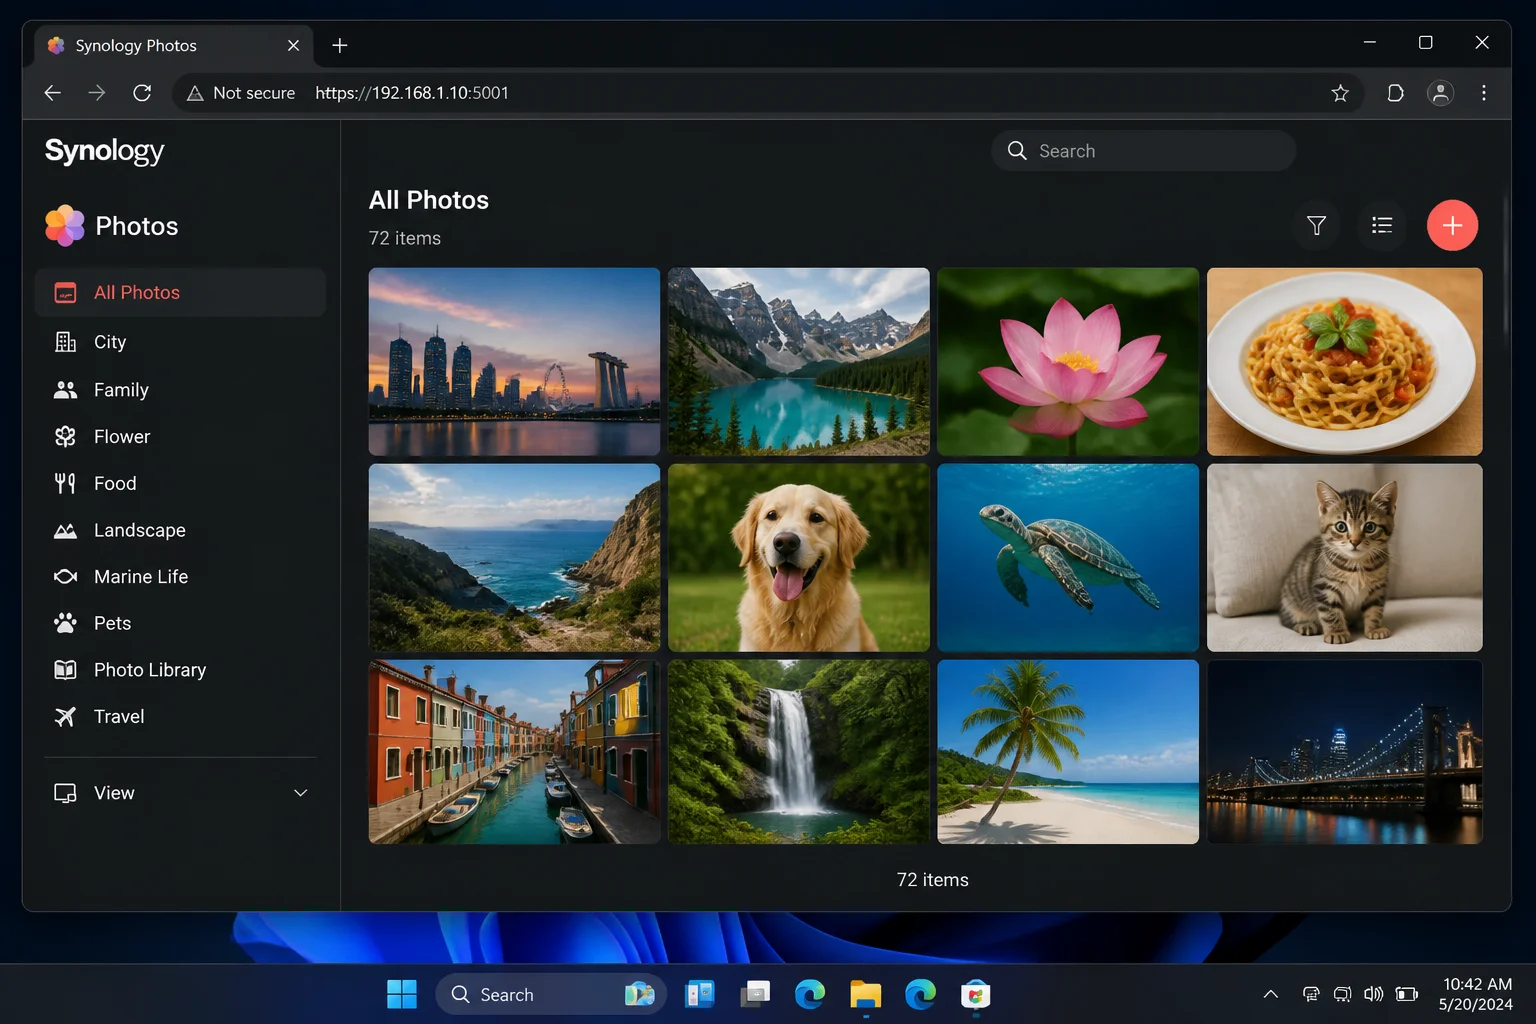
This setup directly addresses the “what if my whole local setup fails” scenario, if the NAS dies, the house floods, or anything else catastrophic happens, your photos are safe off-site. More upfront work, but for anyone with a serious photo or video archive, this solves the long-term storage problem in a way that no free consumer app can match.
The 3-2-1 Backup Rule (Seriously, Don’t Skip This)
Here’s something that trips a lot of people up: cloud sync is NOT the same as a backup. If you delete a photo on your phone, Google Photos or iCloud deletes it from the cloud too (after a short grace period), because that’s exactly what sync does. The 3-2-1 backup strategy is the standard approach photographers and IT professionals use to make sure photos are actually safe:
- 3 copies of your photos (original + 2 backups)
- 2 different storage types (e.g., phone + external hard drive, or computer + cloud)
- 1 off-site copy (cloud storage counts, if your house floods, your photos survive)
In practice, this looks like: photos live on your phone or computer (copy 1), you back up to an external hard drive periodically (copy 2, different storage type), and automatic cloud backup runs in the background (copy 3, off-site). That’s it. Three copies, two types, one off-site. It sounds like overkill until the day you actually need it.
Tips and Troubleshooting
Common Issues
Problem: My cloud storage fills up way too fast
Video is almost always the culprit. A single minute of 4K footage can be 400 MB or more. A few options to handle this:
- Switch to a service like Backblaze with no storage cap
- Store videos locally on a NAS or external drive and only upload photos to the cloud
- Enable Storage saver / compressed mode for video uploads
- Upgrade your storage plan, an extra 100 GB is usually just $2–3/month
Problem: I’m seeing duplicates everywhere after switching services
This happens when you import photos into a new service that you’ve already uploaded elsewhere. Google Photos won’t re-upload a photo it already has (it checks by file content, not just filename), which helps a lot. For your local library, a free tool like dupeGuru can scan and identify duplicates before you do a big upload.
Problem: My RAW files aren’t displaying correctly
Not every cloud service handles RAW files equally. Google Photos supports most common RAW formats but may display a compressed JPEG preview rather than the true RAW. iCloud supports Apple ProRAW and most standard RAW formats from other manufacturers. If you shoot RAW regularly and need proper color grading and metadata handling, Adobe Lightroom + Creative Cloud is genuinely the right tool, it was built for exactly this.
Security Checklist
Your photo library is personal, treat it like it is. Quick checklist before you call it done:
- Enable two-factor authentication (2FA): Do this on every cloud account. It’s the single most effective thing you can do to keep your photos out of someone else’s hands.
- Keep at least one local backup too: Cloud-only storage isn’t a complete backup strategy. An external hard drive is cheap insurance against account issues, service outages, or shutdowns.
- Test your restores periodically: Every few months, download a handful of photos from your cloud service just to confirm they’re actually there and usable. Finding out your backup is broken when disaster strikes is the absolute worst.
- Set up account recovery options: Add a recovery email and phone number to all your cloud accounts now, while you can, don’t wait until you’re locked out.
Pro Tips
- Upload on Wi-Fi only: Most apps default to this, but double-check. You don’t want a surprise overage charge from uploading 20 GB of vacation videos on cellular.
- Verify your backup is covering the right folders: It’s easy to miss a folder of camera imports or screenshots that live outside your main photo library. Check your app settings to make sure it’s watching the right directories.
- Use Google Photos’ “Free Up Space” feature: Once photos are safely backed up, this feature removes local copies from your phone automatically, a great way to reclaim storage without losing anything.
- Don’t rely on Facebook or Instagram as a backup: They compress your photos significantly and don’t make bulk downloads easy. They’re for sharing, not archiving.
Which Setup Is Right for You?
| Your Situation | Recommended Setup |
|---|---|
| iPhone user who wants it simple | iCloud Photos (auto-enabled) + external hard drive for local backup |
| Android user or cross-platform household | Google Photos + external hard drive for local backup |
| Shooting RAW in Lightroom | Adobe CC Photography + Backblaze for full-drive backup |
| Large RAW and 4K video archive | NAS at home + Backblaze B2 or similar for off-site backup |
| Multiple devices, budget-conscious | IDrive (covers multiple devices) + Google Photos for browsing and sharing |
Once this is set up, you’ll find you’re no longer dealing with that low-level anxiety every time your phone storage gets full or your hard drive starts making a weird noise. Set up automatic cloud backup, keep a local copy too, and then just go take photos, that’s the goal, and you’ve solved it. If you’re not sure which service fits your situation best, drop a question in the comments and I’ll help you work it out.