
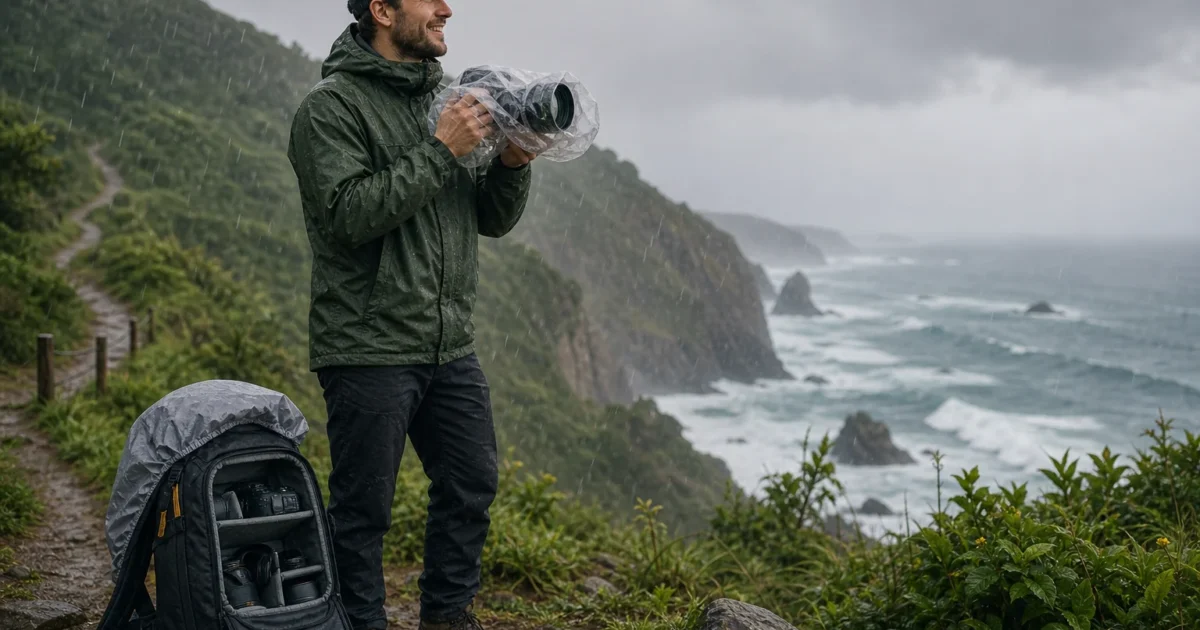
Taking your camera along on a trip catches your eye the moment you start packing. Why not capture those memories properly, right? But then you find yourself caught in a surprise downpour halfway through a coastal hike, desperately shielding your gear with your jacket, and suddenly you realize nobody actually told you how to handle this.
Here’s the good news: keeping your camera safe from rain, cold, theft, and all the other chaos that comes with travel is genuinely simple once you know what to pack and what to do. In this guide, you’ll get everything you need, from dedicated rain covers (including some budget-friendly hacks) to a sneaky threat most photographers don’t think about until it’s too late: condensation.
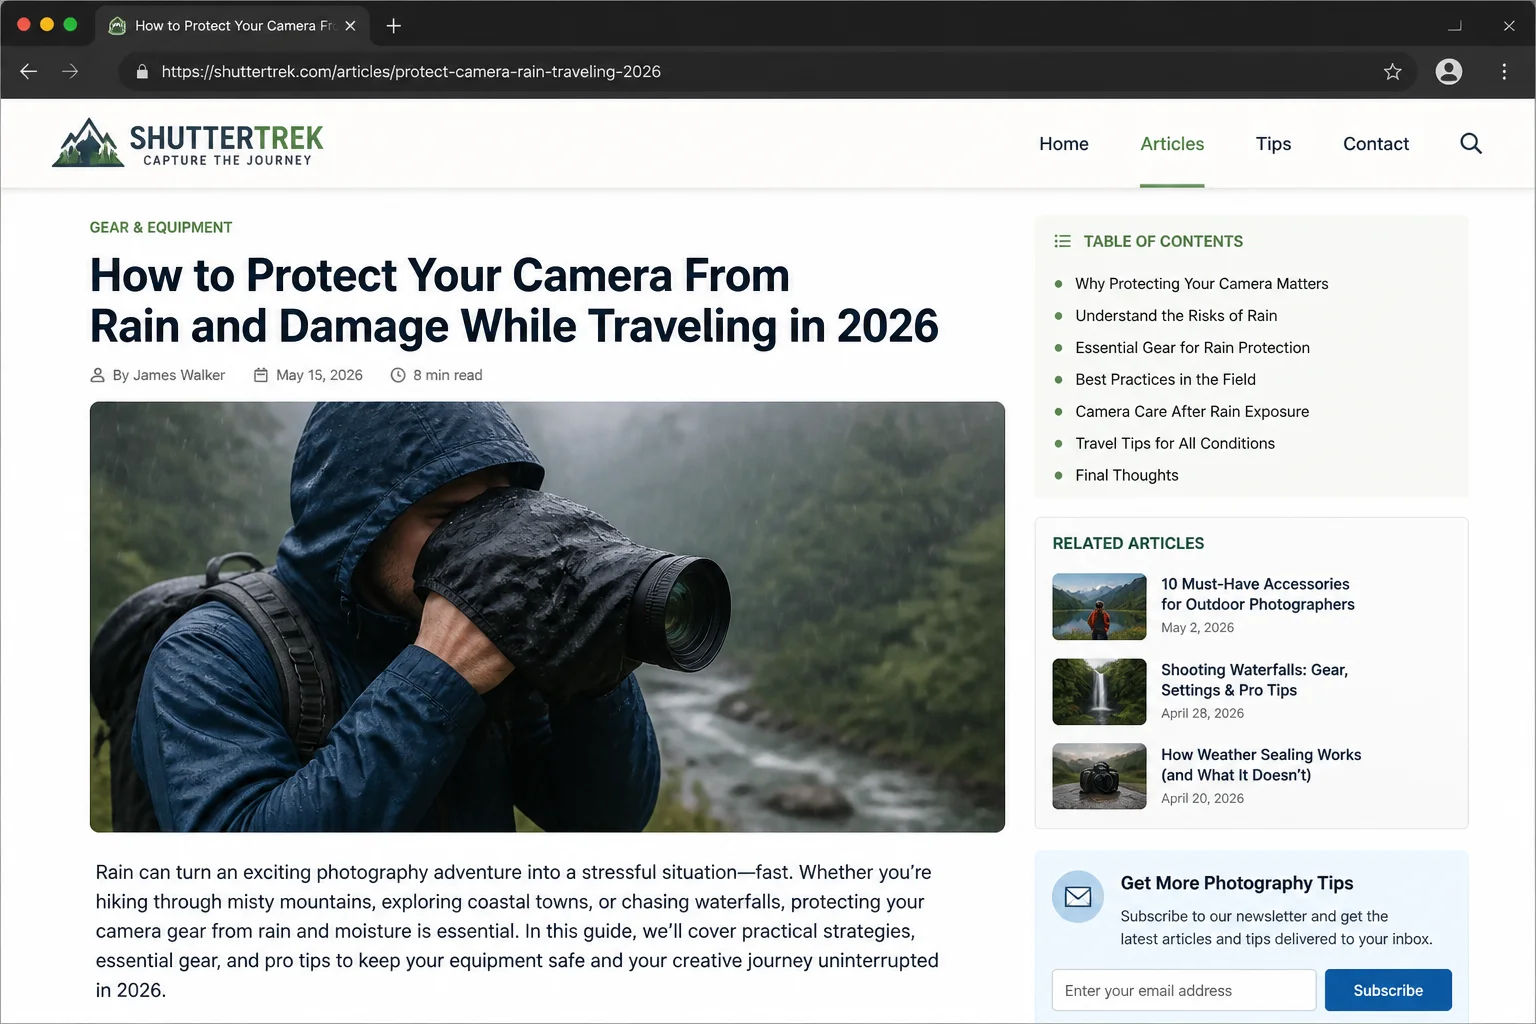
Start With the Right Camera Bag (One With a Rain Cover)
The single most important thing you can do for your camera’s safety on any trip is bring a proper camera bag, and actually use it. A good travel camera bag protects against bumps, dirt, sand, extreme temperatures, and rain. Leaving it at the hotel while you wander around with your camera out is a gamble you really don’t want to take.
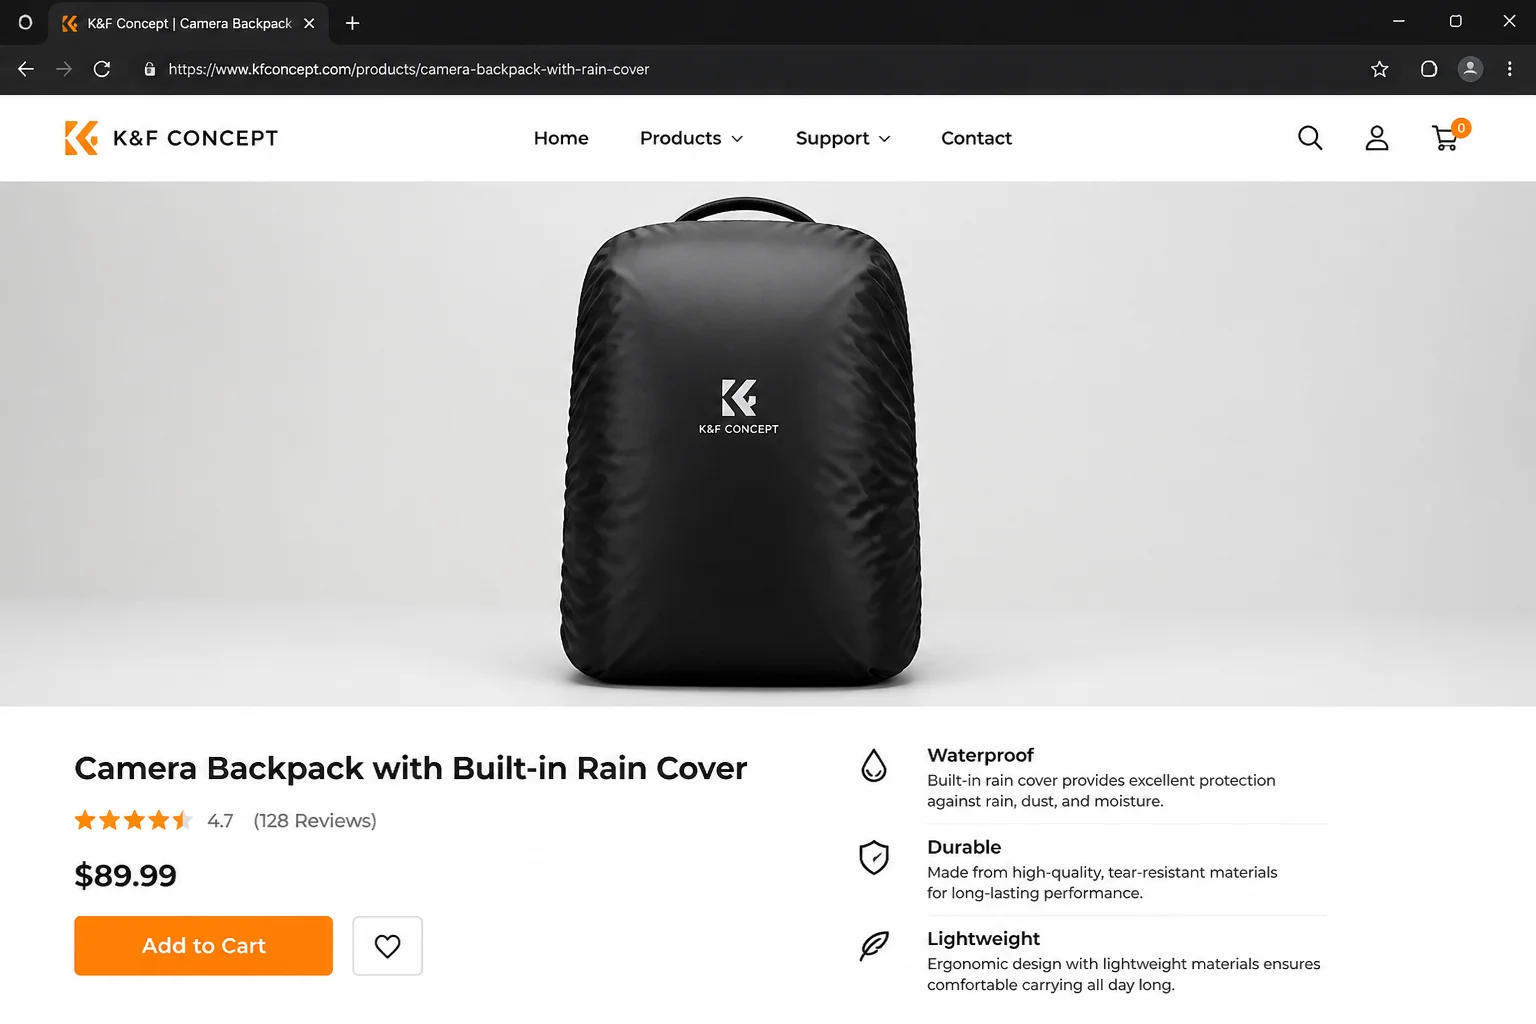
In 2026, most quality camera backpacks come with a built-in rain cover that folds out from a hidden pocket, or they use water-resistant fabric with sealed zippers. Look for one of these when picking your bag. If your current bag doesn’t have a built-in cover, you can grab a separate one that slips over the outside; they’re inexpensive and widely available. You can also check out guides on backing up photos to ensure your memories are safe.
One more thing worth tossing into your bag: a few silica gel packs. You know those little desiccant packets stuffed inside new shoe boxes and electronics? Those. They absorb ambient moisture and help keep the inside of your bag dry on humid days or during light rain. A multi-pack costs next to nothing and is absolutely worth it.
If you like keeping your camera out and ready to shoot while walking around, a neck strap or wrist strap is your best friend. It prevents accidental drops and makes walking with your camera far more comfortable, so you’re not constantly clutching it with both hands.
Get a Dedicated Rain Cover: Your Camera Isn’t As Weatherproof As You Think
Here’s something a lot of people don’t realize until it’s too late: weather sealing is not the same as waterproofing. Even if your camera’s spec sheet says “weather resistant,” that only means it can handle a light drizzle for a short period, not a sustained downpour. After about 15–20 minutes of real rain, moisture can work its way in through the lens mount, battery door, card slot, and port covers, even on high-end camera bodies.
For anything beyond a light drizzle, you need a dedicated rain cover, a purpose-built sleeve or canopy that fully wraps around your camera and lens. Here’s what’s available in 2026:
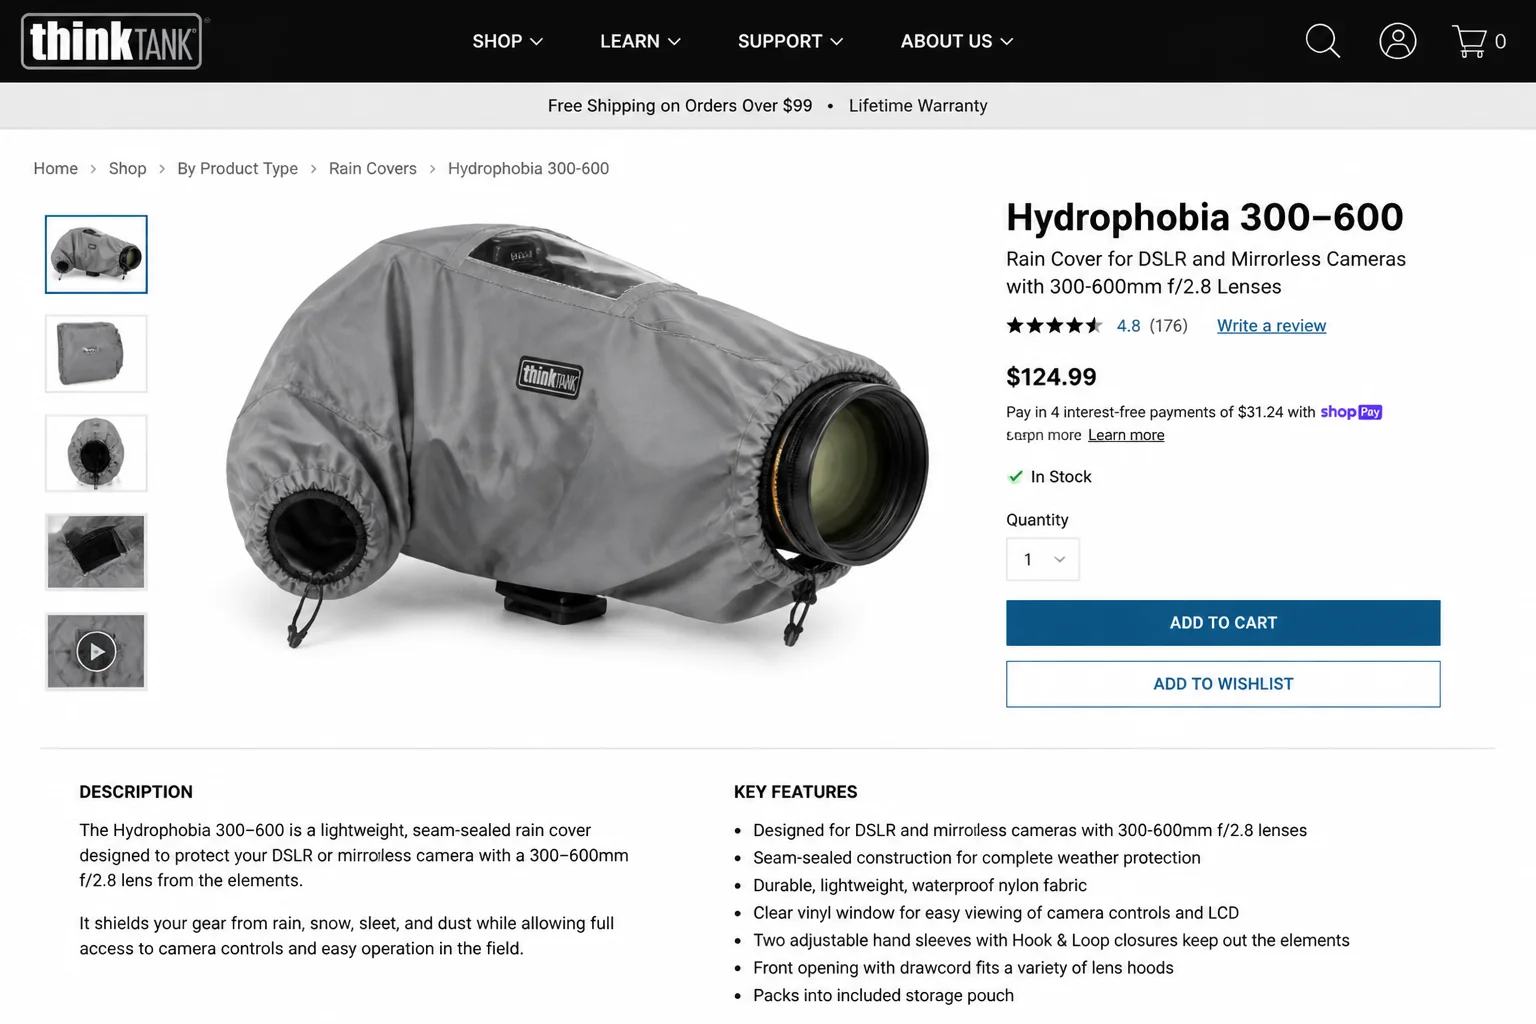
- Think Tank Hydrophobia V3.0: One of the most trusted options for serious outdoor shooting. It comes in five sizes for DSLR and full-frame mirrorless cameras and uses seam-sealed, 3-layer material that handles downpours and dusty conditions alike. Built-in hand sleeves let you adjust camera controls without fully exposing the body to the elements. Nicely done.
- Think Tank Emergency Rain Covers: Lighter and faster to deploy, designed for unexpected showers. Think of these as your “oh no, the sky just opened up” emergency kit. Keep a set folded in your bag at all times.
- Camera Canopy: A rigid, transparent cover that mounts to your hot shoe (the small bracket on top of your camera used for flashes and accessories) or tripod. It’s cleverly designed so you can see and access all your controls clearly while the camera stays covered, and wildlife and sports photographers love these.
- Disposable rain sleeves: Cheap, compact packs of sleeves you can stuff into any bag pocket. Not as durable or well-fitting as purpose-built covers, but a solid emergency backup that’s always good to have along.
Here’s something every rain cover guide will tell you, and it’s genuinely important: put the cover on before the rain starts. If you wait until it’s already pouring and your camera is wet, moisture can get trapped under the cover when you put it on. That’s the opposite of what you want.
The Budget Hack: A Zip-Lock Bag Actually Works
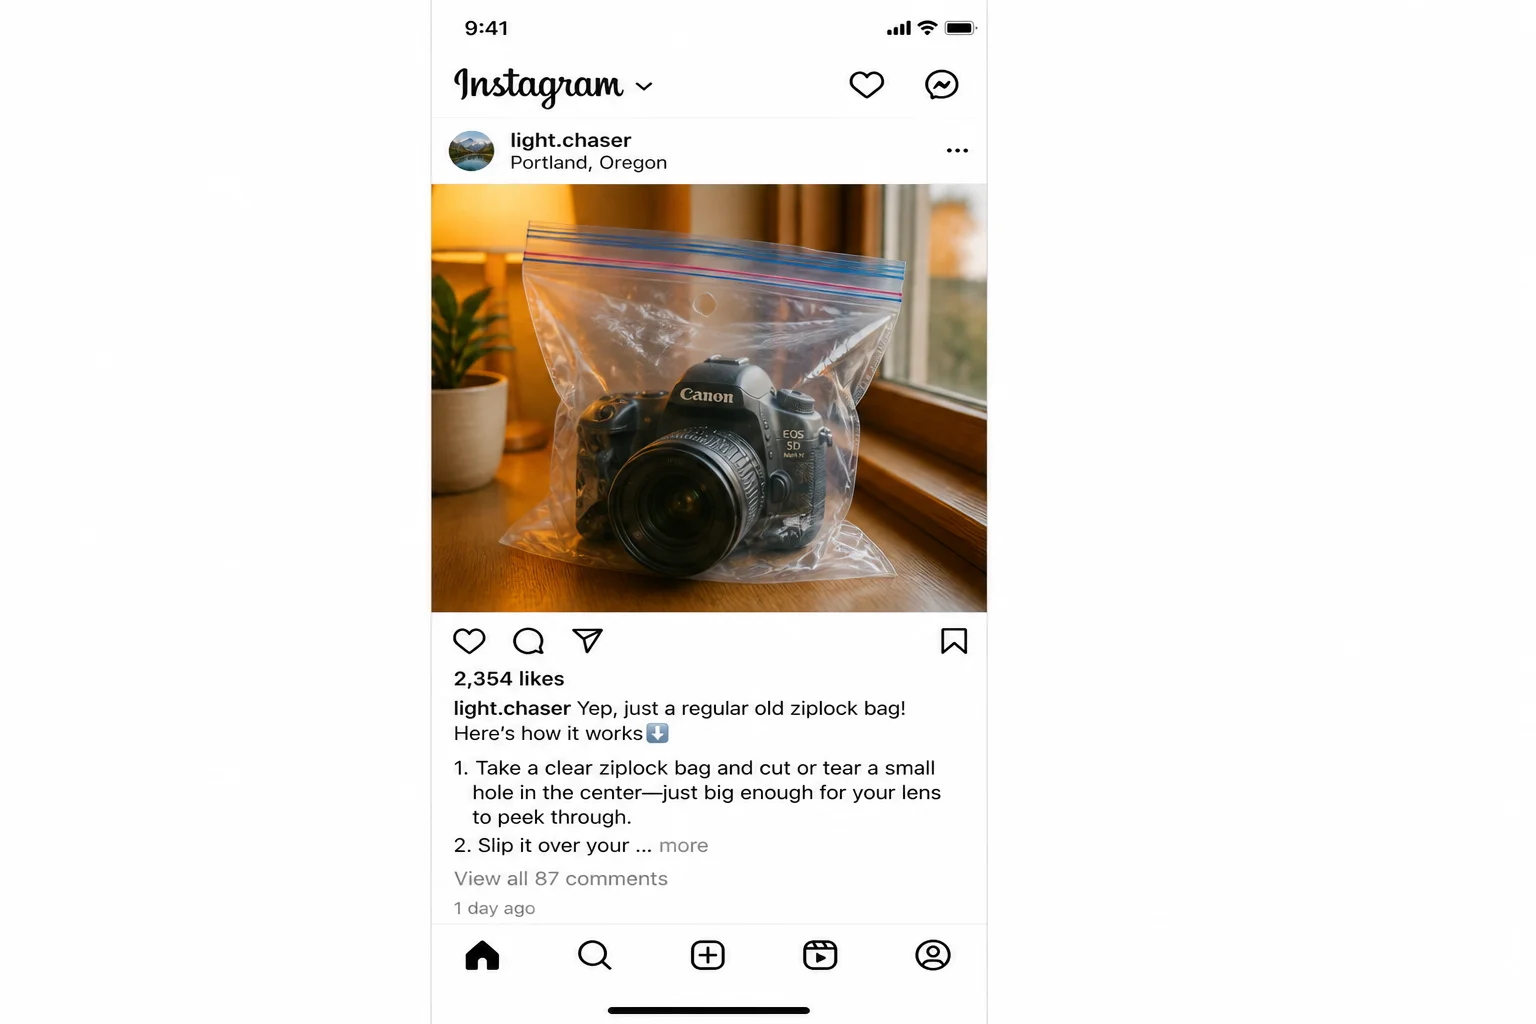
Not ready to invest in a dedicated cover just yet? Here’s a trick photographers have been using for years. It looks a bit silly but it actually works smoothly: grab a gallon-size zip-lock bag, put your camera in it with the lens poking out through one corner, and zip it mostly closed. You can still see and press the buttons through the clear plastic, and it keeps the rain off.
It won’t survive a monsoon, but for a surprise shower while you’re out exploring? Clever enough. Keep a couple of these in your bag at all times as a backup; they weigh almost nothing and cost almost nothing. For more tips on fixing slow Wi-Fi or travel accessories, check out our other guides.
Shooting in the Rain: Light Drizzle vs. Heavy Downpour
When It’s Just Drizzling
Light rain and mist are manageable if your camera has weather sealing and you take a few precautions:
- Use a lens hood: It keeps water droplets off the front glass of your lens, which is the last place you want them landing mid-shoot.
- Wipe the body and lens regularly: Keep a microfiber cloth in your jacket pocket and give the camera a quick wipe every few minutes. Don’t let water sit on the body.
- Avoid pointing the camera upward: Rain runs into the gaps around buttons and ports surprisingly fast. Keep the camera angled downward whenever you’re not actively shooting.
- Use an umbrella: Hold a small umbrella over the camera while shooting, or clip a tripod umbrella clamp to one of your tripod legs for hands-free protection. Yes, those exist, and they’re genuinely useful. You can find more information on smartwatch accessories or tablet reviews on our website.
When It’s Really Raining
Heavy or sustained rain is a different situation; weather sealing alone won’t cut it. This is when a dedicated cover earns its keep:
- Fit your rain cover or canopy over the camera and lens before you head into the downpour.
- Practice using the cover at home beforehand so you already know how to access your controls. In the field, you don’t want to be reading instructions while standing in a storm.
- Keep your lens hood on inside the cover for extra protection on the front glass element.
- Avoid swapping lenses in the rain if you can help it; plan your shots in advance. If you absolutely must change lenses, find strong shelter first (a doorway, an awning, a wide umbrella) and keep the camera pointed downward to minimize water entry at the lens mount.
After the Shoot: Drying Out and Avoiding Condensation
Most people assume the danger is over once they step back inside. But here’s a trap that catches a lot of photographers off guard: condensation. When you bring a cold, rain-dampened camera into a warm room, moisture in the warm air condenses on the camera’s surfaces, and sometimes inside. For modern mirrorless cameras (which use electronic viewfinders instead of optical ones) and their sensitive electronics, this can actually be more damaging than the rain itself.
Here’s how to handle it the right way:
- Before you go inside, place the camera inside a sealed plastic bag or zip it into your closed camera backpack.
- Let it warm up gradually inside the bag; resist the urge to pull it out immediately and start reviewing your shots.
- Don’t open battery doors, memory card slots, or change lenses until the camera has fully warmed to room temperature. Give it at least 30 minutes.
- Remove the rain cover and let the camera air dry in a ventilated spot before putting it away.
- Check the battery compartment and card slot for any signs of moisture. If you find any, dry them out immediately and leave the doors open in a safe, dust-free spot until everything is completely dry.
- Refresh your silica gel packs regularly; once they’re saturated, they stop absorbing moisture. Most can be recharged by placing them in a warm oven for 30–60 minutes.
Bring Extra Batteries and SD Cards
Cold weather is genuinely brutal on camera batteries; it can drain them in a fraction of the normal time. If you’re heading somewhere cold, pack multiple fully charged batteries and keep the spares inside your insulated camera bag. An old trick that still works beautifully: tuck spare batteries in an inside jacket pocket, close to your body, to keep them warm between swaps.
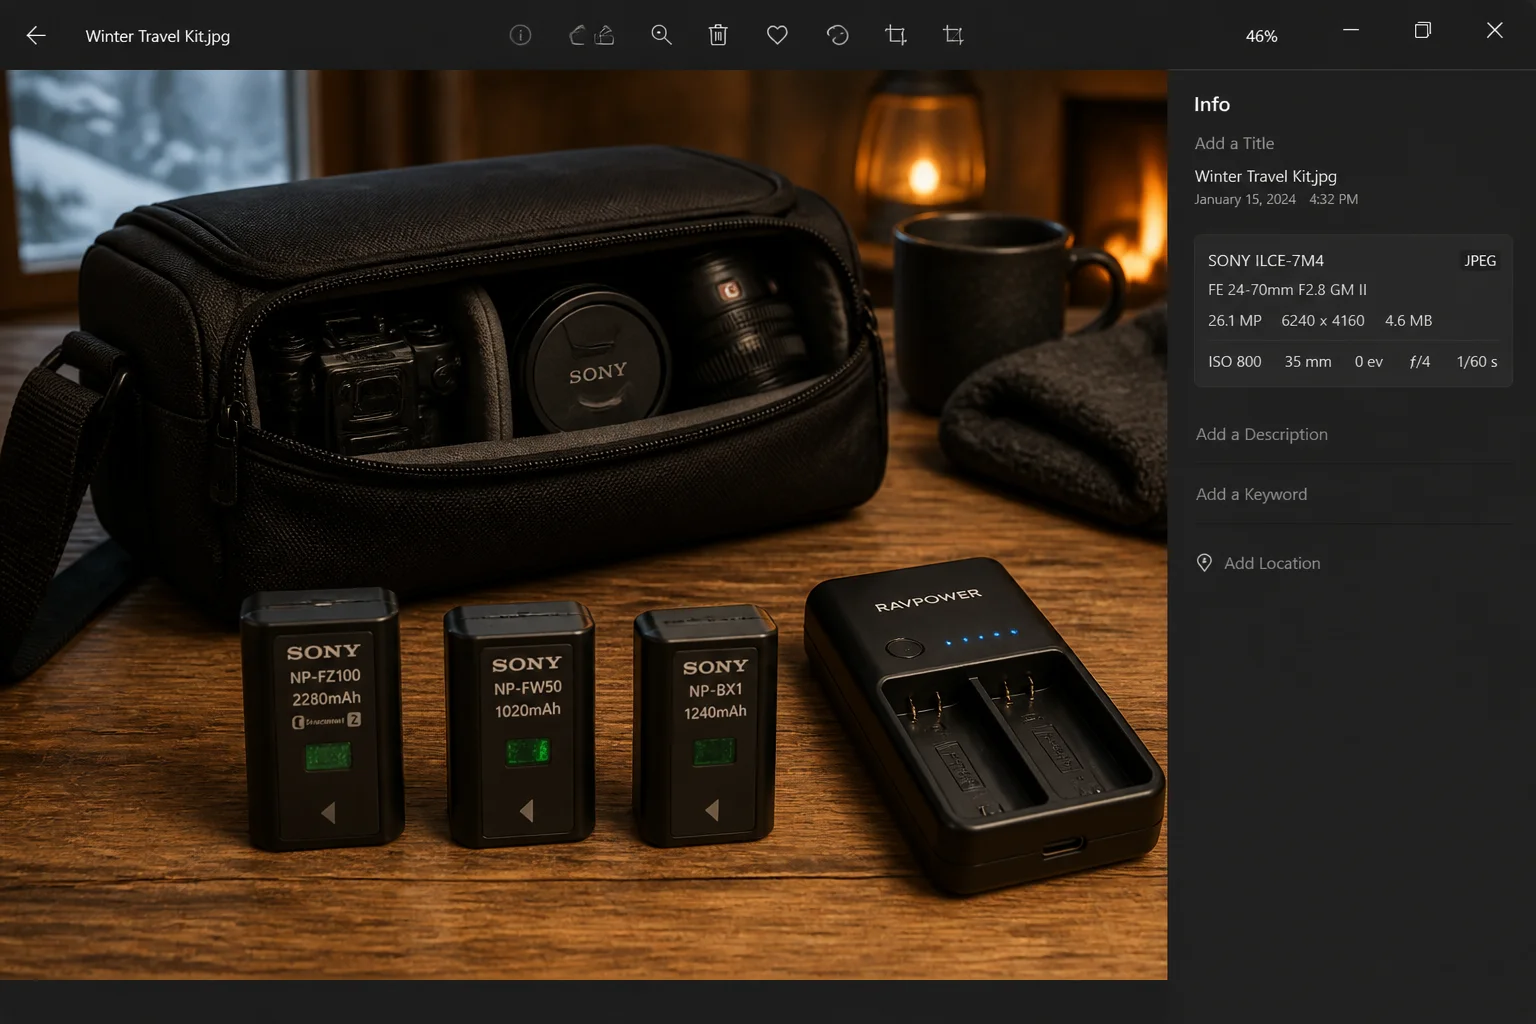
For memory cards, think about using multiple smaller SD cards instead of one massive card. If a single card gets corrupted or physically damaged, you’ve lost everything on it. Spread your photos across two or three cards and you’ve dramatically reduced that risk. You can even designate one card purely as a daily backup and offload your shots to it at the end of each day.
Consider De-Branding Your Camera
A shiny Canon or Nikon logo in a busy tourist area is basically a neon sign that says “expensive gear here.” A simple fix: cover any visible branding with a strip of black gaffer tape (or electrical tape). It won’t fool a professional thief, but it removes the obvious visual signal that you’re carrying something pricey.
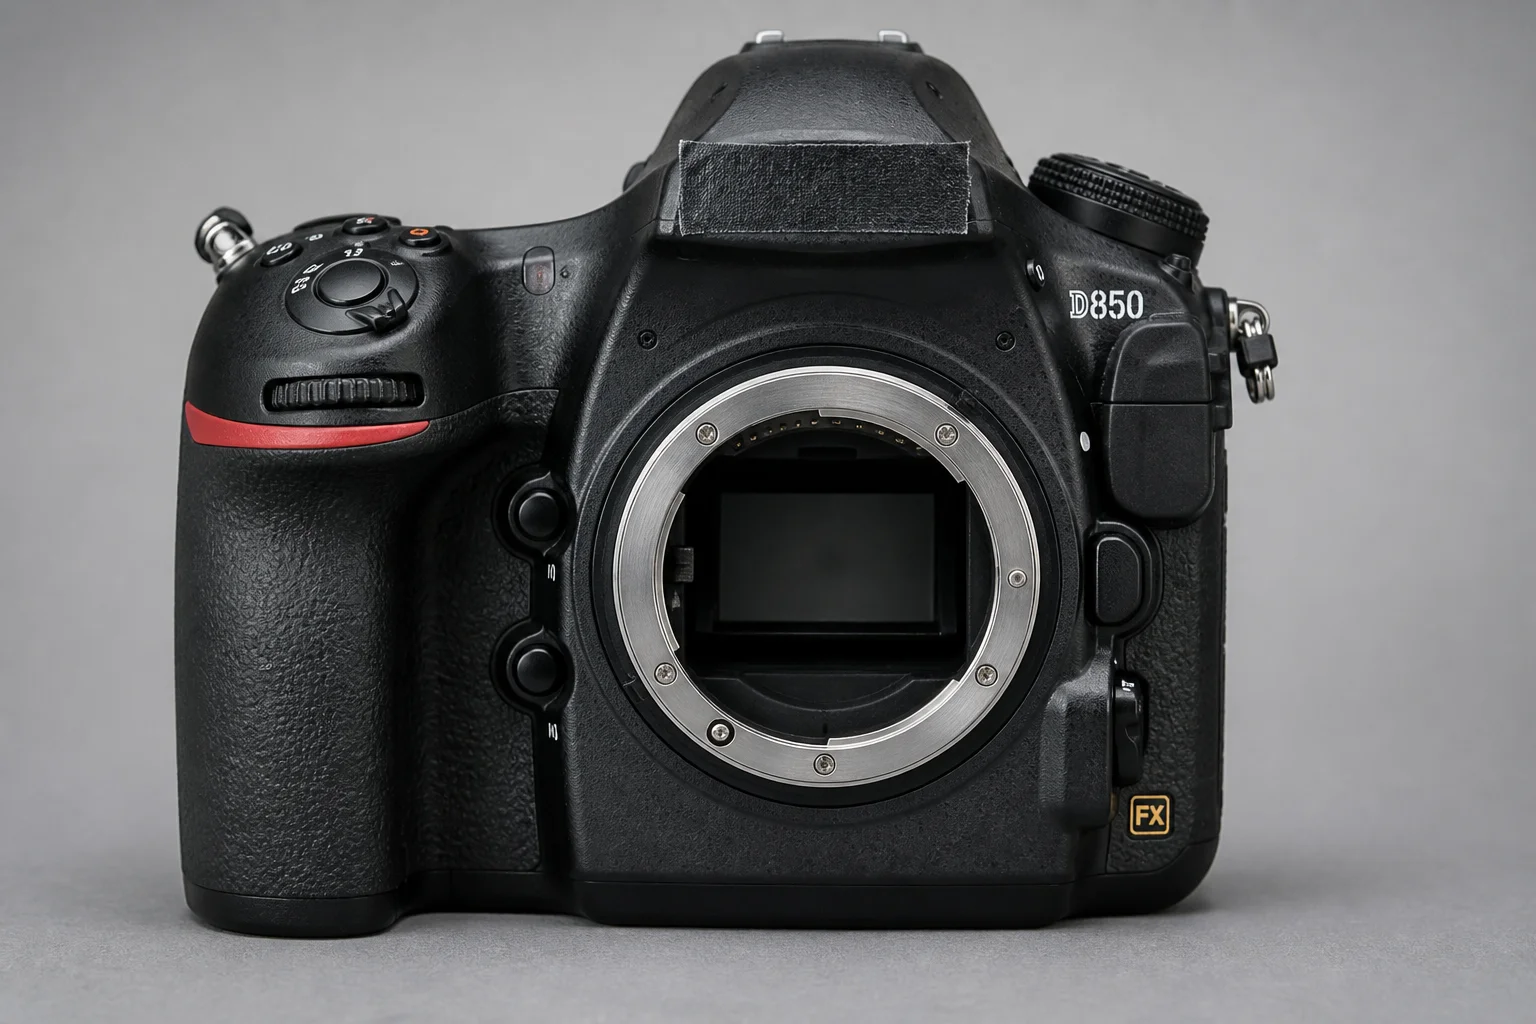
If you have a large, obviously professional camera, tape alone might not make much of a difference. In that case, it might be worth bringing a more compact mirrorless or travel camera for trips to crowded cities or anywhere that flashing expensive gear feels unwise. Skip the branded neck straps too; they’re just free advertising for whatever’s hanging around your neck.
Keep Your Gear With You and Keep a List
This sounds obvious, but it’s easy to get complacent after a long day of sightseeing:
- On flights: Always bring your camera as carry-on luggage; never check it. Baggage handlers aren’t always gentle, and lost checked bags happen to real people more often than you’d think.
- In taxis and rideshares: Keep the bag on your lap or between your feet, not in the trunk where it’s out of sight and out of reach.
- At restaurants and cafes: Loop the strap around your chair leg or keep the bag in your lap. Don’t set it on the floor beside you where it can be quietly grabbed.
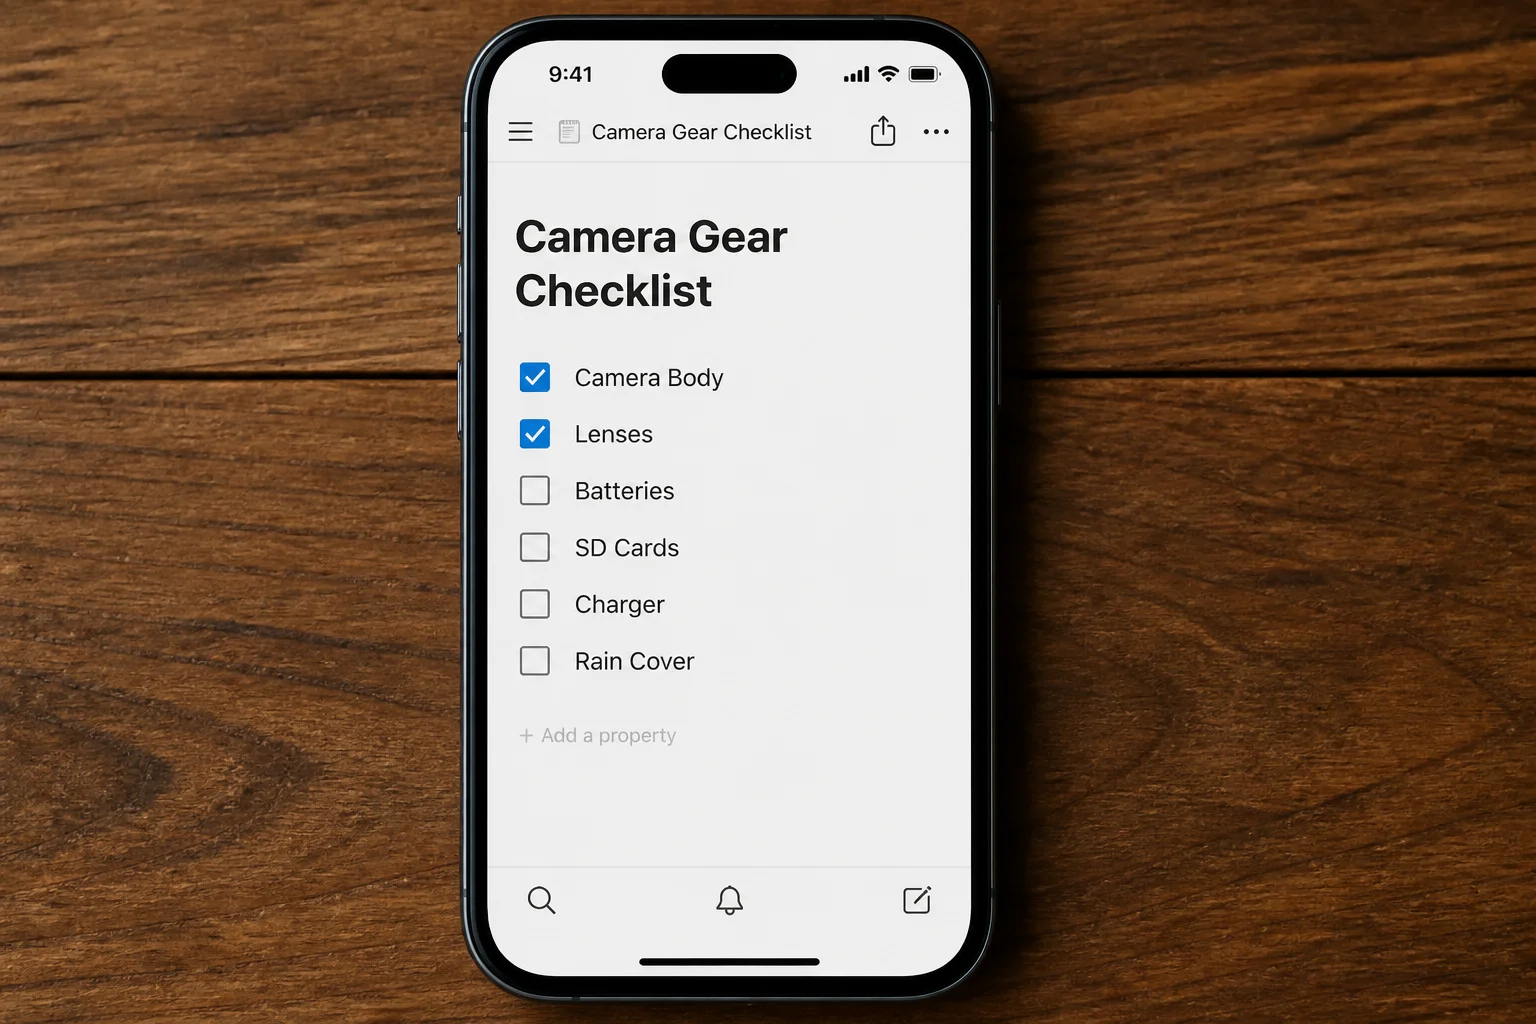
When you’re moving between hotels, Airbnbs, and day trips, keep a simple gear checklist on your phone, or on paper if you prefer the old-school approach. List every item you’re traveling with: camera body, lenses, batteries, SD cards, charger, rain cover. Do a quick headcount before you leave any room where you’ve unpacked your gear. It takes 30 seconds and can save you a lot of heartache. For more information on waterproof camera bags or camera backpacks, check out these resources.
Frequently Asked Questions
Is my weather-sealed camera safe in heavy rain? Only for brief, light exposure. Extended downpours can force moisture through lens mounts, buttons, and port covers, even on high-end bodies. Always use a physical rain cover for sustained rain; don’t rely on weather sealing alone.
Do I really need a dedicated cover if I have a zip-lock bag? A zip-lock bag works great as an emergency backup, but a purpose-built cover fits better, keeps your hands drier, and holds up far better over time. Keep both: the cover for when you know rain is coming, the bag as an emergency option in your kit.
How do I prevent condensation when going indoors after shooting in the cold? Seal the camera in a bag or backpack before going inside, and let it warm up gradually inside the bag. Don’t open any compartments or change lenses until it’s fully at room temperature; give it at least 30 minutes.
Can rain damage my lens too, or just the camera body? Both. Moisture can sneak in through focus rings, zoom rings, and the lens mount. Protect the whole system, body and lens, and dry everything thoroughly after any rain exposure.
What’s the best budget protection kit for travel? A bag with a built-in rain cover, a lens hood, a few zip-lock bags, a pack of disposable rain sleeves, and some silica gel packs. Strong protection for minimal cost, and most of these you probably already have at home.
Should I use a rugged or waterproof camera for adventure travel? If you’re doing water sports, kayaking, or shooting in heavy tropical rain, yes: a sport housing or dedicated waterproof compact camera is the right call. General “weather resistant” cameras simply aren’t designed for those conditions.
How do I know if water has gotten inside my camera? Watch for fogging in the viewfinder, sticky or unresponsive buttons, or visible moisture in the battery or card compartments. If you notice any of these signs, power off immediately, remove the battery, and dry everything out as thoroughly as possible. If problems persist after the camera has fully dried, take it to a camera repair shop before shooting again.
Wrapping Up
Protecting your camera while traveling sounds like a big production until you actually do it, and then you realize it’s mostly just smart preparation before you leave home. Get a bag with a rain cover, stash a zip-lock bag as a backup, manage condensation when you come in from the cold, and keep your gear close. Do those things and you’ll be shooting confidently in almost any conditions your trip throws at you.
If you want to invest in solid rain protection, the Think Tank rain covers are genuinely a gem, one of those accessories you’ll wonder how you ever traveled without. Bookmark this guide, pack smart, and go make some incredible photos out there! You can also check out all-weather covers for more protection options.