
Paying hundreds of dollars a month for Amazon S3 storage? I stumbled upon something that caught my eye while digging through my AWS bills: you can slash those costs by up to 90% just by moving older files to Amazon’s Glacier storage classes. Why not take a look at how this actually works?
Here’s the deal: storing 2,500 GB on regular S3 costs around $57 per month in 2026. Move that same data to S3 Glacier Deep Archive, and you’re looking at about $2.50 per month. That’s not a typo! It’s really that much cheaper for data you don’t access often.
What Are S3 Glacier Storage Classes?
Amazon Glacier used to be a completely separate service (which is why older guides talk about “vaults”), but it’s now fully integrated into S3 as different storage classes. Think of it like having different filing cabinets, some for stuff you need right away, others for things you might need eventually.
The current Glacier storage classes are:
- S3 Glacier Instant Retrieval: Access your files in milliseconds, but you pay for 90-day minimum storage
- S3 Glacier Flexible Retrieval: Files restored in minutes to hours (much faster than the old 3-5 hour wait), 90-day minimum
- S3 Glacier Deep Archive: Cheapest option at ~$0.00099/GB/month, but 180-day minimum storage and 5-12 hours to restore
The beauty is that your files stay in the same S3 bucket as you’re just changing their storage class behind the scenes.
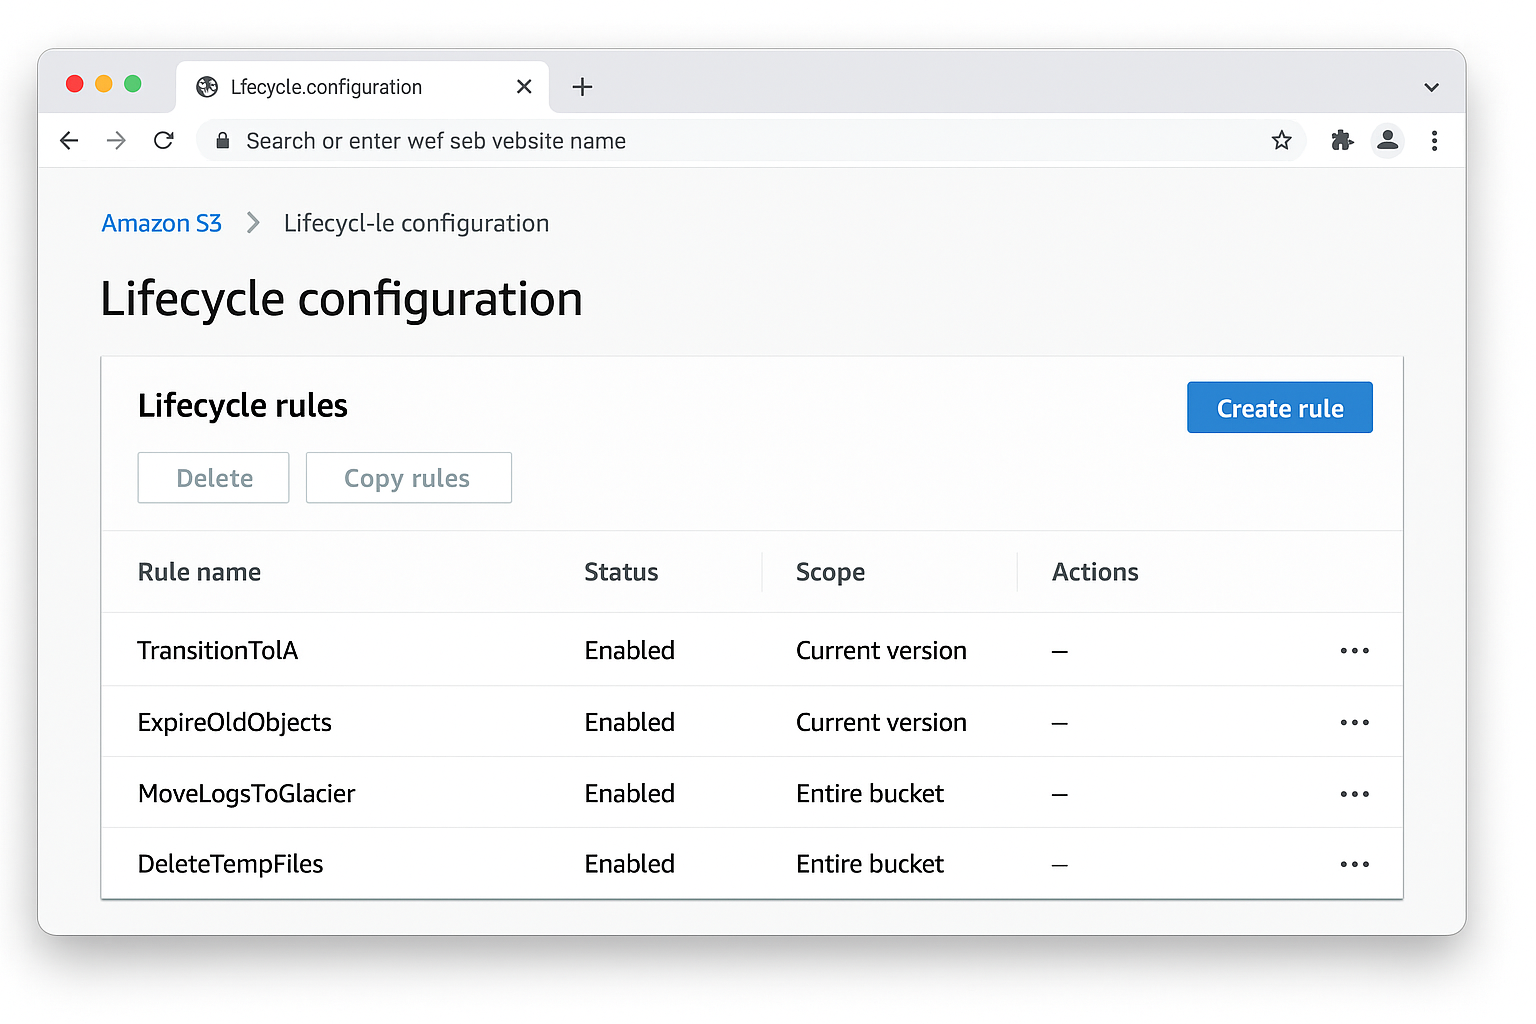
How to Set Up S3 Lifecycle Rules
The easiest way to move data to Glacier is using lifecycle rules. These automatically transition your files based on age, so you set it once and forget about it.
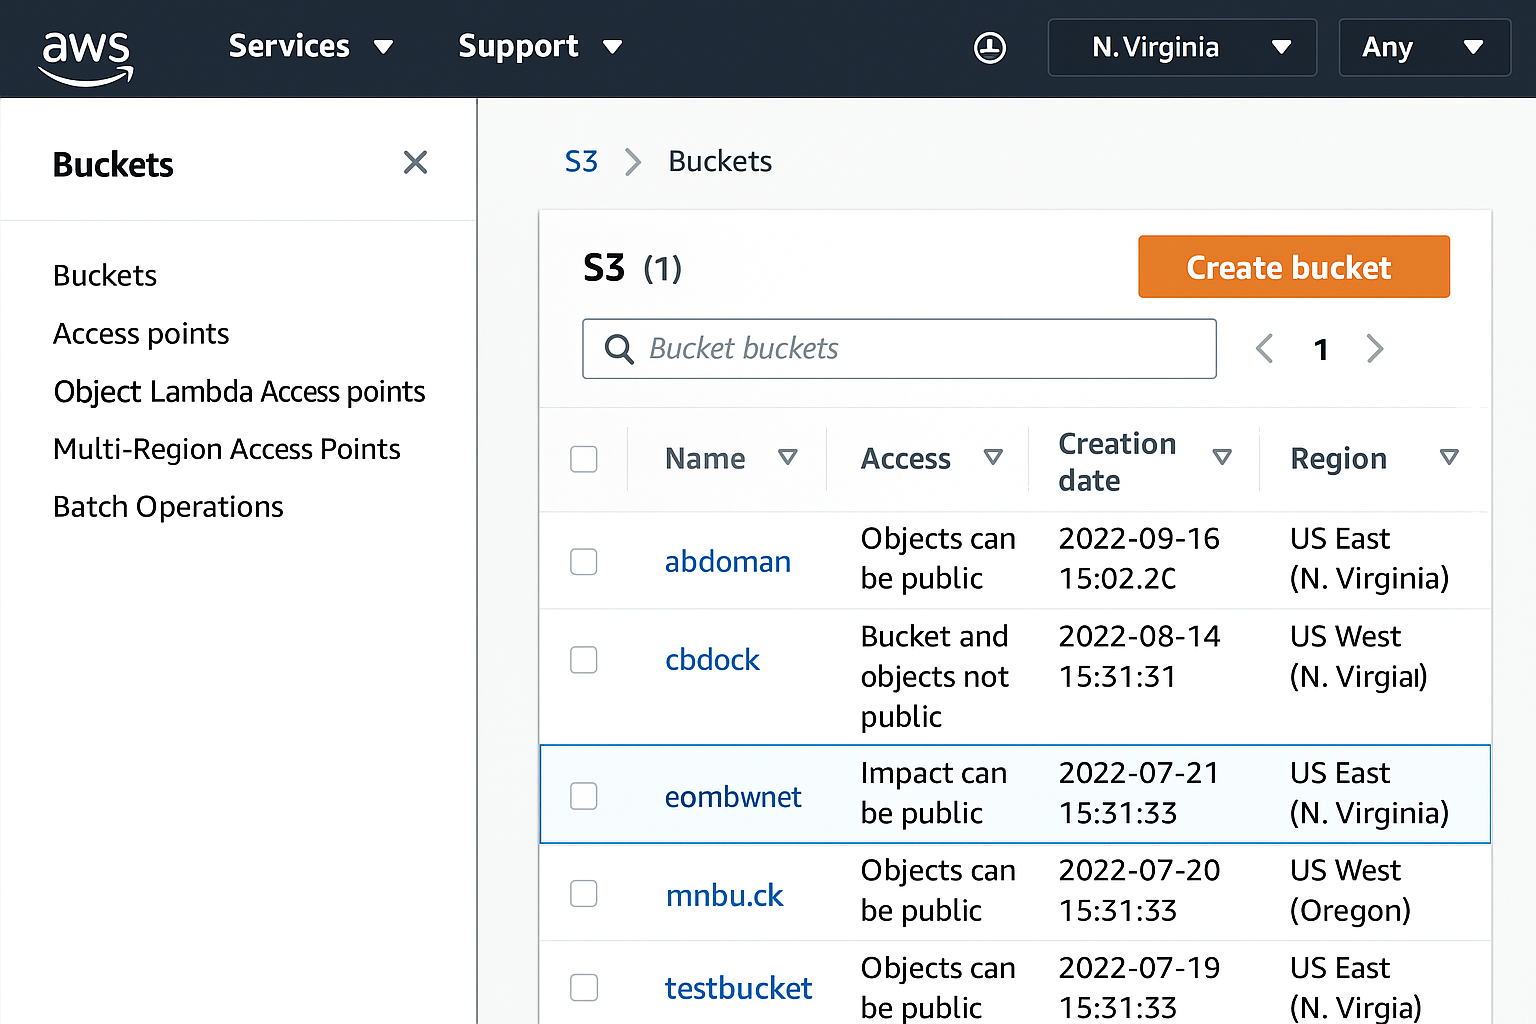
Step 1: Access Your S3 Bucket
Log into the AWS Management Console and navigate to S3. Click on the bucket containing the data you want to move to Glacier.
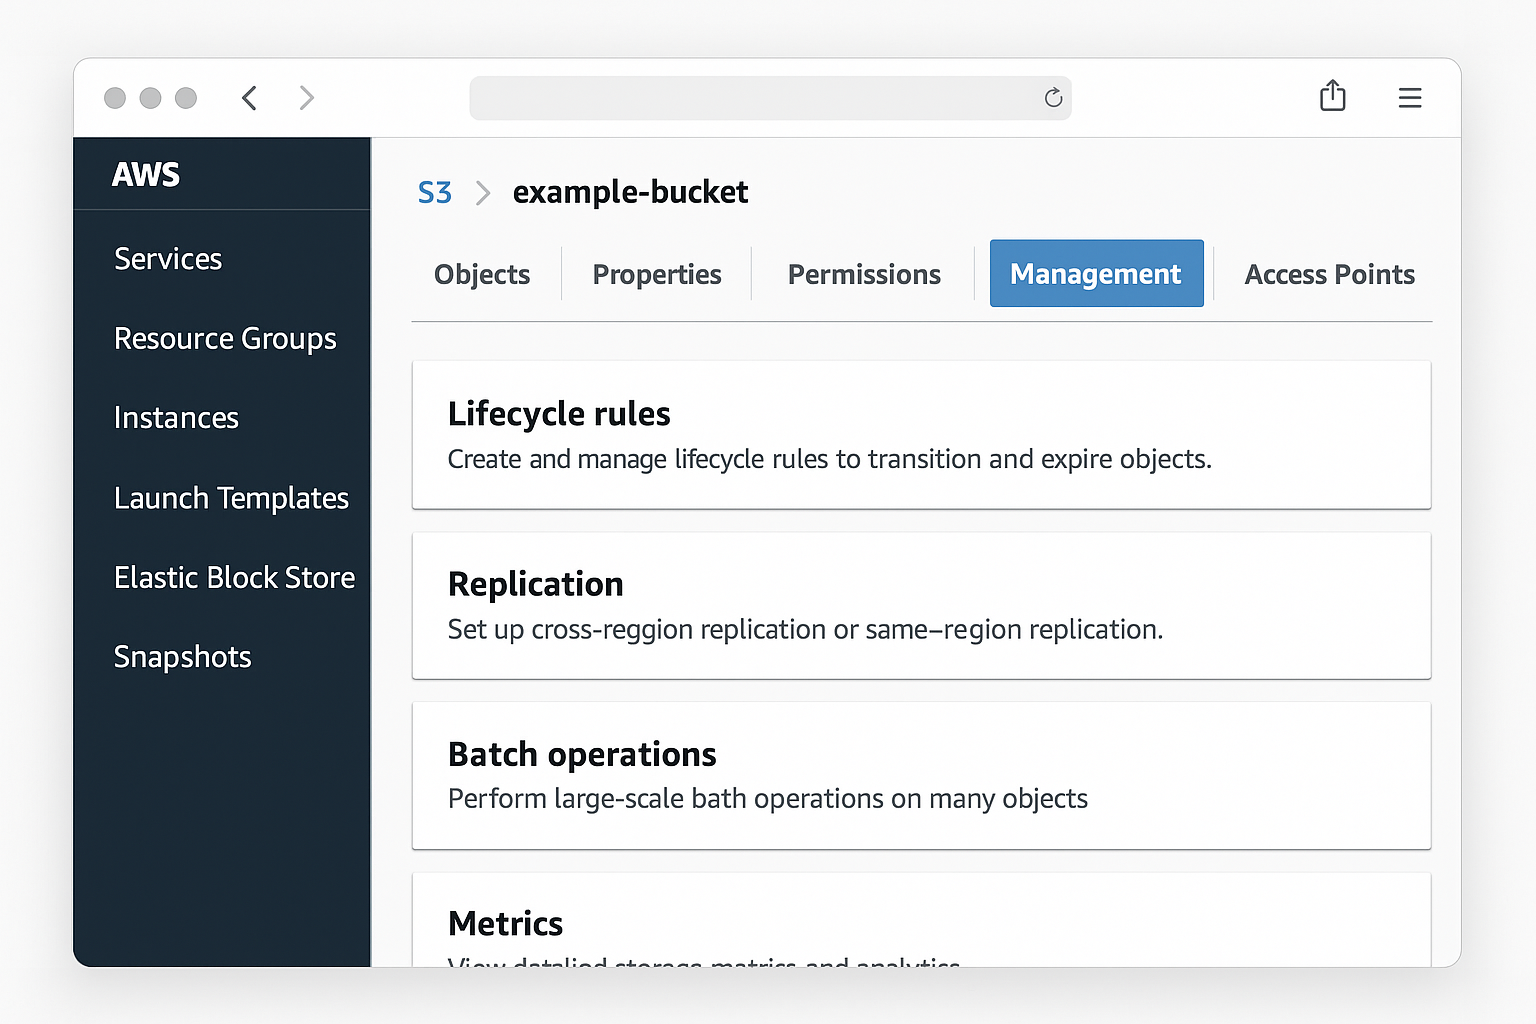
Step 2: Open the Management Tab
Once inside your bucket, click the Management tab at the top. This is where all the lifecycle magic happens.
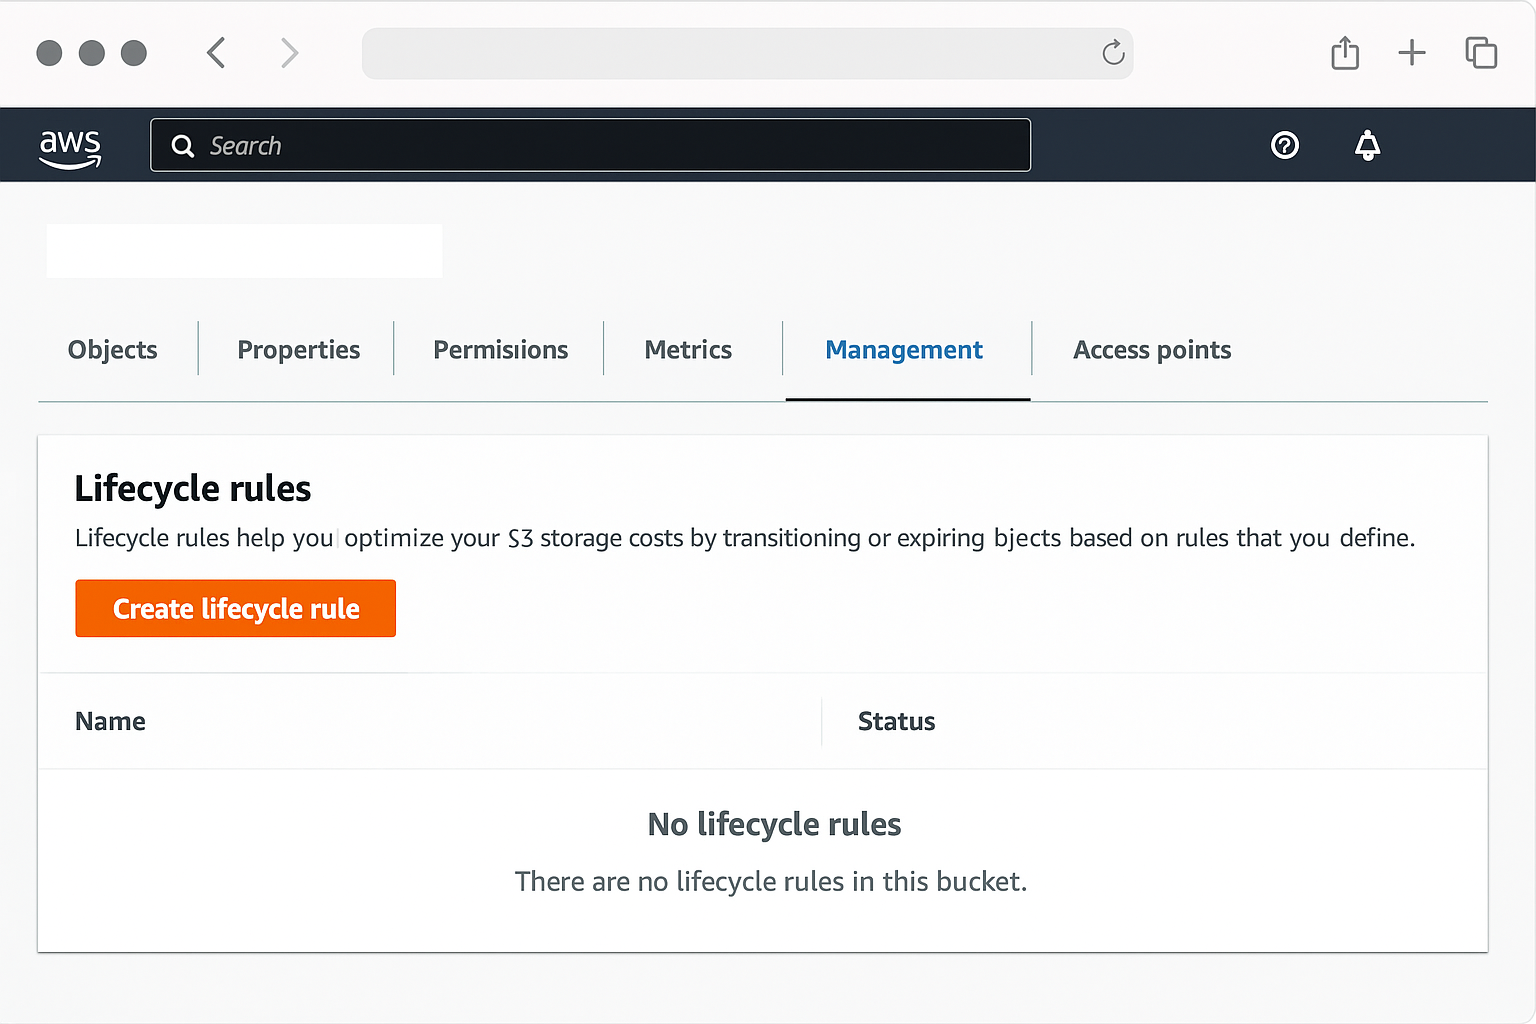
Step 3: Create a Lifecycle Rule
Click Create lifecycle rule to start setting up your automatic transitions.
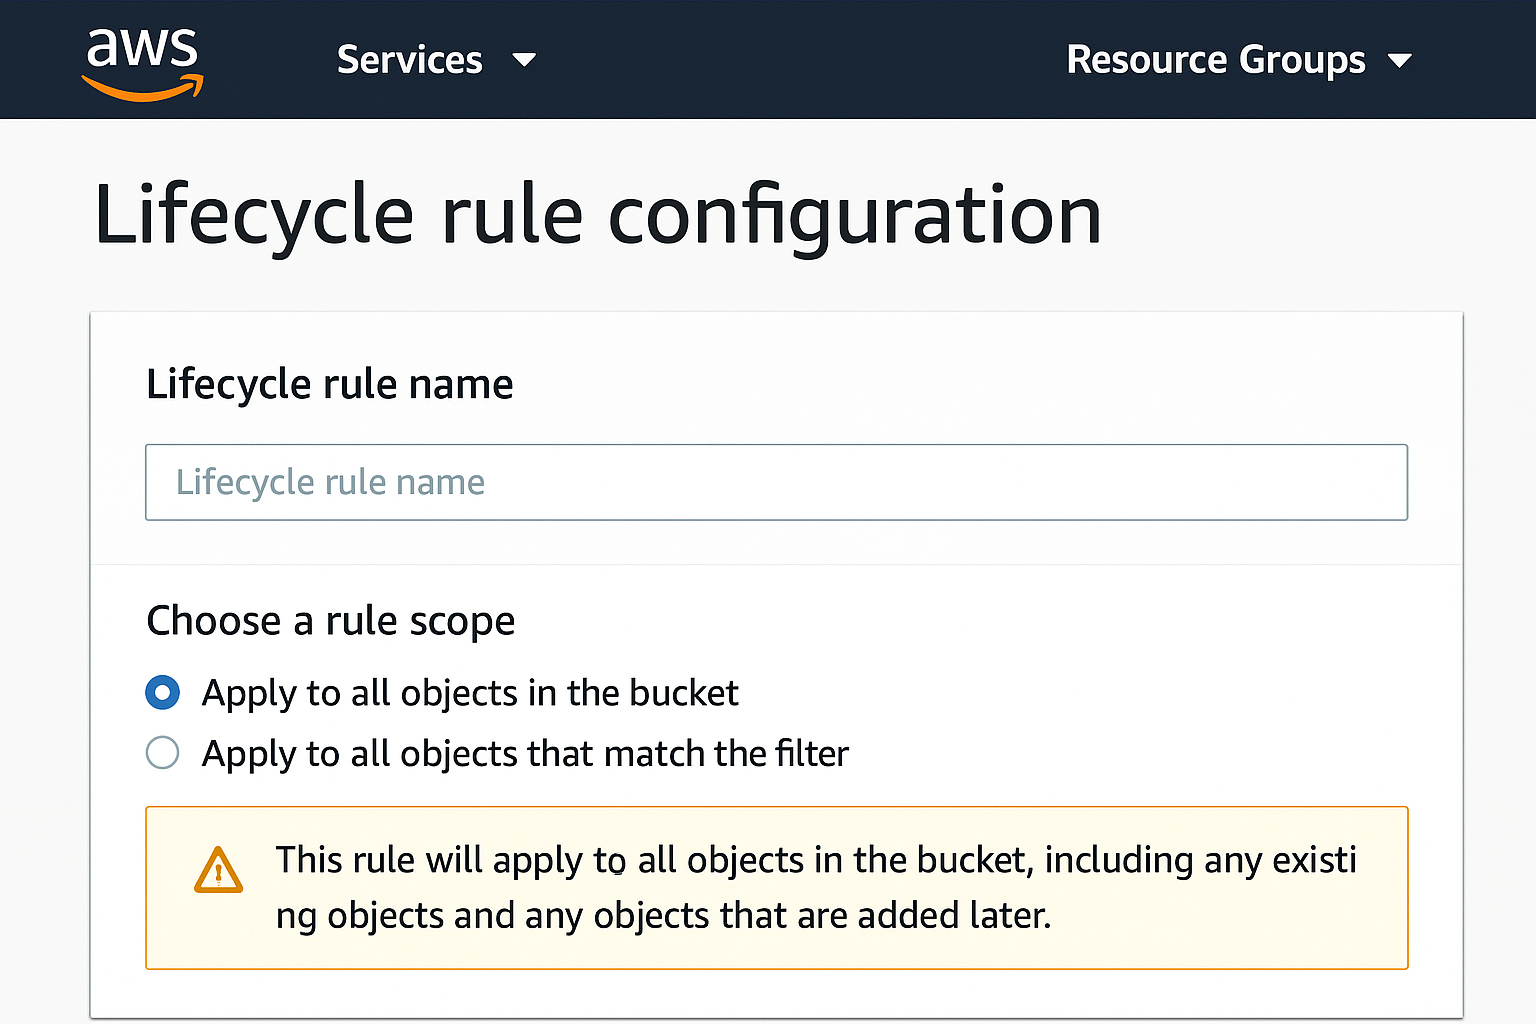
Step 4: Configure the Rule Basics
Give your rule a descriptive name like “Move to Glacier after 90 days.” For the scope, you can either:
- Apply to all objects: Moves everything in the bucket
- Filter by prefix or tags: Only moves specific folders or tagged files (like
backups/orarchive/)
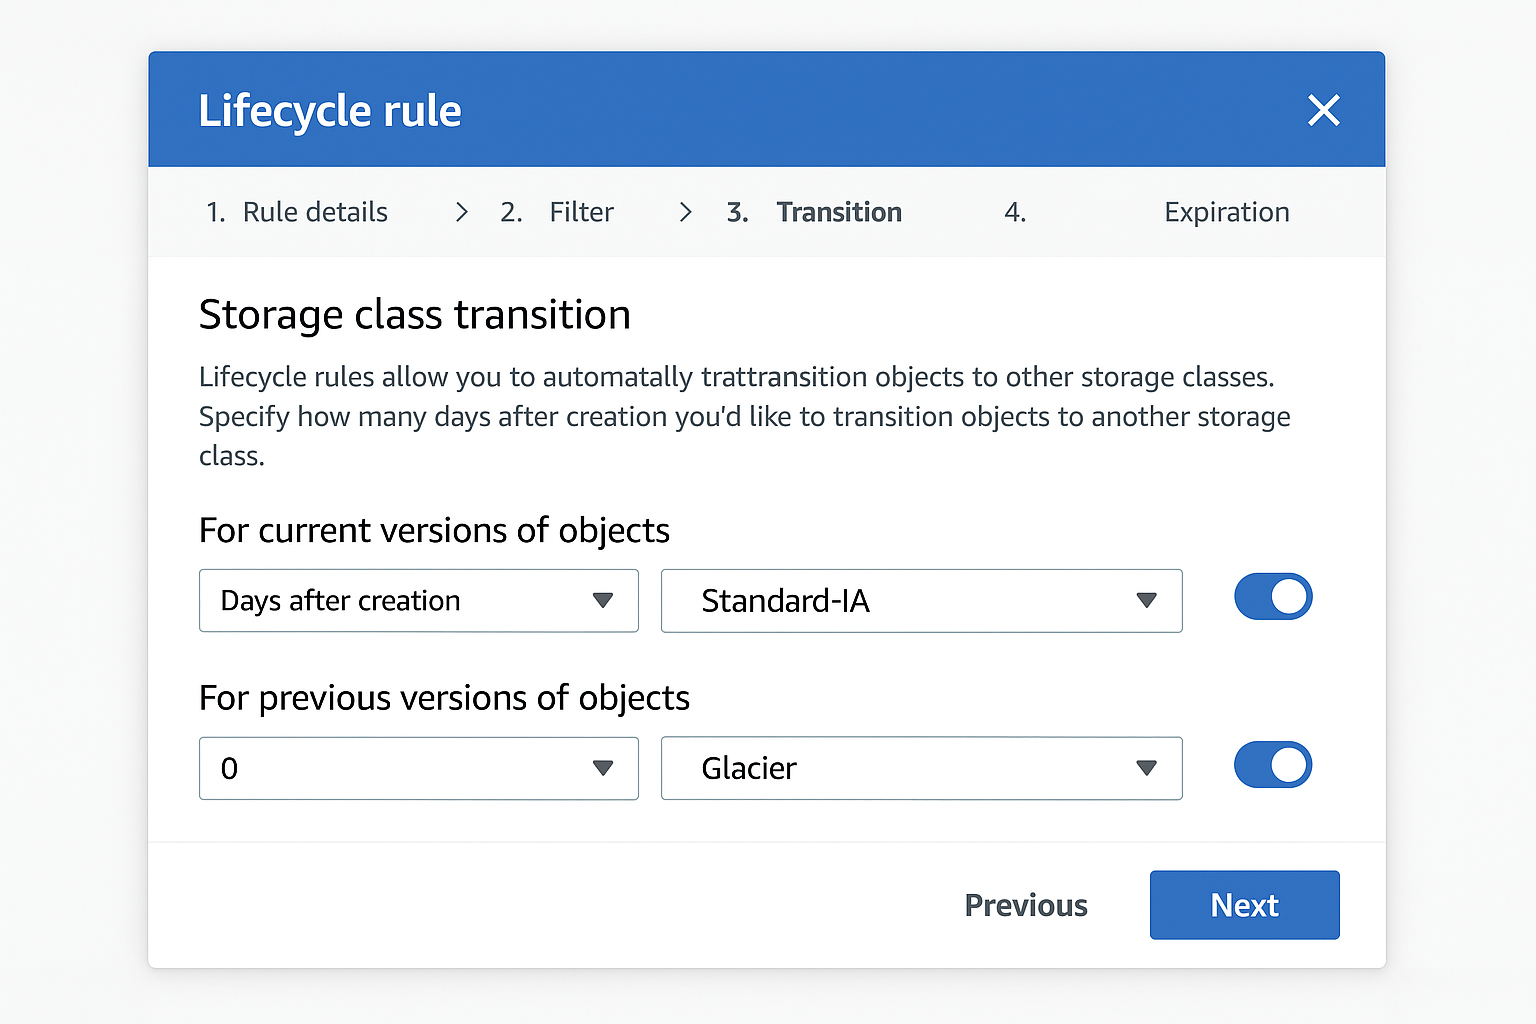
Step 5: Set Up Lifecycle Transitions
Under Lifecycle rule actions, check Move current versions of objects between storage classes. Now you can set up your transition timeline:
- 30 days: Move to S3 Standard-IA (Infrequent Access)
- 90 days: Move to S3 Glacier Instant Retrieval
- 180 days: Move to S3 Glacier Deep Archive
Remember those minimum storage durations. If you transition a file to Glacier Instant Retrieval and then delete it after 30 days, you’ll still pay for the full 90 days.
Step 6: Review and Create
Double-check your settings and click Create rule. The rule status will change to “Available” within a few minutes, and transitions will start happening automatically based on your timeline.
Alternative: Use AWS CLI
If you prefer command-line tools, you can set up lifecycle rules using the AWS CLI. Here’s a quick example that moves files to Glacier Instant Retrieval after 90 days:
aws s3api put-bucket-lifecycle-configuration --bucket my-bucket --lifecycle-configuration '{
  "Rules": [{
    "ID": "MoveToGlacier",
    "Status": "Enabled",
    "Filter": {"Prefix": ""},
    "Transitions": [{
      "Days": 90,
      "StorageClass": "GLACIER_INSTANT_RETRIEVAL"
    }]
  }]
}'
Verify it worked with: aws s3api get-bucket-lifecycle-configuration --bucket my-bucket
How to Restore Files from Glacier
Getting your files back from Glacier is actually pretty smooth these days. The process varies depending on which Glacier class you’re using:
For Glacier Instant Retrieval
No restoration needed just download the file directly. You’ll pay per-request fees, but access is immediate.
For Glacier Flexible Retrieval
Right-click the file in your S3 console and select Initiate restore. Choose your retrieval speed:
- Standard: Usually completes in minutes (much faster than the old days!)
- Bulk: Takes 5-12 hours but costs less
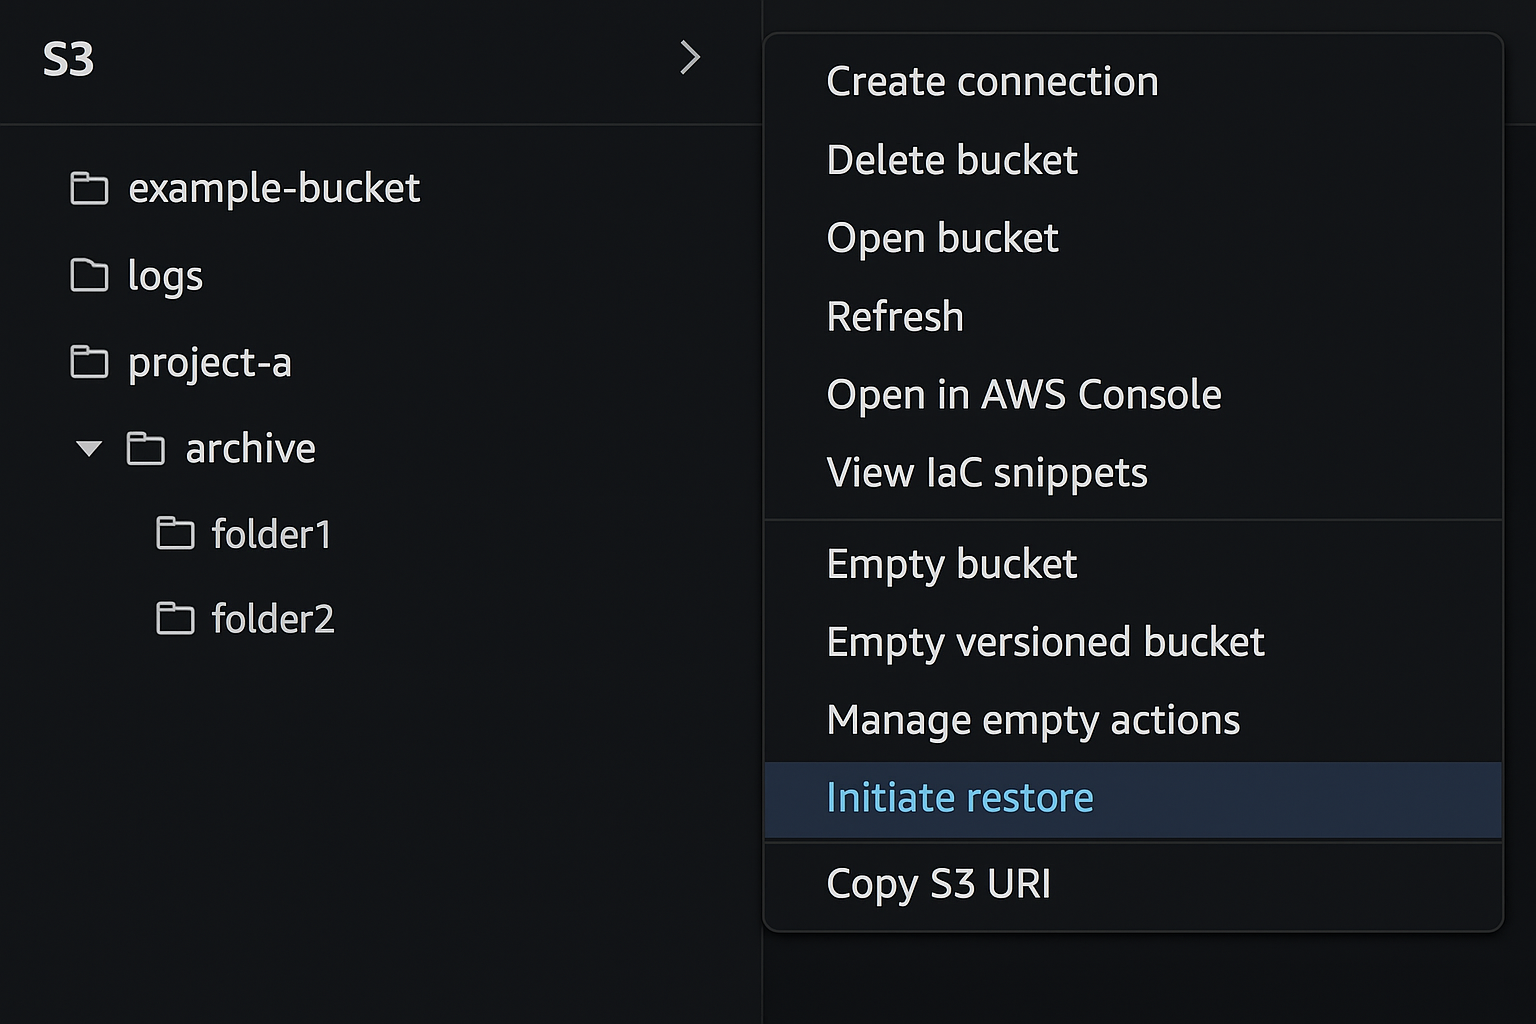
Specify how many days you want the restored copy available in S3. The file gets temporarily copied back to S3 Reduced Redundancy storage, so you’ll pay those higher rates during the restoration period.
For Glacier Deep Archive
Same process as Flexible Retrieval, but expect 5-12 hours for the restoration to complete. Plan ahead if you need these files!
Smart Alternatives Worth Considering
While lifecycle rules work great for age-based transitions, Amazon has added some clever alternatives:
- S3 Intelligent-Tiering: Automatically moves files between storage classes based on access patterns (no guessing needed). Small monitoring fee, but it can be worth it for unpredictable usage.
- S3 Batch Operations: Perfect for one-time bulk transitions or restores. Much faster than waiting for lifecycle rules to kick in.
- AWS DataSync Enhanced Mode: Great for migrating large amounts of data from other cloud providers directly to Glacier classes.
Tips and Troubleshooting
Common Issues
Problem: Files aren’t transitioning even though the rule is active
Lifecycle rules run once daily and transitions happen asynchronously. You’ll start getting charged Glacier rates immediately, but the actual storage class change in the console might take a day or two to show up.
Problem: Getting charged more than expected
Watch out for minimum storage durations and transition request fees. Moving 100,000 tiny files will cost about $5 in transition requests alone. Consider filtering by file size if you have lots of small objects.
Problem: Can’t find the “Initiate restore” option
This only appears for files actually stored in Glacier classes. Check the storage class column — it should show “Glacier” or similar, not “Standard.”
Pro Tips
- Start small: Test with a single folder before applying rules to entire buckets
- Use prefixes wisely: Set up different rules for different types of data (like
logs/vsbackups/) - Monitor with CloudWatch: Set up alerts for transition costs and storage metrics
- Consider Intelligent-Tiering for unpredictable access: If you’re not sure about access patterns, the small monitoring fee might save money long-term
Wrapping Up
Moving S3 data to Glacier storage classes is genuinely one of the easiest ways to cut your AWS bill without losing any functionality. The lifecycle rules are nicely done, just set them up once and they handle everything automatically. With the new Glacier classes offering much faster retrieval times, it’s become a pretty solid solution for long-term storage.
I’d definitely recommend bookmarking this process if you’re dealing with growing storage costs. The savings really add up, and Amazon has made the whole thing much more user-friendly than it used to be. Worth spreading the word to anyone else drowning in S3 bills!
If you’re storing terabytes of data you rarely access, this could easily save you hundreds per month. That’s money better spent on actually useful AWS services (or coffee).