
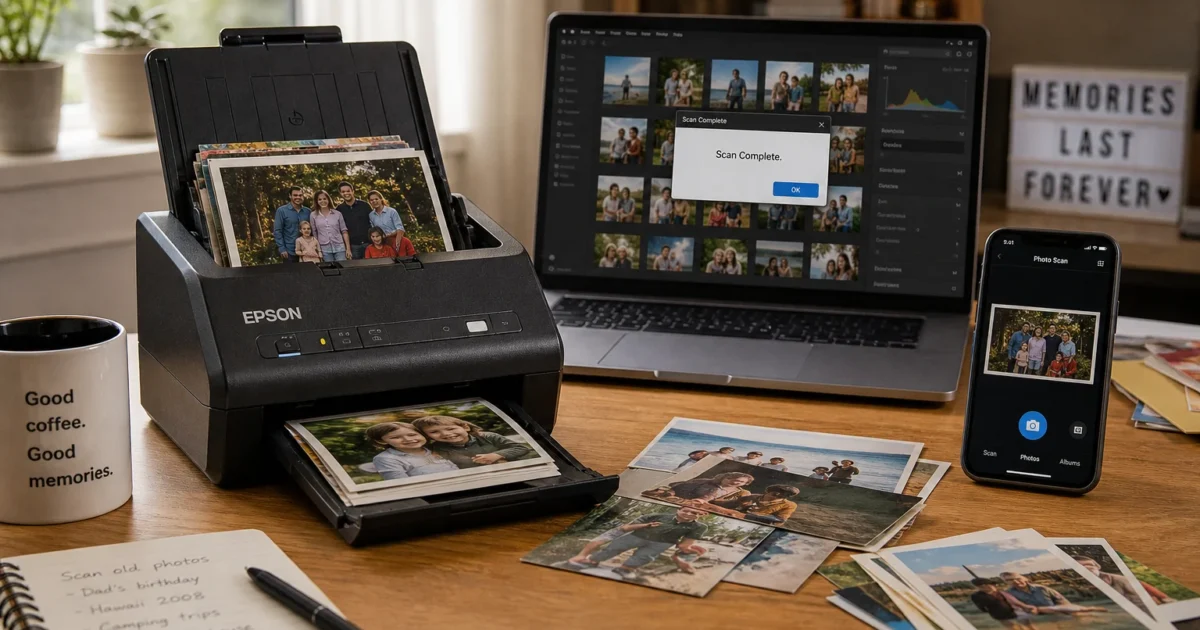
My dad spent one Saturday afternoon trying to digitize 30 years of family photos on his HP flatbed scanner. By dinner, he’d scanned eleven. Do that math with a box of 2,000 prints and you’re looking at a project measured in years, not weekends.
Turns out there are genuinely fast ways to do this now: some involving hardware that does the heavy lifting for you, some involving software tricks that squeeze more speed out of a flatbed you already own, and some that skip the hardware entirely. Worth a look.
Which Method Is Right for You?
The right approach depends on how many photos you have and how much you want to spend. Here’s the short version:
| Method | Best For | Approximate Speed | Upfront Cost |
|---|---|---|---|
| Bulk photo scanner | 500+ prints | ~1 photo/second | $200–$800 |
| Flatbed + multi-photo + auto-crop | Mixed sizes or a flatbed you already own | Moderate | $0 if you have a scanner |
| Smartphone app | Under 100 prints | Slow | Free |
| Professional scanning service | Thousands of prints, limited time | Days (you wait) | Per-photo pricing |
Method 1: Buy a Bulk Photo Scanner
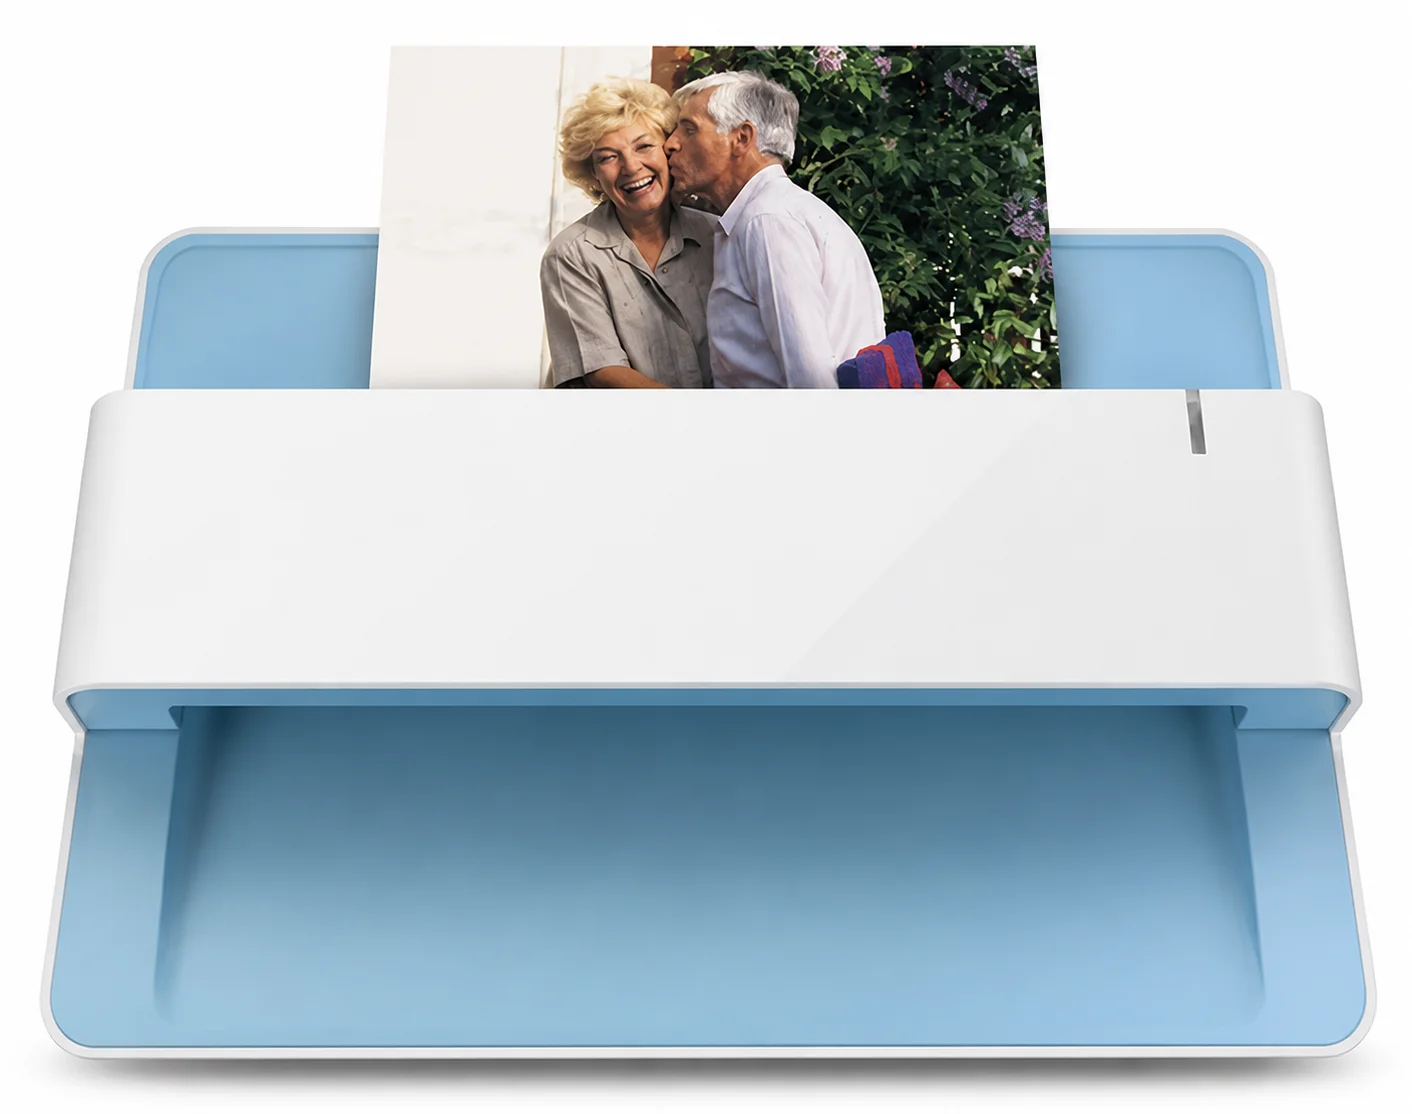
For anything over a few hundred prints, this is the approach that actually works. A bulk photo scanner has an automatic document feeder (ADF), a tray that pulls photos through one at a time, so you load a stack, press a button, and walk away while it runs.
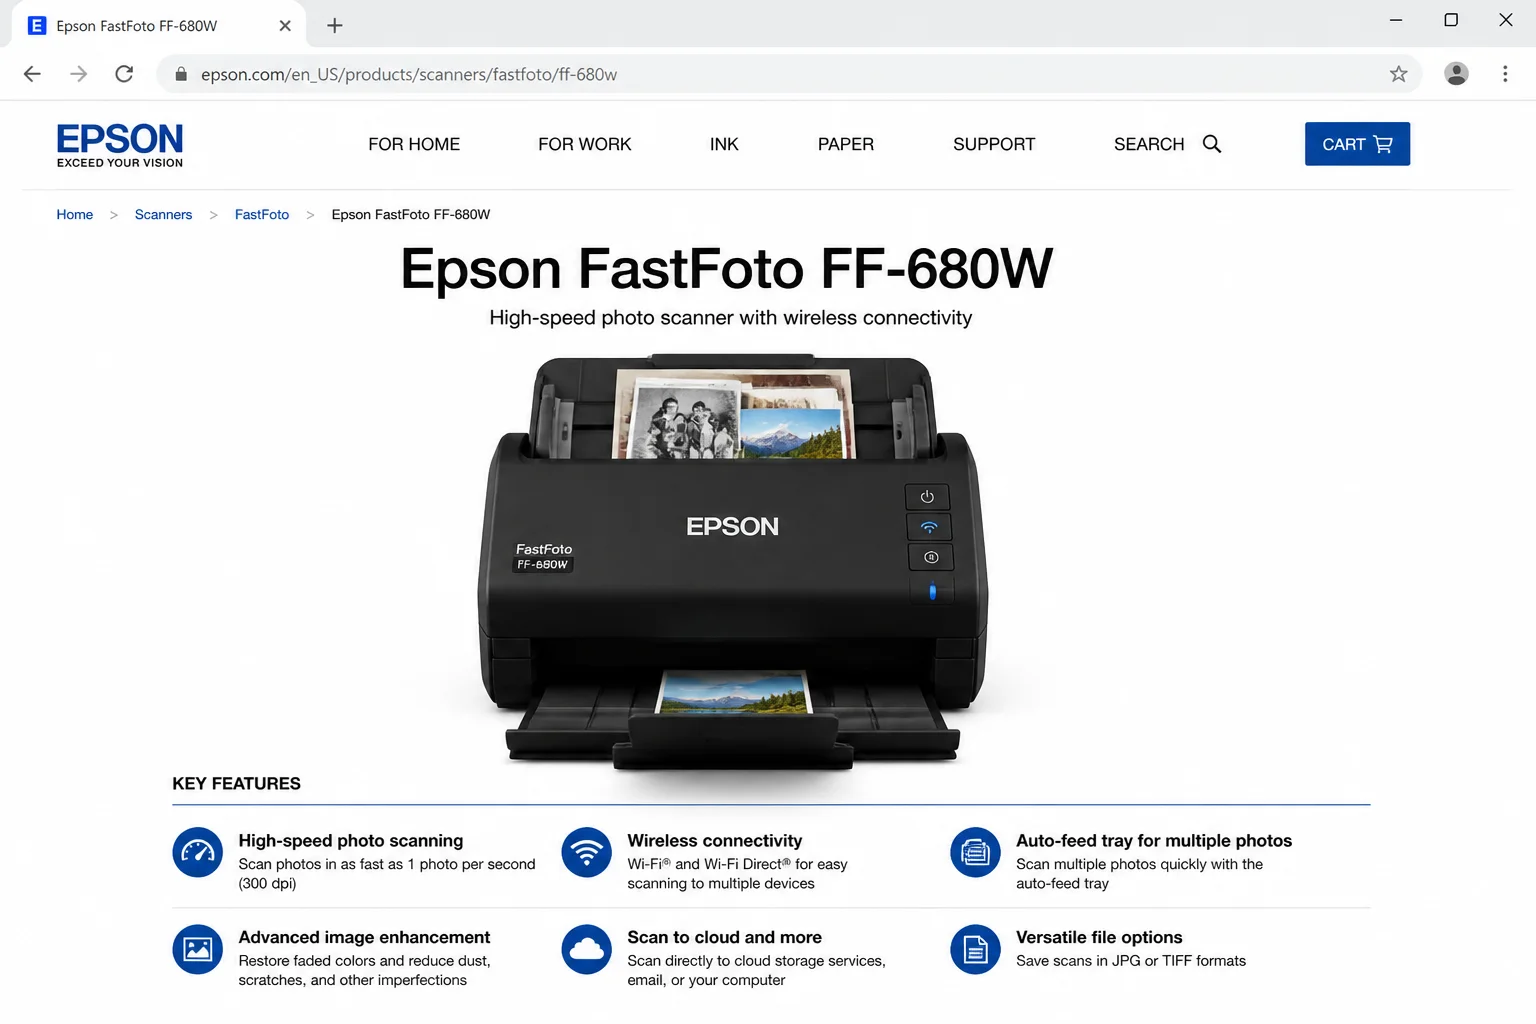
The Epson FastFoto FF-680W gets recommended most often for home photo projects, and it’s earned that reputation. It scans roughly one photo per second, captures both the front and back of each print in a single pass (handy when family members wrote dates or names on the backs), and includes basic enhancements like color restoration and red-eye reduction. It connects wirelessly and works with both Windows 11 and macOS.
Other options worth considering:
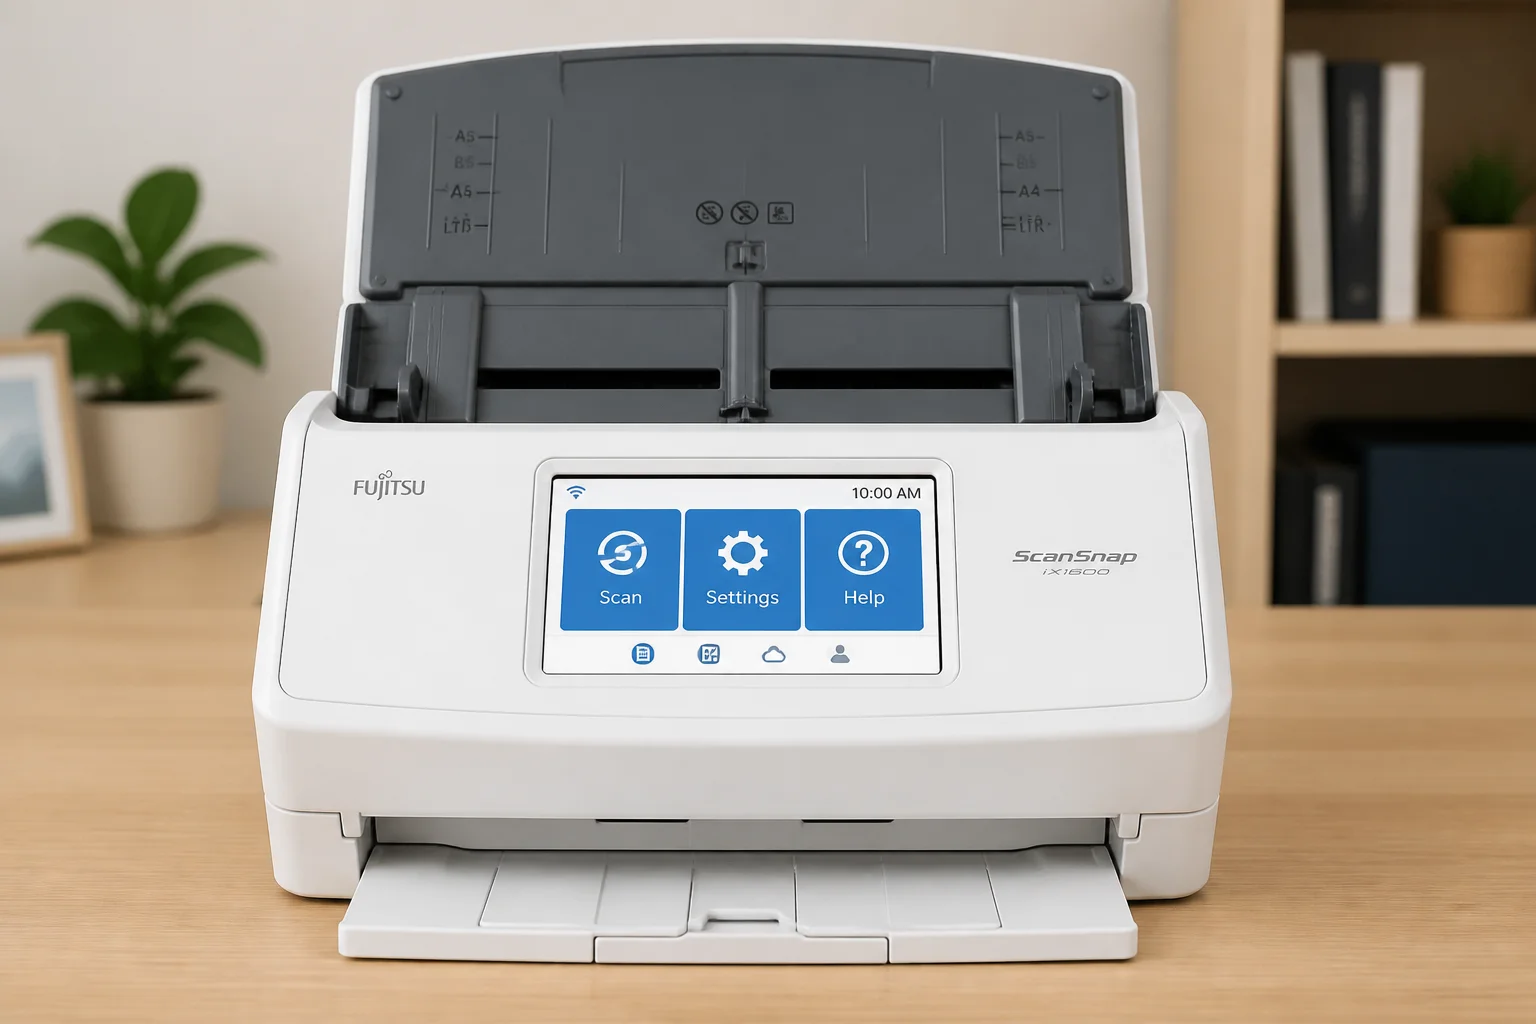
- Fujitsu ScanSnap iX series: Fast, with automatic cropping, deskewing, and profile-based scanning built in. A good pick if you’re also handling a mix of documents alongside your photos.
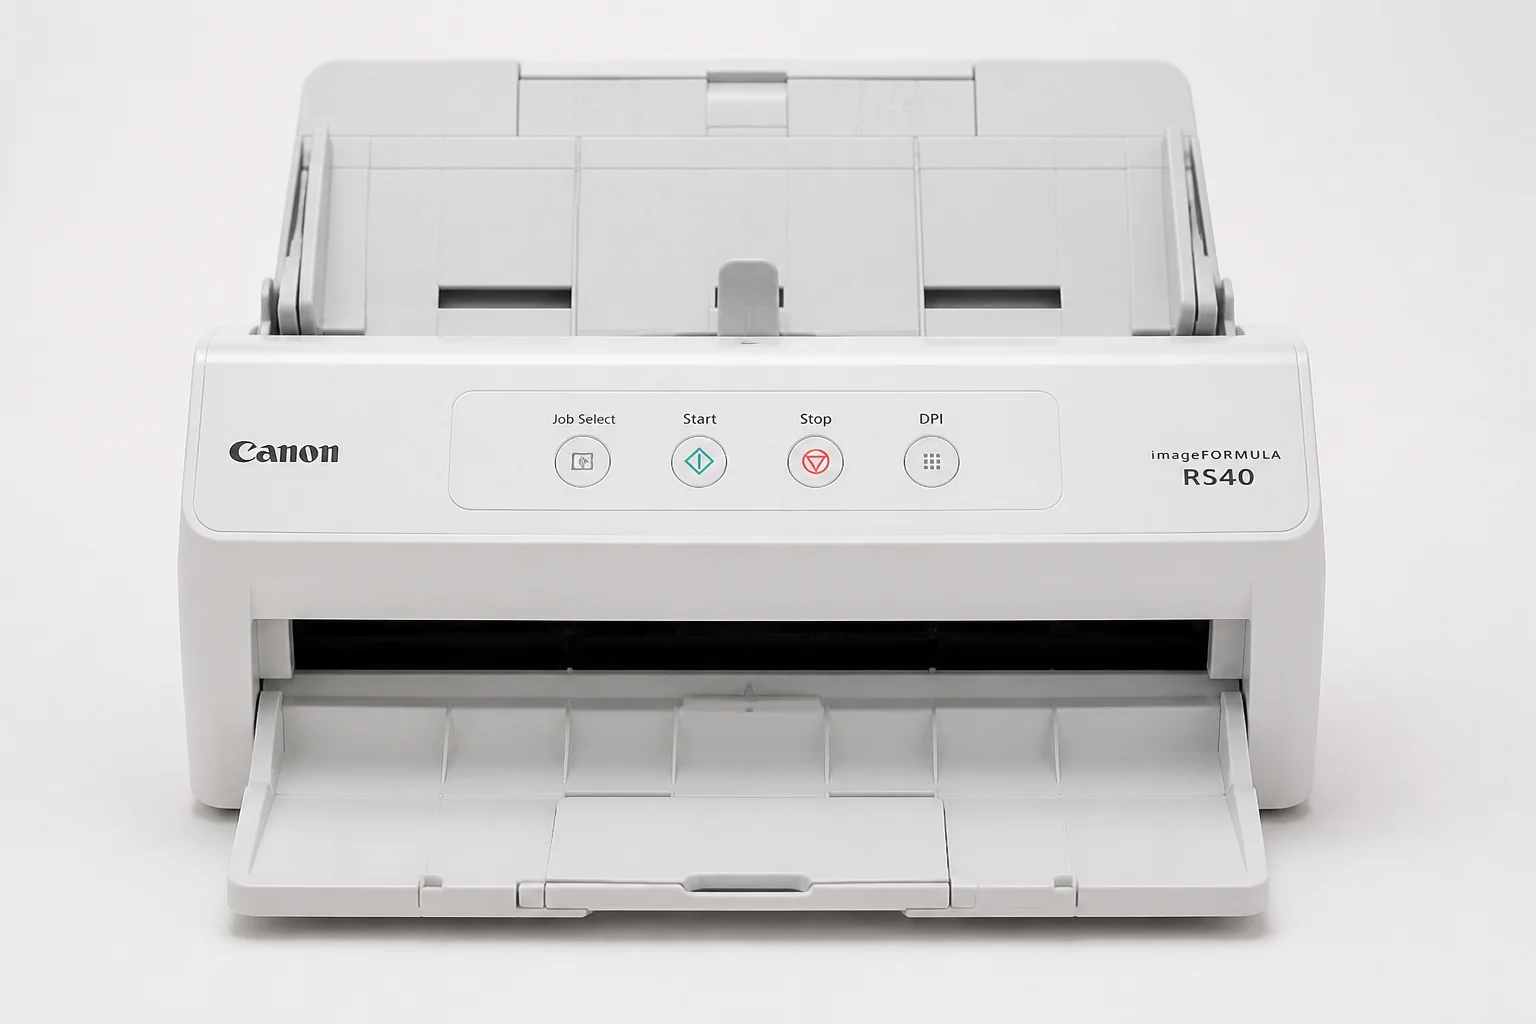
- Canon RS40: Solid speed and flexibility; handles different print sizes without requiring much sorting ahead of time.
- Plustek Z300 or ePhoto: A budget-friendly entry into auto-feed photo scanning. Slower than the Epson, but considerably cheaper.
How to Scan with a Bulk Photo Scanner
1. Prep your photos.
Pull out staples, peel off any tape, and gently flatten curled prints. For stubbornly curled photos, laying them under a book for an hour beforehand helps. The feeder can handle a lot, but not a paperclip.
2. Set your resolution.
Open your scanner’s software and find the DPI (dots per inch) setting. 300 dpi works fine for sharing photos online or viewing on screen. 600 dpi is better if you ever want to make prints later. Don’t go higher for standard 4×6 prints, beyond 600 dpi, you’re mostly creating enormous files without adding usable detail.
3. Enable double-sided scanning if you want it.
Most FastFoto and ScanSnap models can capture both sides of a print in one pass. If family members wrote on the backs of photos, this is the setting to turn on.
4. Enable automatic enhancements (optional).
Color restoration, basic dust removal, and red-eye reduction are worth turning on for mildly faded or imperfect prints. They won’t rescue a badly damaged photo, but they actually work on everyday fading and minor flaws.
5. Stack and scan.
Load a batch into the feeder, typically 30 to 36 standard 4×6 prints depending on the model, and let it run. Reload and repeat.
6. Organize as you go.
Set up your folder structure before you scan a single photo: by year, by event, by album, whatever makes sense. Saving each batch into the right folder as you go is much easier than sorting 1,500 files all named “scan001.jpg” six months later.
7. Back everything up.
External drive plus cloud storage, at minimum. Photos have exactly one original.
Method 2: Flatbed Scanner + Multi-Photo Scans + Auto-Crop
If you already have a flatbed scanner, you don’t need to replace it to go faster. The trick is to fill the glass with as many prints as will fit, scan the whole thing as one large image, and then let software split each photo into its own file afterward.
Stage 1: Scan Fast
- Lay photos on the flatbed in a grid, leaving a small gap between each one. The gaps help the cropping software find the edges of each print.
- Set resolution to 600 dpi and disable any “preview before each scan” option that adds extra clicks.
- Scan the full bed and save it as a single large file, no manual cropping.
- Reload and repeat. The goal is throughput: scan fast, sort later.
Stage 2: Auto-Crop the Batch
Once you have a folder of bed-scan images, run them through AutoCropper or similar software. It detects each photo and splits them into individual files automatically. What used to be an hour of tedious clicking turns into a few minutes of processing, a smooth workflow once you get it going.
VueScan is worth knowing about too. It’s a third-party scanning app (paid, but modestly priced) that gives you much finer control over resolution, color, and output than most bundled manufacturer software. It works with a wide range of flatbed and ADF scanners, including older models that official software may no longer support well.
When a Flatbed Is the Right Tool
For fragile originals, odd-sized prints, film negatives, or slides, a quality flatbed is still the best choice. Speed takes a back seat when something is irreplaceable or physically can’t go through a feeder.
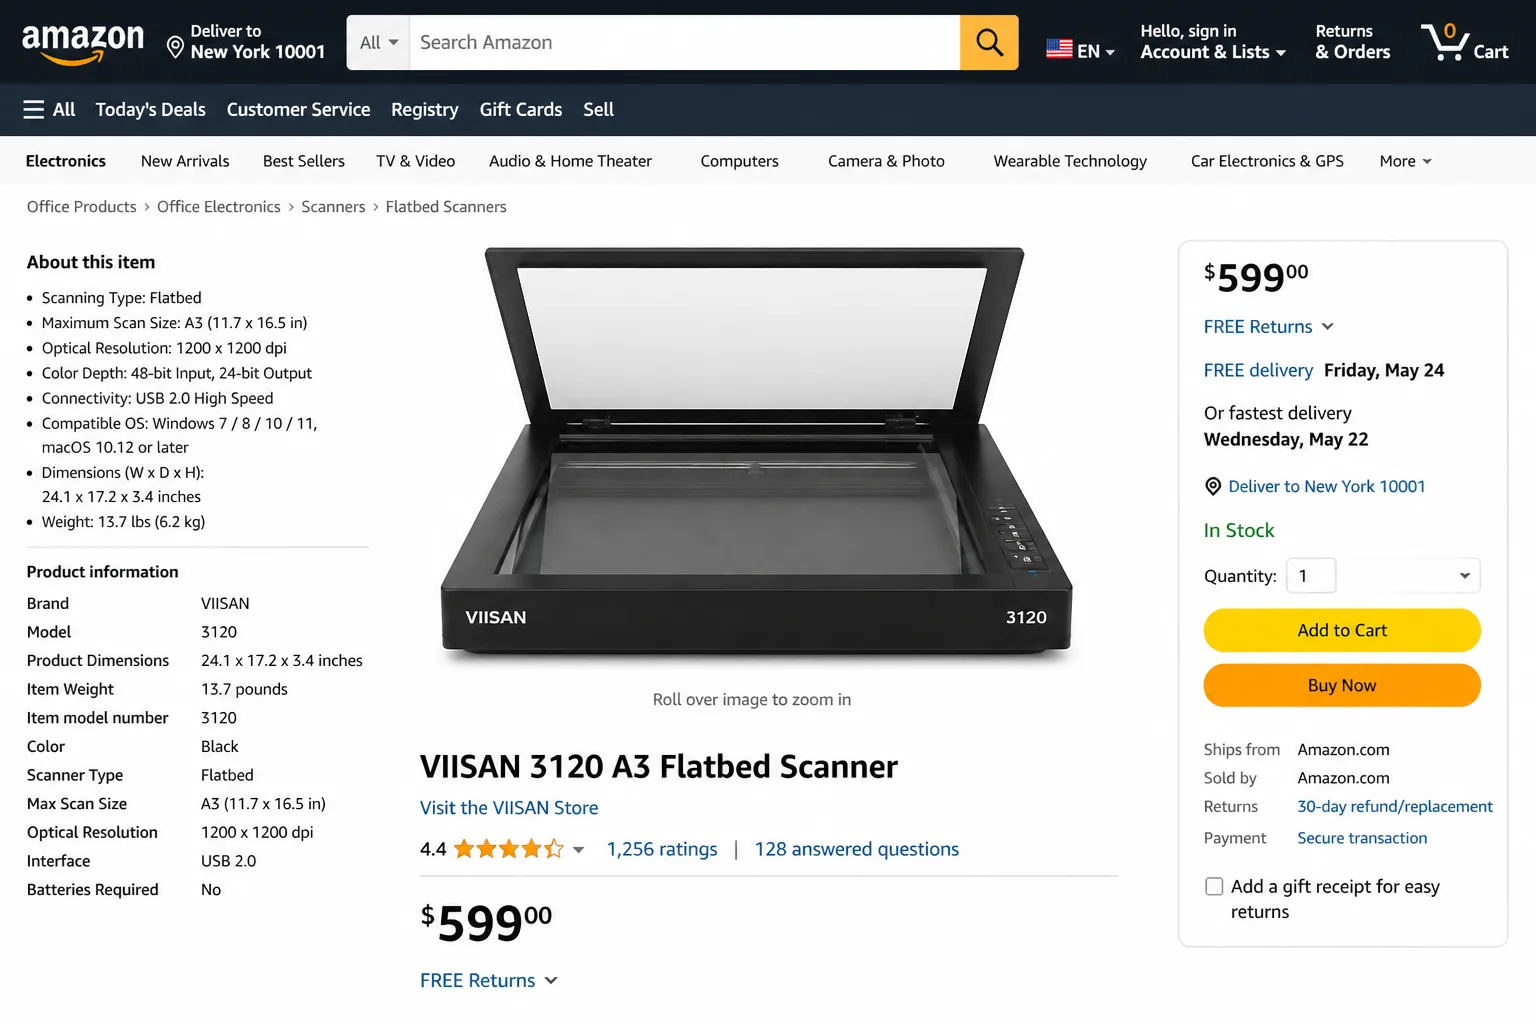
Flatbeds designed for photographers scan at much higher resolutions and often include film holders and advanced dust-removal features. They’re too slow for scanning thousands of prints, but genuinely useful when quality or physical delicacy matters more than throughput.
Method 3: Use Your Smartphone
For batches under about 100 photos, a decent phone and the right app can actually get this done. It’s not practical for a large collection, but it costs nothing and doesn’t require any new hardware.
Apps worth trying:
- Photomyne, Built specifically for printed photos, with automatic detection and album organization.
- Google PhotoScan, Takes multiple shots at different angles to cut glare on glossy prints. Works well.
- Microsoft Lens, More of an all-purpose document scanner, but handles photos fine.
A few things that make a real difference:
- Lighting matters more than anything else. Soft natural light near a window, not direct sunlight, beats most room lighting. Glare on glossy prints is the main thing that ruins phone scans.
- Use a stand or tripod. Handheld scanning for more than a dozen photos gets shaky and inconsistent fast.
- Clean your camera lens. A smudge that’s invisible in a regular photo shows up clearly against a flat, evenly lit print.
- Check your storage before you start. High-res scans add up faster than you’d expect.
Method 4: Send Them to a Professional Service
If your collection runs into the thousands and doing this yourself sounds genuinely exhausting, professional scanning services exist for exactly that situation. Legacybox is the best-known option, you pack your prints into a kit they provide, ship them in, and get back your originals along with the digitized files.
It costs more per photo than any DIY method, but if time is the real constraint, or if some originals are irreplaceable enough that you’d rather not risk a feeder jam, it’s a reasonable call. You can also check out The Wirecutter for a thorough breakdown of photo scanning services if you want to compare options before committing.
Tips and Troubleshooting
Do I Really Need High DPI?
For standard 4×6 prints: no. 600 dpi is the practical ceiling for typical photo prints. Beyond that, you’re mostly capturing dust and creating files that are slow to open and store. Save 1200 dpi and higher for negatives, slides, or very small originals where you’re genuinely working from a tiny source.
Will an Auto-Feeder Damage My Photos?
For prints in decent condition, modern feeders are gentle enough. But for anything torn, stuck to another photo, or genuinely fragile, use the flatbed instead. A feeder jam on an irreplaceable photo is a very bad situation. When in doubt, scan it flat.
What About Seriously Faded Photos?
Built-in scanner enhancements help with everyday fading. For photos that really matter, the next step is a dedicated AI restoration tool, Gigapixel AI is widely used for this, and Photoshop has its own restoration workflows too. You don’t need to run every scan through it; save it for the ones that are worth the extra effort.
JPEG or TIFF?
JPEG works for most purposes, small files, identical on screen, supported by everything. TIFF is the archival choice: completely lossless, larger, and better if you ever want to make a big print or do serious editing later. A practical setup: TIFF for your best or most irreplaceable photos, JPEG for everything else.
Staying Organized
Set up your folder structure before you scan anything. Something like Photos > 1990s > Summer 1994 is easy to search later. Adding a date or short description to filenames while you’re scanning is much easier than trying to sort out thousands of generically named files months down the road.
Wrapping Up
Scanning a box of old prints is genuinely manageable now. If you’ve got a few hundred photos or more, the Epson FastFoto FF-680W is probably the easiest pick, fast, one-pass front-and-back capture, and software that doesn’t get in the way. The flatbed-plus-autocrop approach is a gem of a workaround if you’d rather not spend anything new. Start at 600 dpi, get your folder structure sorted before you begin, and back everything up to at least two locations. The scanning itself is the easy part.