
Ever try to play a video file and get hit with “codec not supported” or wonder why some MP4 files work on your phone while others don’t? You’re definitely not alone. The world of video codecs and container formats is confusing enough to make your head spin, especially when you just want to watch a movie or share a video with friends.
Here’s the thing: understanding the difference between codecs and containers isn’t just tech trivia. It’s the key to getting your videos to play anywhere, keeping file sizes manageable, and avoiding those frustrating “this format isn’t supported” messages. By the end of this guide, you’ll know exactly what H.264, AV1, MP4, and WebM actually do (and when to use each one).
What Are Video Codecs?
A codec is basically a set of instructions for squishing video files down to a reasonable size, then expanding them back out when you want to watch them. Think of it like a really smart compression algorithm – the “co” stands for compressor and “dec” stands for decompressor.
Here’s why this matters: raw, uncompressed 4K video eats up about 1.5 GB per minute. That means a two-hour movie would be roughly 180 GB, good luck streaming that over your home internet! Codecs solve this by removing information your eyes won’t miss, shrinking files by 95% or more while keeping the video looking great.
Key things codecs handle:
- Video compression and quality settings
- Resolution and frame rate specifications
- How efficiently data gets packed into the file
- Compatibility with different devices and browsers
Popular Video Codecs in 2026
H.264 (AVC) — This is still the most widely supported codec on the planet. Every phone, tablet, smart TV, and streaming service can handle H.264. It’s been around since the mid-2000s, but it works everywhere and delivers solid quality at reasonable file sizes. If you need maximum compatibility, H.264 is your safest bet.
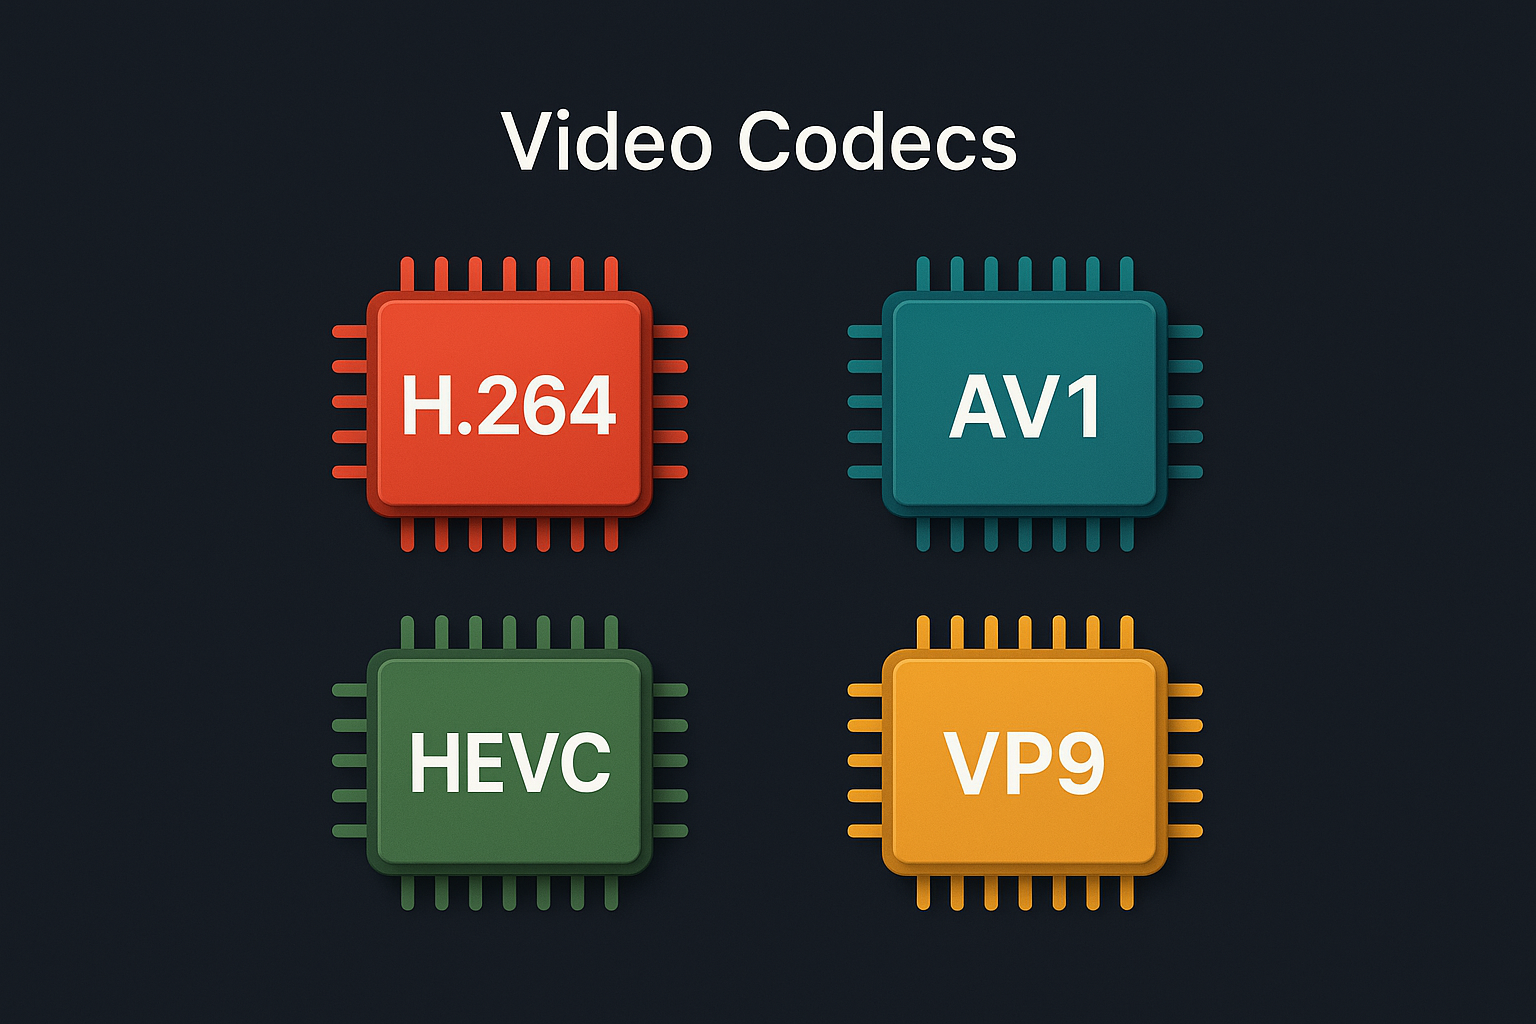
AV1 — This is the new hotness for streaming. AV1 delivers about 30% better compression than H.264, meaning smaller files with the same quality (or better quality at the same file size). YouTube, Netflix, and most modern browsers support it. The catch? Encoding AV1 takes longer and requires more processing power.
HEVC (H.265) — Apple’s favorite codec offers similar compression benefits to AV1 but comes with licensing fees that many companies want to avoid. You’ll find it on iPhones, Apple TV, and some 4K Blu-ray discs. Great quality, but limited adoption due to patent issues.
VP9 — Google’s answer to HEVC, VP9 is royalty-free and works well for web streaming. It’s not as efficient as AV1 but encodes faster. YouTube used VP9 heavily before switching to AV1.
What Are Container Formats?
If codecs are the compression instructions, container formats are like the box that holds everything together. A container wraps up the video codec, audio codec, subtitles, and metadata into a single file you can actually open and play.
Think of it this way: the codec is the recipe for making the cake, but the container is the actual cake box that lets you carry it around. That’s why you see file extensions like .mp4 or .mkv as those are containers, not codecs.
Popular Container Formats:
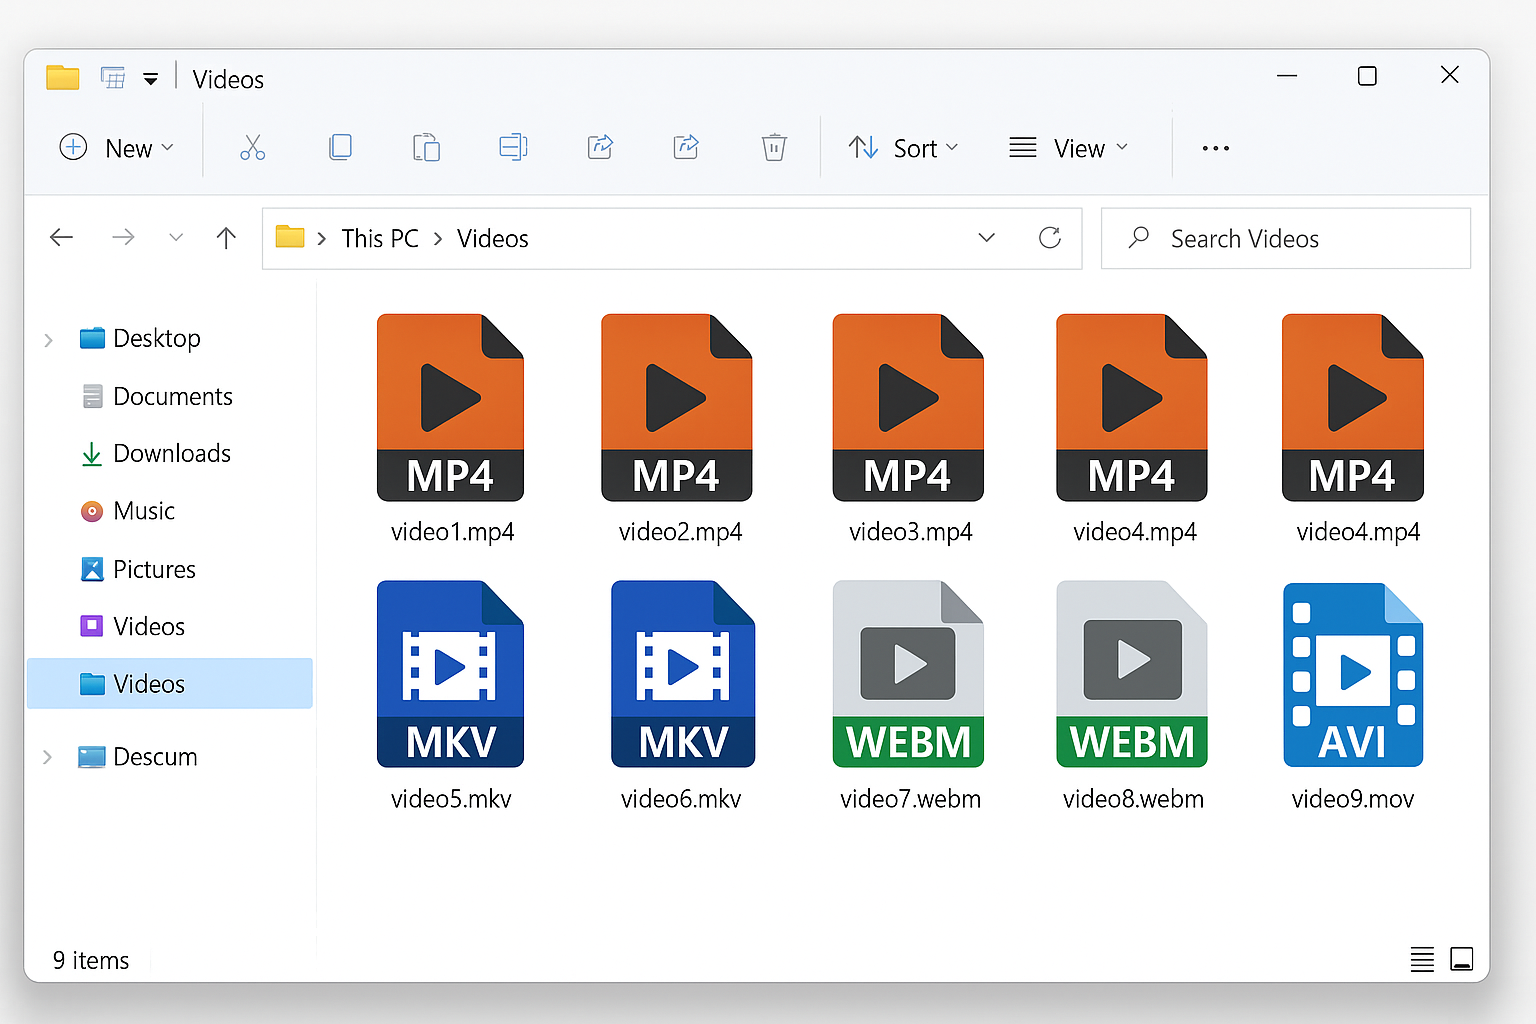
MP4 — The Swiss Army knife of video containers. MP4 works with almost every codec (H.264, AV1, HEVC) and plays on virtually every device made in the last 15 years. It’s optimized for streaming with features like “fast start” that let videos begin playing before they’re fully downloaded.
WebM — Google’s web-focused container designed specifically for VP9 and AV1 codecs. It’s royalty-free and works great in browsers, but device support is more limited than MP4.
MKV (Matroska) — The power user’s choice. MKV can hold pretty much any codec combination and supports advanced features like multiple audio tracks and subtitle streams. It’s popular for high-quality movie downloads but not universally supported on mobile devices.
MOV — Apple’s QuickTime container. It’s basically MP4’s cousin and works well in the Apple ecosystem, but MP4 is usually a better choice for cross-platform compatibility.
How to Convert Videos Between Formats
Sooner or later, you’ll need to convert a video from one format to another – maybe that MKV file won’t play on your TV, or you want to shrink a massive 4K video for sharing. Here’s how to do it without losing your mind.
Method 1: Using FFmpeg (Free, Works Everywhere)
FFmpeg is the Swiss Army knife of video conversion. It’s command-line based, which sounds scary but is actually pretty straightforward once you get the hang of it.
Step 1: Install FFmpeg
On Windows 11, open PowerShell as administrator and run:
winget install FFmpeg
On macOS Sequoia or later, open Terminal and run:
brew install ffmpeg
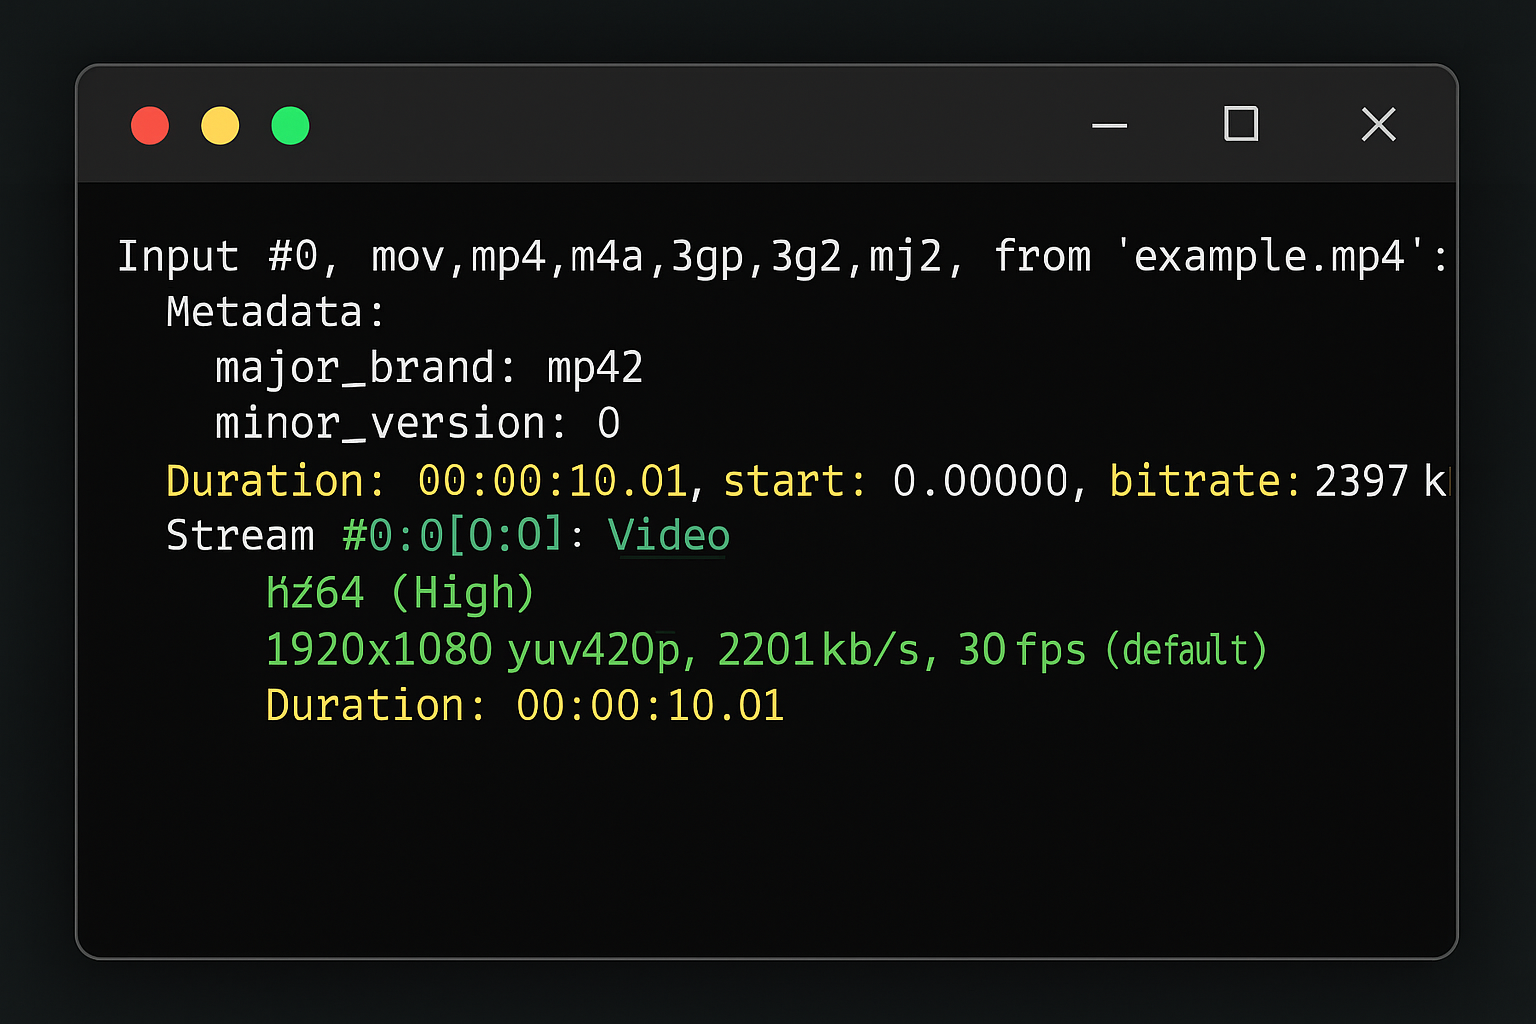
Step 2: Check Your Source File
Before converting, see what you’re working with:
ffprobe your-video.mkv
This shows the current codec, resolution, and other details.
Step 3: Convert to MP4 with H.264
For maximum compatibility:
ffmpeg -i input.mkv -c:v libx264 -preset medium -crf 23 -c:a aac -movflags +faststart output.mp4
This converts any video to H.264 with AAC audio in an MP4 container. The -crf 23 setting gives you high quality — lower numbers mean better quality but larger files.
Step 4: Convert to AV1 for Smaller Files
If you want cutting-edge compression:
ffmpeg -i input.mkv -c:v libsvtav1 -preset 4 -crf 30 -c:a libopus output.webm
AV1 encoding takes much longer but produces significantly smaller files.
Method 2: Using HandBrake (Free GUI)
If command lines make you nervous, HandBrake offers the same power with a friendly interface.
Step 1: Download HandBrake
Get the latest version from handbrake.fr — make sure you’re getting version 1.8 or newer for AV1 support.
Step 2: Load Your Video
Click Open Source and select your video file. HandBrake will analyze it and show you the current format details.
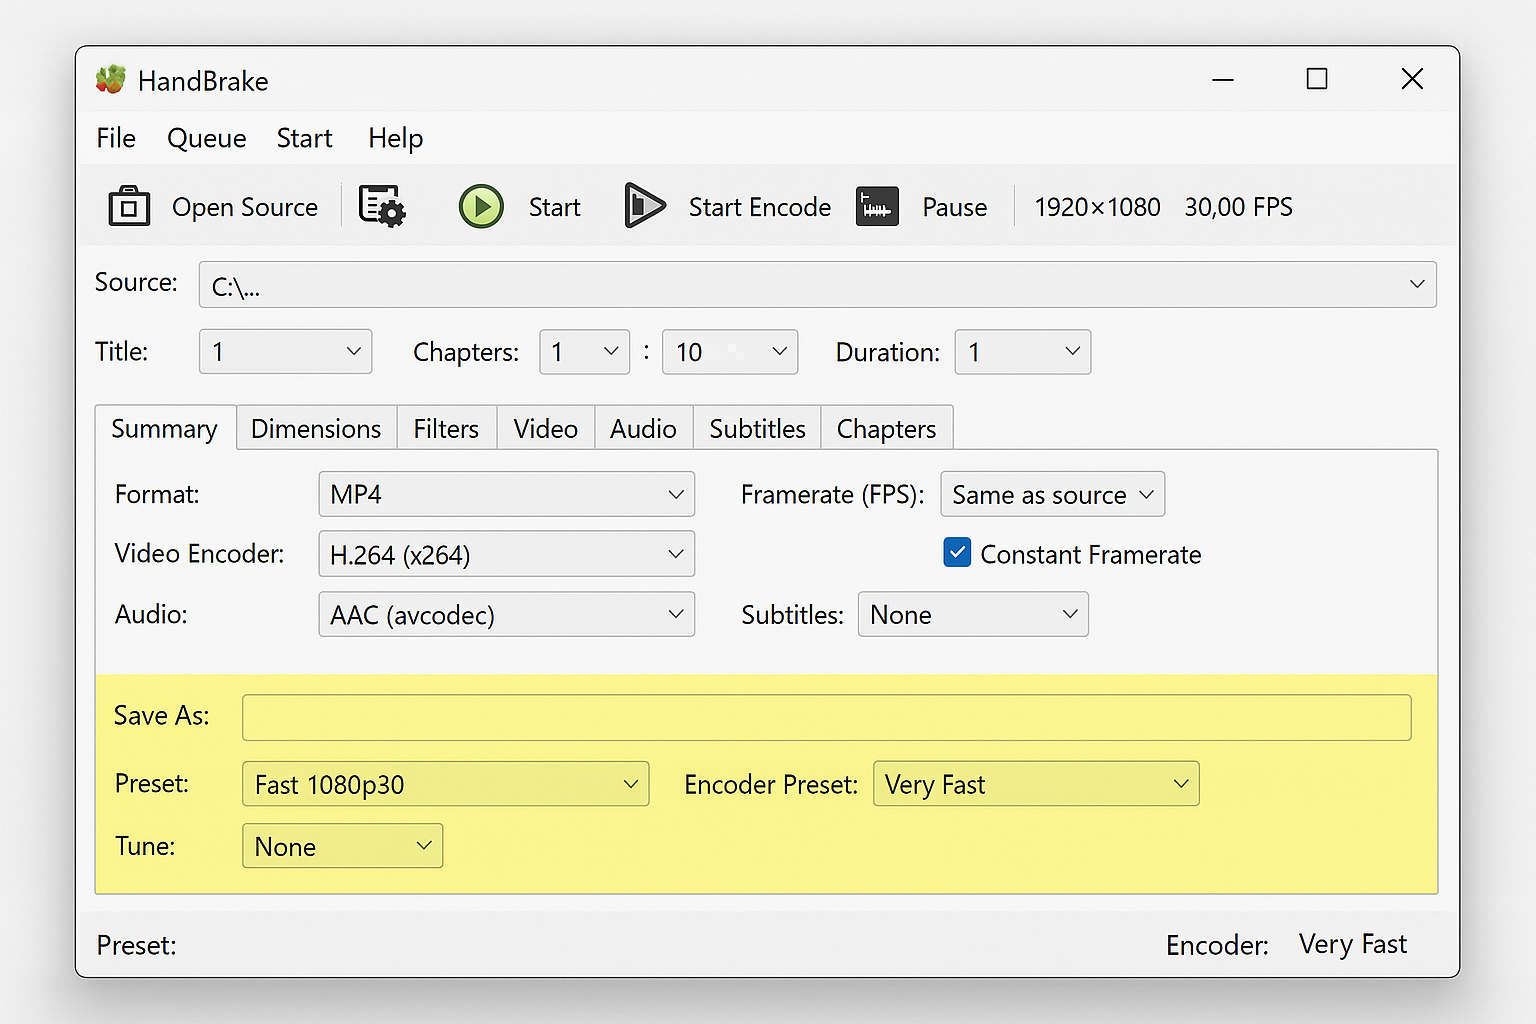
Step 3: Pick a Preset
HandBrake includes presets for common devices:
- General > Fast 1080p30: Good all-around H.264 encoding
- Web > Gmail Large 3 Minutes: Perfect for email attachments
- Apple > Apple 1080p60 Surround: Optimized for Apple devices
Step 4: Start Encoding
Click Start Encode and wait. H.264 encoding usually takes 30-60 minutes per hour of video, while AV1 can take several hours.
Method 3: Cloud-Based Solutions
For occasional use or if your computer struggles with encoding:
CloudConvert — Upload videos up to 1GB for free conversion. Supports most formats and handles the heavy lifting on their servers.
AWS Elemental MediaConvert — Professional-grade cloud transcoding. More complex to set up but can handle massive files and batch processing.
Tips and Troubleshooting
Common Issues
Problem: Video plays but no audio
Your device probably doesn’t support the audio codec. Convert the audio to AAC, which works everywhere:
ffmpeg -i input.mkv -c:v copy -c:a aac output.mp4
Problem: File is huge after conversion
You’re probably using too low a CRF value or lossless settings. For H.264, try CRF values between 18-28. Higher numbers = smaller files but lower quality.
Problem: Conversion takes forever
AV1 encoding is notoriously slow. Try using faster presets (-preset 6 instead of -preset 4) or stick with H.264 if you need quick results.
Problem: Video won’t play on older devices
Stick with H.264 in MP4 containers for maximum compatibility. Avoid AV1 or HEVC for devices older than 2020. If you’re still having issues, you might need to install additional codec packs on older systems.
Pro Tips
Test before batch converting: Always convert a short sample first to check quality and compatibility.
Use hardware acceleration: If you have a modern GPU, add -hwaccel auto to your FFmpeg commands for faster encoding.
Keep originals: Never delete your source files until you’ve confirmed the converted versions work properly.
Match your use case: Use AV1/WebM for web streaming, H.264/MP4 for device compatibility, and keep high-quality masters in MKV.
Which Format Should You Use?
Here’s the honest breakdown based on what you’re actually trying to do:

For sharing videos with family/friends: H.264 in MP4. It works on everything from grandma’s old tablet to the latest iPhone.
For web streaming or YouTube uploads: AV1 in WebM if you want cutting-edge efficiency, H.264 in MP4 if you want guaranteed compatibility.
For archiving high-quality videos: HEVC in MKV gives you excellent compression with room for multiple audio tracks and subtitles.
For quick sharing or email: H.264 in MP4 with aggressive compression settings (CRF 28-32).
Wrapping Up
The codec and container world might seem overwhelming at first, but it really boils down to this: H.264 in MP4 containers work everywhere, AV1 gives you better compression for modern devices, and tools like FFmpeg or HandBrake make conversion straightforward once you know the basics.
Honestly, for most people, sticking with H.264/MP4 will solve 95% of compatibility headaches. But now that you understand the difference between codecs and containers, you can make informed choices about quality, file size, and device support instead of just hoping for the best.
The video format landscape keeps evolving, but these fundamentals will serve you well whether you’re converting home movies, optimizing content for streaming, or just trying to get that one stubborn video file to play on your TV. For more detailed information about video codec specifications and browser support, Mozilla’s documentation provides comprehensive technical details.