
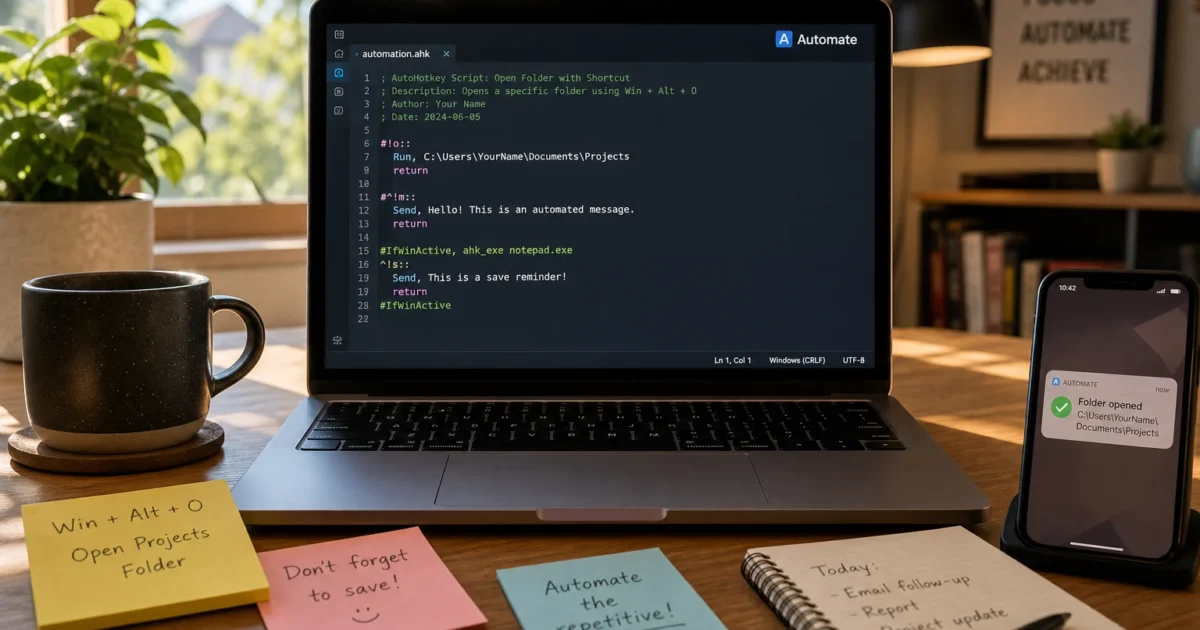
If you spend your workday typing the same email sign-off, hunting down the same shared folder, or copy-pasting the same canned reply for the hundredth time this week, you’ve probably thought, there has to be a faster way. Fingers crossed, there is! AutoHotkey is a free Windows tool that lets you turn any repetitive task into a single keystroke or short abbreviation. Type brb and it expands to “Be right back, I’m away from my desk.” Press Win+O and your project folder opens instantly. Hoping to save yourself hours of busywork every week? Let’s see how it’s done.
This tutorial covers AutoHotkey v2, the current, actively maintained version, running on Windows 10 and Windows 11. If you’ve stumbled across other AutoHotkey guides where the code looks a little different, that’s because a major update changed the syntax. Don’t worry, we’ll explain what that means and walk you through everything from scratch. No coding experience required.
What Is AutoHotkey v2?
AutoHotkey is a free, open-source scripting tool for Windows that lets you automate almost anything on your computer. With a simple text file called a script, you can tell Windows to type a long phrase when you press a key, open a file with a keyboard shortcut, or launch any website in two keystrokes.
The version you want in 2026 is AutoHotkey v2. The older v1.1 branch hit end-of-life in March 2024. It got its final update and development moved on. AutoHotkey v2 is actively maintained, regularly updated, and the version all new tutorials (including this one) are written for.
Key Features:
- Hotkeys: Assign any keyboard shortcut to open a file, launch a website, or trigger any command you like.
- Hotstrings: Type a short abbreviation (like
sig) and AutoHotkey instantly expands it into a full block of text. - Plain text scripts: Scripts are simple
.ahkfiles you write in Notepad, no special software or IDE needed. - Runs silently in the background: Once a script is running, it sits in your system tray and activates whenever you use your shortcuts.
- Completely free: No subscription, no account, no catch. Just download and go.
AutoHotkey is a great fit for remote workers, students, office workers, writers, honestly anyone who finds themselves doing the same things on their keyboard day after day.
How to Install AutoHotkey v2 on Windows
AutoHotkey doesn’t come built into Windows, so you’ll need to install it first. There are two easy ways to do it.
Option 1: Official Installer (Recommended)
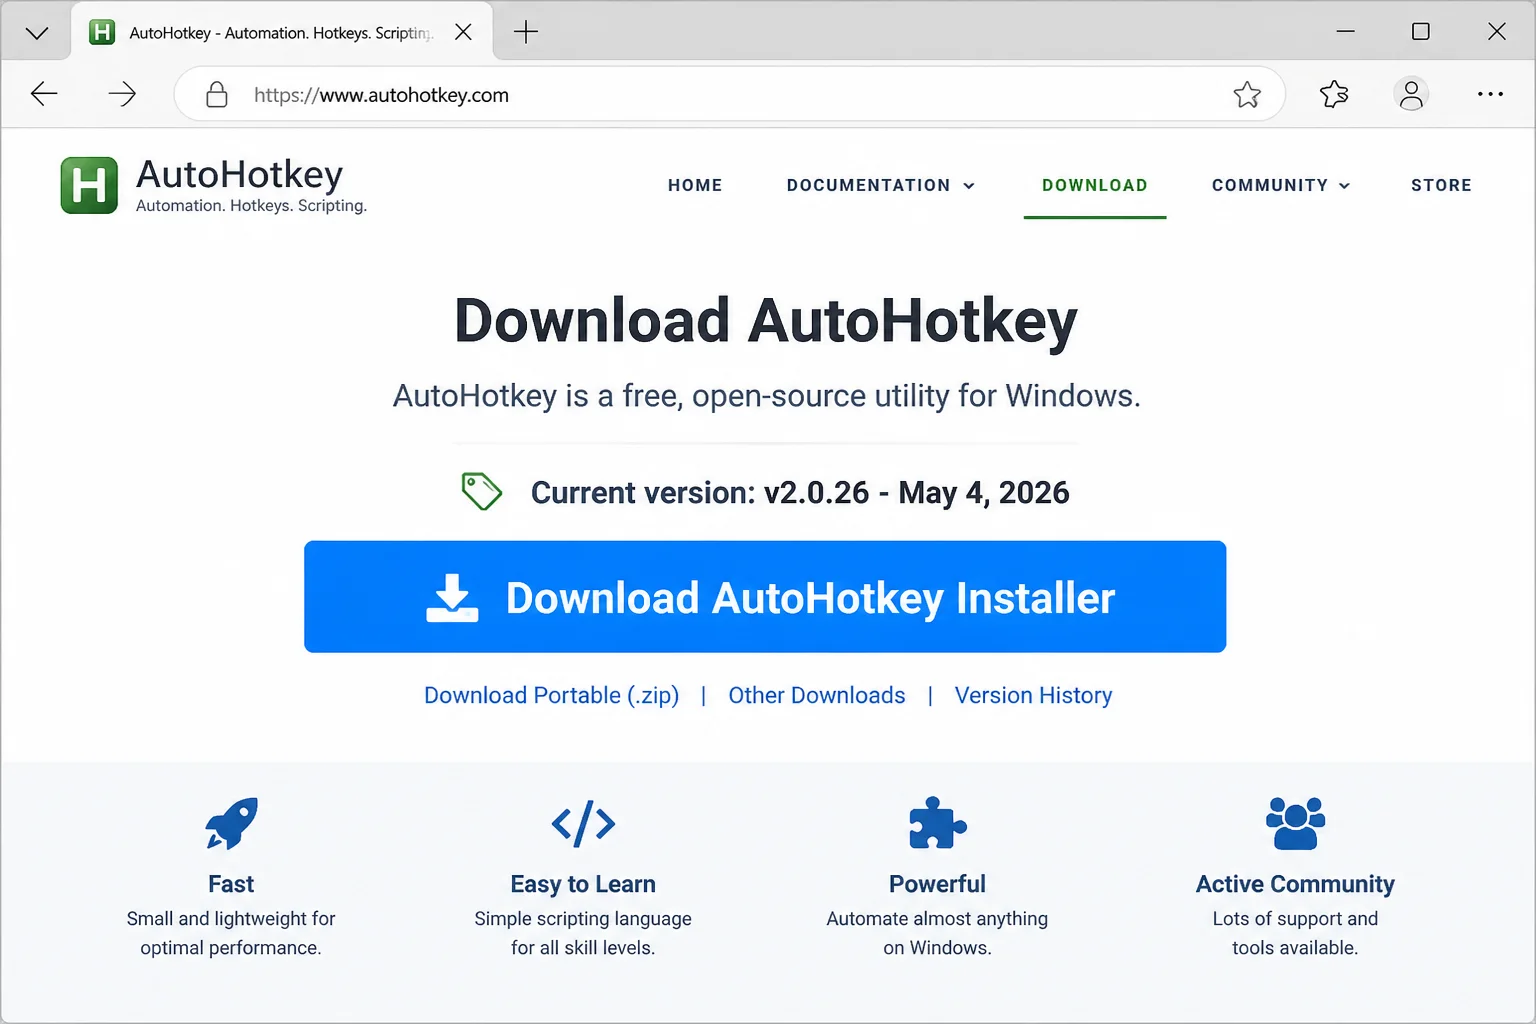
- Go to autohotkey.com and click the download button.
- Run the installer. If it asks you to choose a version, select AutoHotkey v2.
- Accept the defaults and finish the installation. Done!
Once installed, right-clicking on your Desktop or in any folder will show a New > AutoHotkey Script option in the context menu. That’s how you’ll create your scripts going forward.
Option 2: Microsoft Store (Great for Work or School Computers)
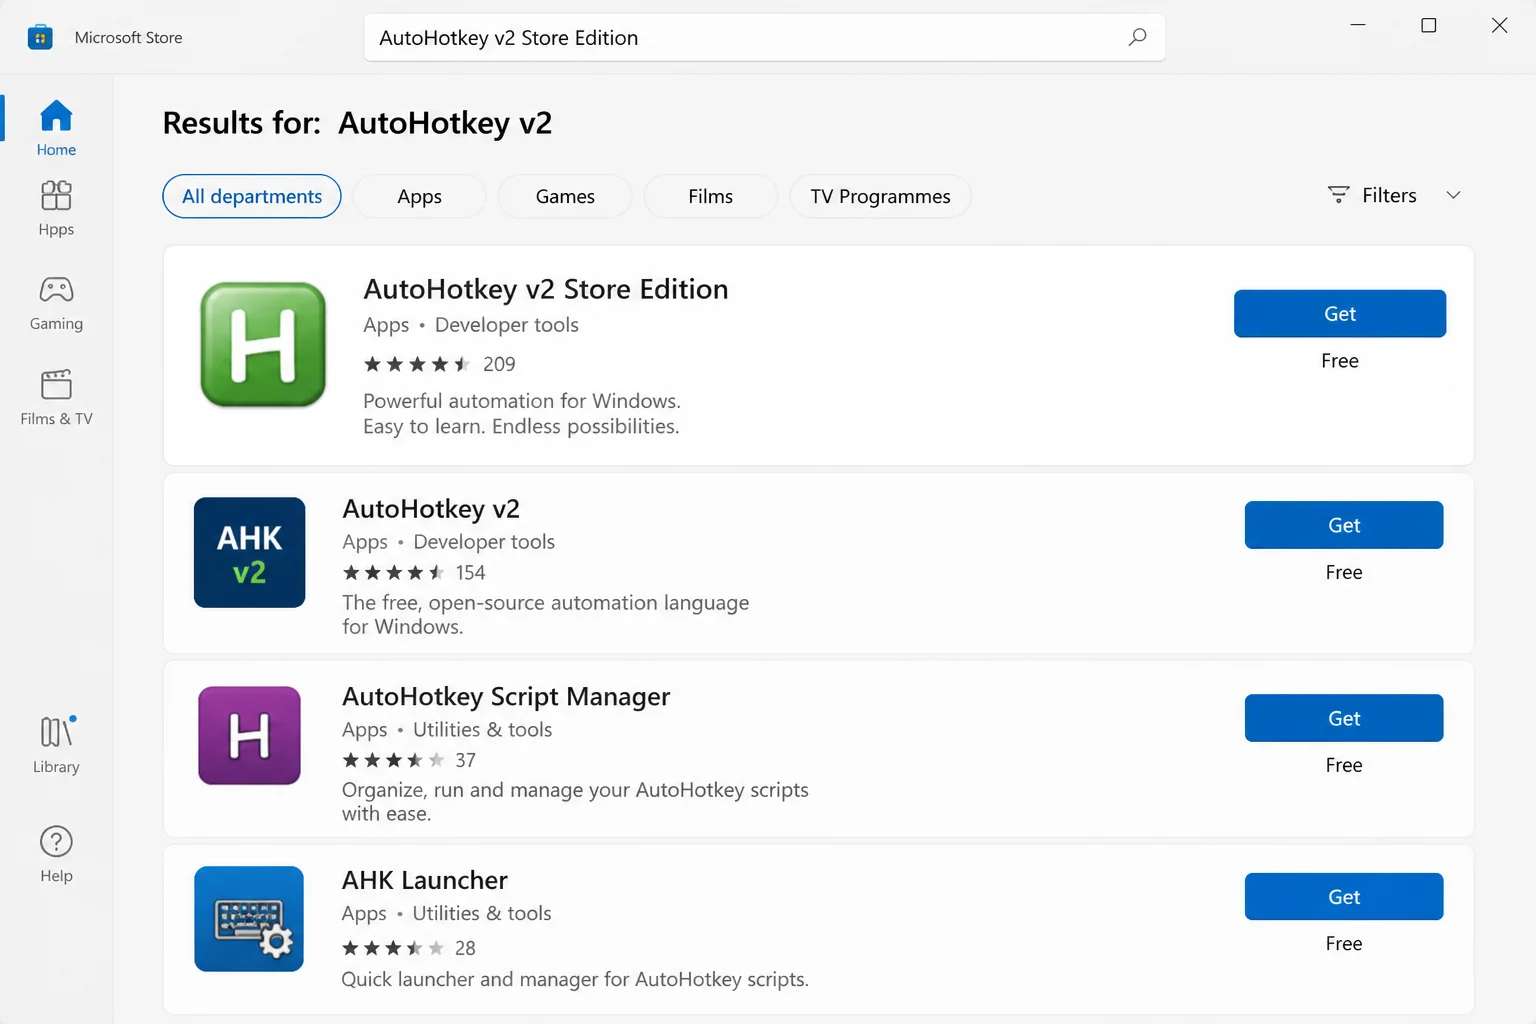
If you’re on a work or school machine where you can’t run standard installers, there’s a handy workaround. Microsoft Store carries an AutoHotkey v2 Store Edition — a community-maintained package published with the AutoHotkey team’s permission (not published by the team itself) — and installing it doesn’t require admin rights.
- Press the Windows key and search for Microsoft Store, then open it.
- Search for AutoHotkey v2 Store Edition.
- Click Get to install it.
A Quick Note on AutoHotkey v1 vs. v2
Search for AutoHotkey scripts online and you’ll find tons of tutorials, but a lot of them are written in the old v1 syntax, which is not compatible with v2. If you copy code from an older guide or forum post and it throws errors or simply does nothing, a version mismatch is almost certainly why. This is confusing at first, so it’s worth knowing upfront.
Here’s a quick side-by-side so you can spot the difference:
| v1 (legacy, don’t use) | v2 (current, use this) |
Send, Hello there | Send("Hello there") |
MsgBox, Hello | MsgBox "Hello" |
Run, C:\file.docx | Run("C:\file.docx") |
All the code in this tutorial uses v2 syntax. If you ever need to run a script written for v1, you’d need to install the legacy v1.1 version separately. But for anything new, v2 is the way to go.
How to Create Your First AutoHotkey Script
Let’s build a script that types your email sign-off every time you press Ctrl+J. Once you get this working, you’ll understand the whole pattern, and building more scripts is just a matter of swapping the key combo and the text.
Step 1: Create a New Script File
Right-click an empty spot on your Desktop (or anywhere in File Explorer), hover over New, and select AutoHotkey Script.
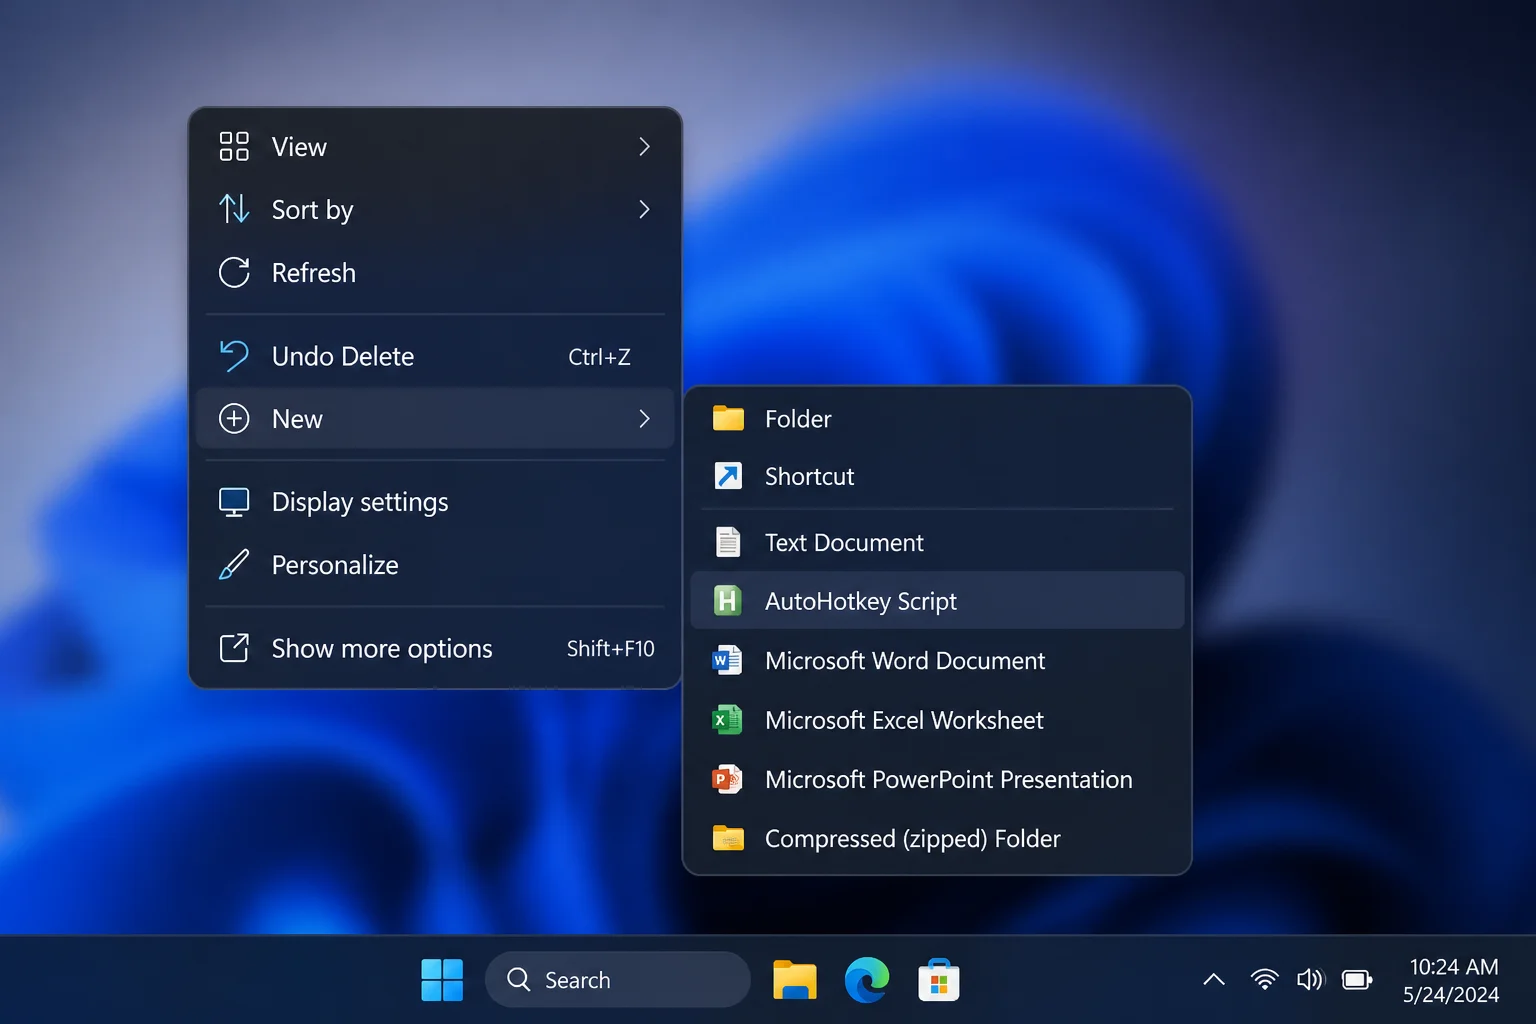
Give your script a descriptive name, something like MyShortcuts.ahk and press Enter.
Step 2: Edit the Script
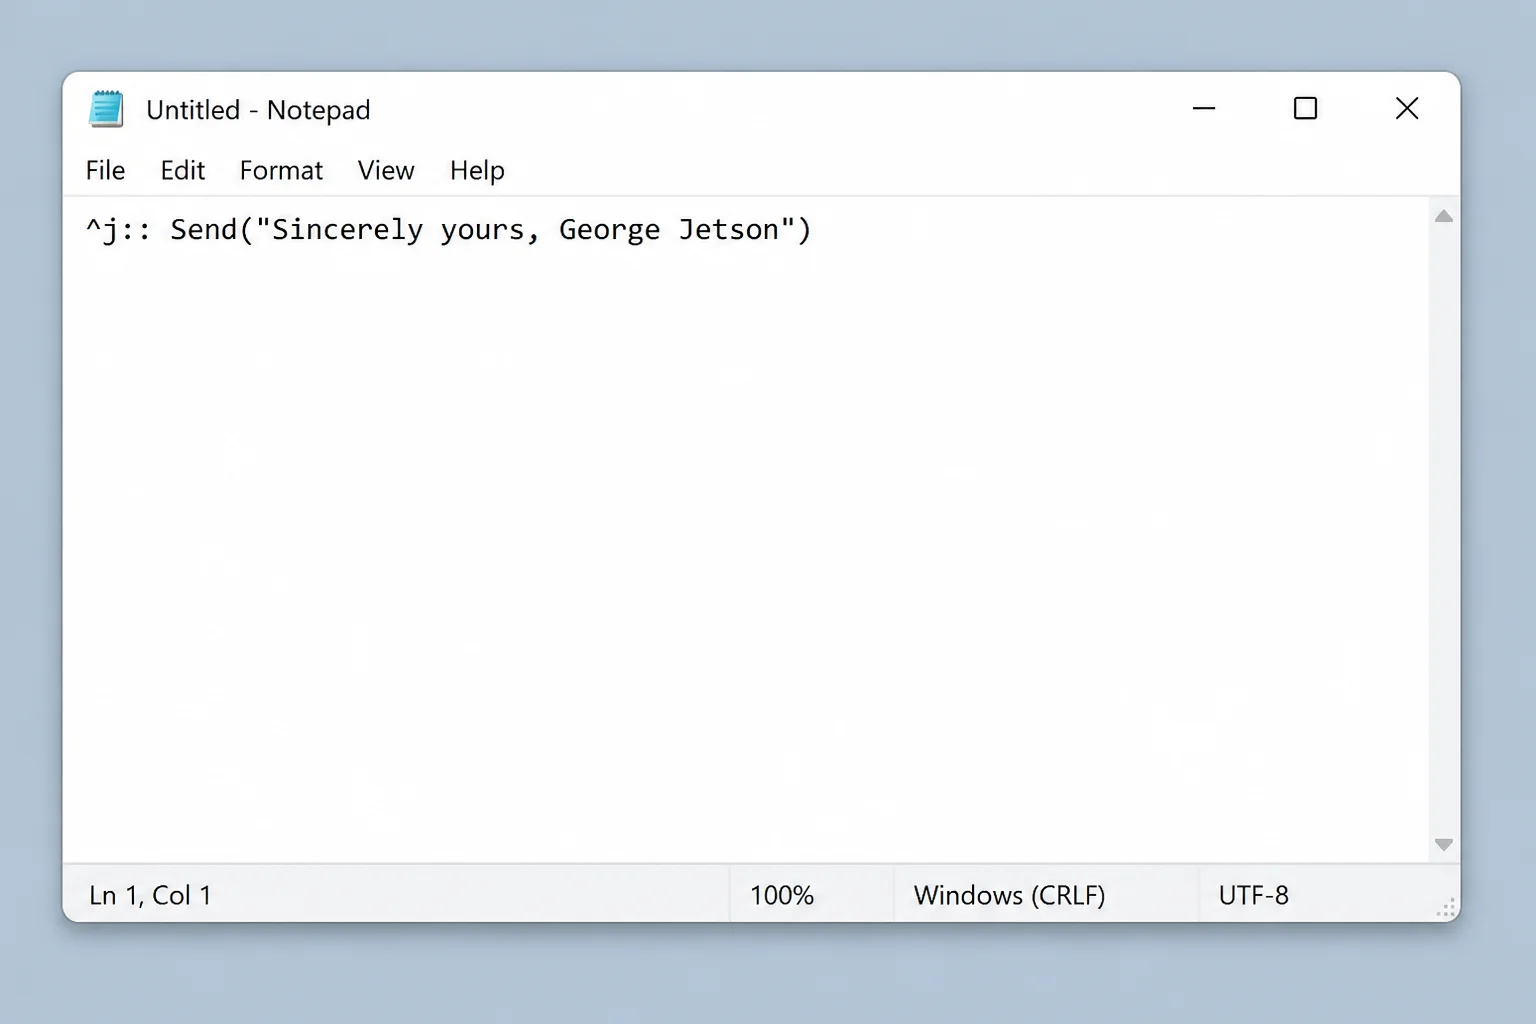
Right-click the new file and choose Edit Script. This opens it in Notepad (or your default text editor). You’ll see a line or two already in there, delete it all and start fresh with the following:
^j:: Send("Sincerely yours, George Jetson")Here’s what each piece means:
^means the Ctrl key.jis the key you press along with Ctrl.::separates the hotkey from the action.Send("...")tells AutoHotkey to type whatever’s inside the quotes.
Save the file when you’re done (Ctrl+S works fine in Notepad).
Step 3: Run the Script
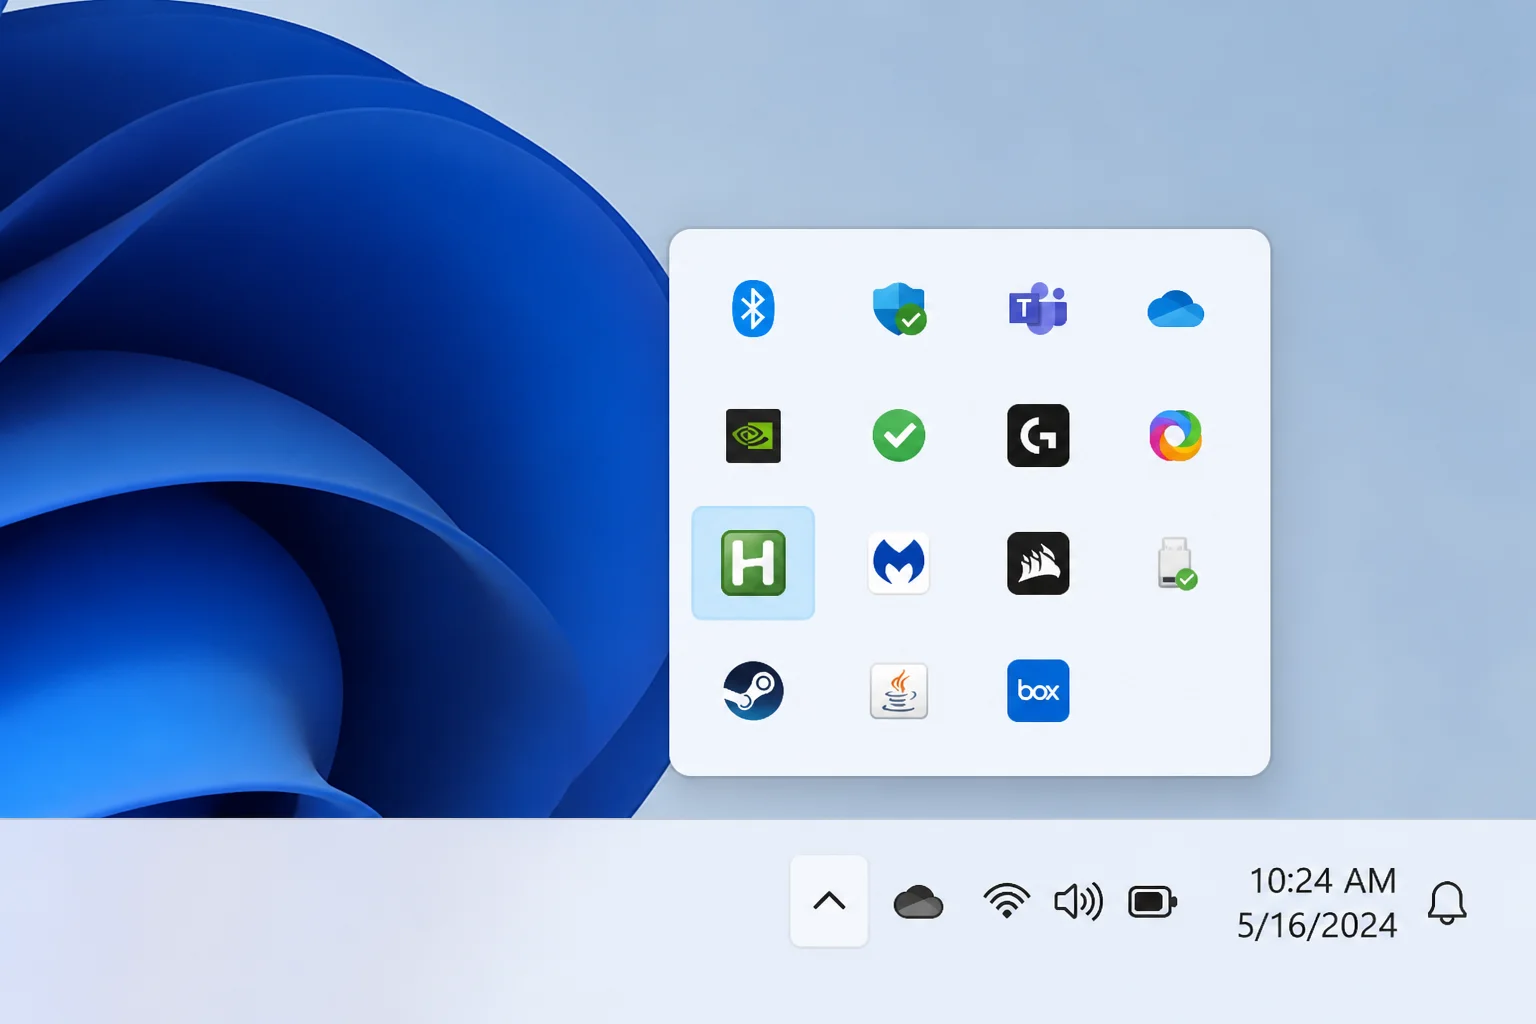
Double-click your .ahk file to run it. A small green “H” icon should appear in your system tray (the cluster of icons near your clock in the bottom-right corner). On Windows 11, it might be hiding under the up-arrow. Click that to reveal all your tray icons.
Now open Notepad, click somewhere on the page, and press Ctrl+J. The phrase “Sincerely yours, George Jetson” should appear instantly. (Swap in your own name, obviously, unless your name really is George Jetson.)
That’s a real, working AutoHotkey script. If it’s not firing, check the troubleshooting section below, we’ve got the most common fixes covered.
How to Create a Hotstring (Text Expansion)
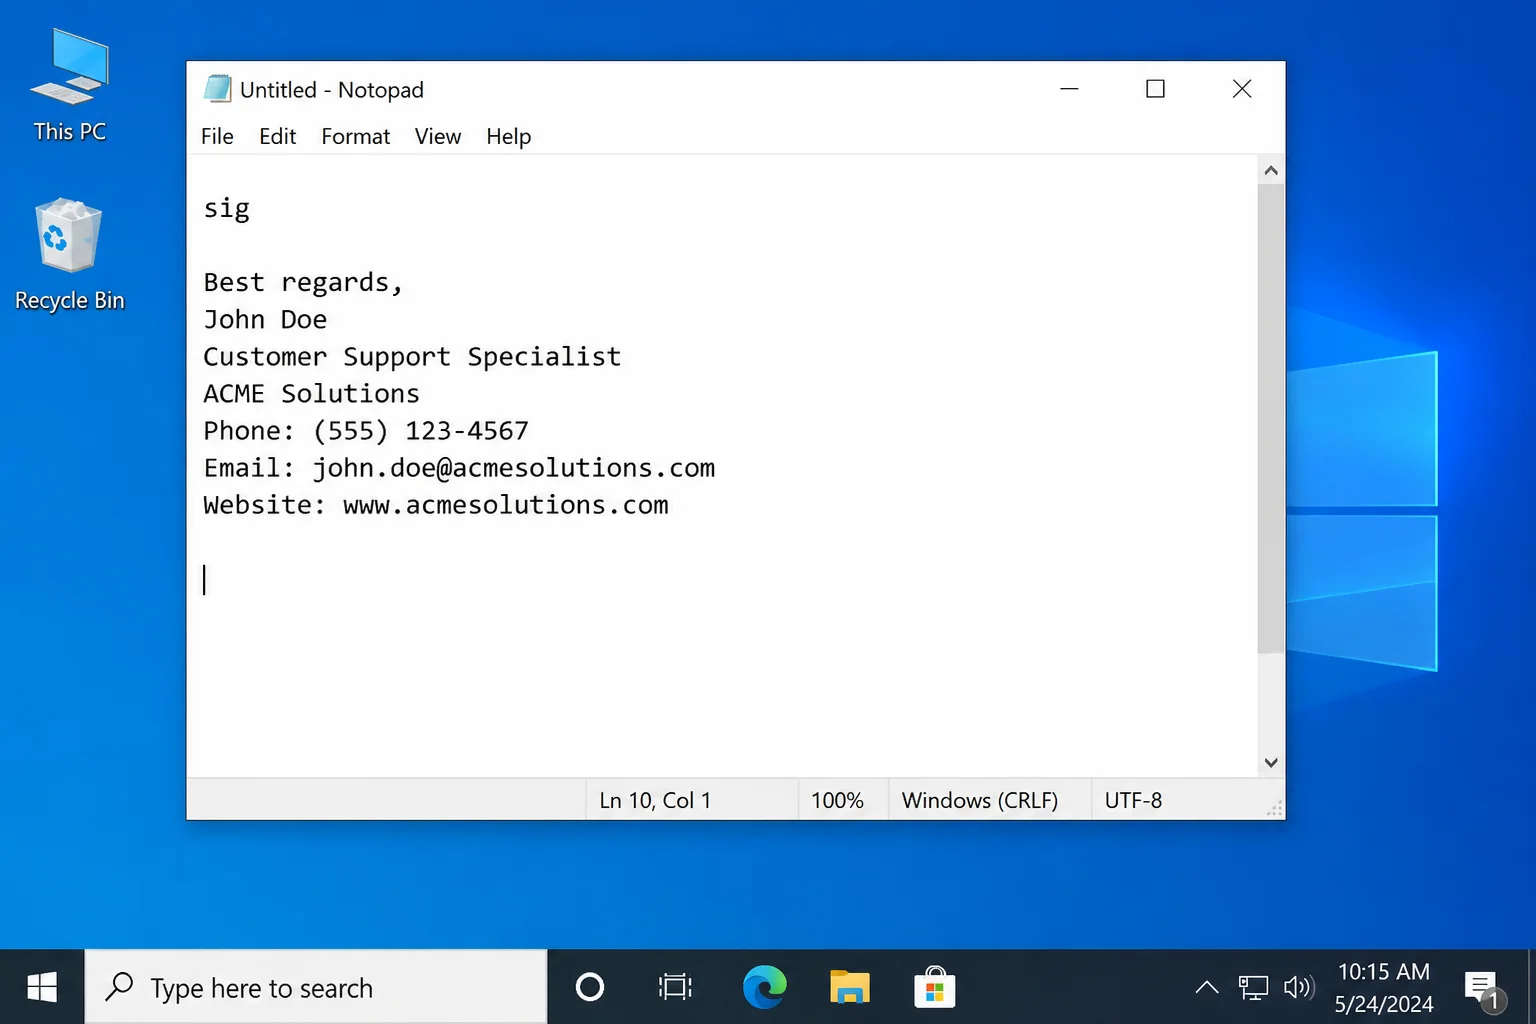
A hotstring works differently from a hotkey. Instead of pressing a key combo, you type a short abbreviation and AutoHotkey automatically replaces it with the full text. Think of it like autocorrect, except you’re in total control of what expands to what, and it works in every app on your computer.
The format is simple:
::abbreviation::Full replacement text goes hereFor example, to make wah automatically expand to “Windows AutoHotkey”:
::wah::Windows AutoHotkeyJust type wah in any text field and press Space or Enter after it, AutoHotkey swaps it out for the full text before you can blink.
For multi-line responses (like a canned email reply), use parentheses to wrap the block:
::wfhreply::
(
Hi,

I'm currently working from home and may respond a little more slowly than usual.

Best,
Your Name
)
You can stack as many hotstrings as you want in a single script file. Once you add new ones, right-click the green “H” tray icon and choose Reload Script to apply your changes without restarting anything.
More Useful Hotkey Examples
Hotkeys aren’t just for typing text. Here are a couple of real-world examples that go a bit further.
Open a File or Folder With a Shortcut
Tired of navigating to the same project folder every morning? This hotkey opens it instantly with Win+O:
#o::
{
    Run("C:\Users\YourName\Documents\Work Projects")
}
Just replace the path with your actual folder location. The # symbol means the Windows key, so #o triggers on Win+O.
Launch a Website With a Shortcut
#c::
{
    Run("https://calendar.google.com")
}
Press Win+C and your calendar opens in the browser. Handy for meeting-heavy days when you’re constantly checking your schedule.
Hotkey Symbol Reference
AutoHotkey uses special symbols to represent modifier keys. Once you know these, you can build pretty much any key combination you can imagine. These symbols work the same in both hotkeys and hotstrings.
| Symbol | Key / Meaning |
# | Windows key |
! | Alt |
^ | Ctrl |
+ | Shift |
& | Combine any two keys into a custom hotkey (e.g., F1 & F2) |
< | Left key of a matching pair (e.g., <! = left Alt only) |
> | Right key of a matching pair (e.g., >! = right Alt only) |
* | Wildcard, fires even if other modifier keys are also held down |
UP | Triggers when you release the key, not when you press it |
You can mix and match these freely. For example, ^+j means Ctrl+Shift+J, and <!a means only the left Alt key triggers the hotkey (not the right one). That kind of precision is great when you want to avoid conflicts with other shortcuts.
How to Run Your Script Automatically at Startup
Right now your script only runs when you manually double-click it. That gets old fast. Here’s how to make it launch automatically every time you log in to Windows, works the same on both Windows 10 and Windows 11.
- Press
Win+Rto open the Run dialog. - Type
shell:startupand press Enter. This opens your personal Startup folder. - Copy your
.ahkscript file (or a shortcut to it) into this folder.
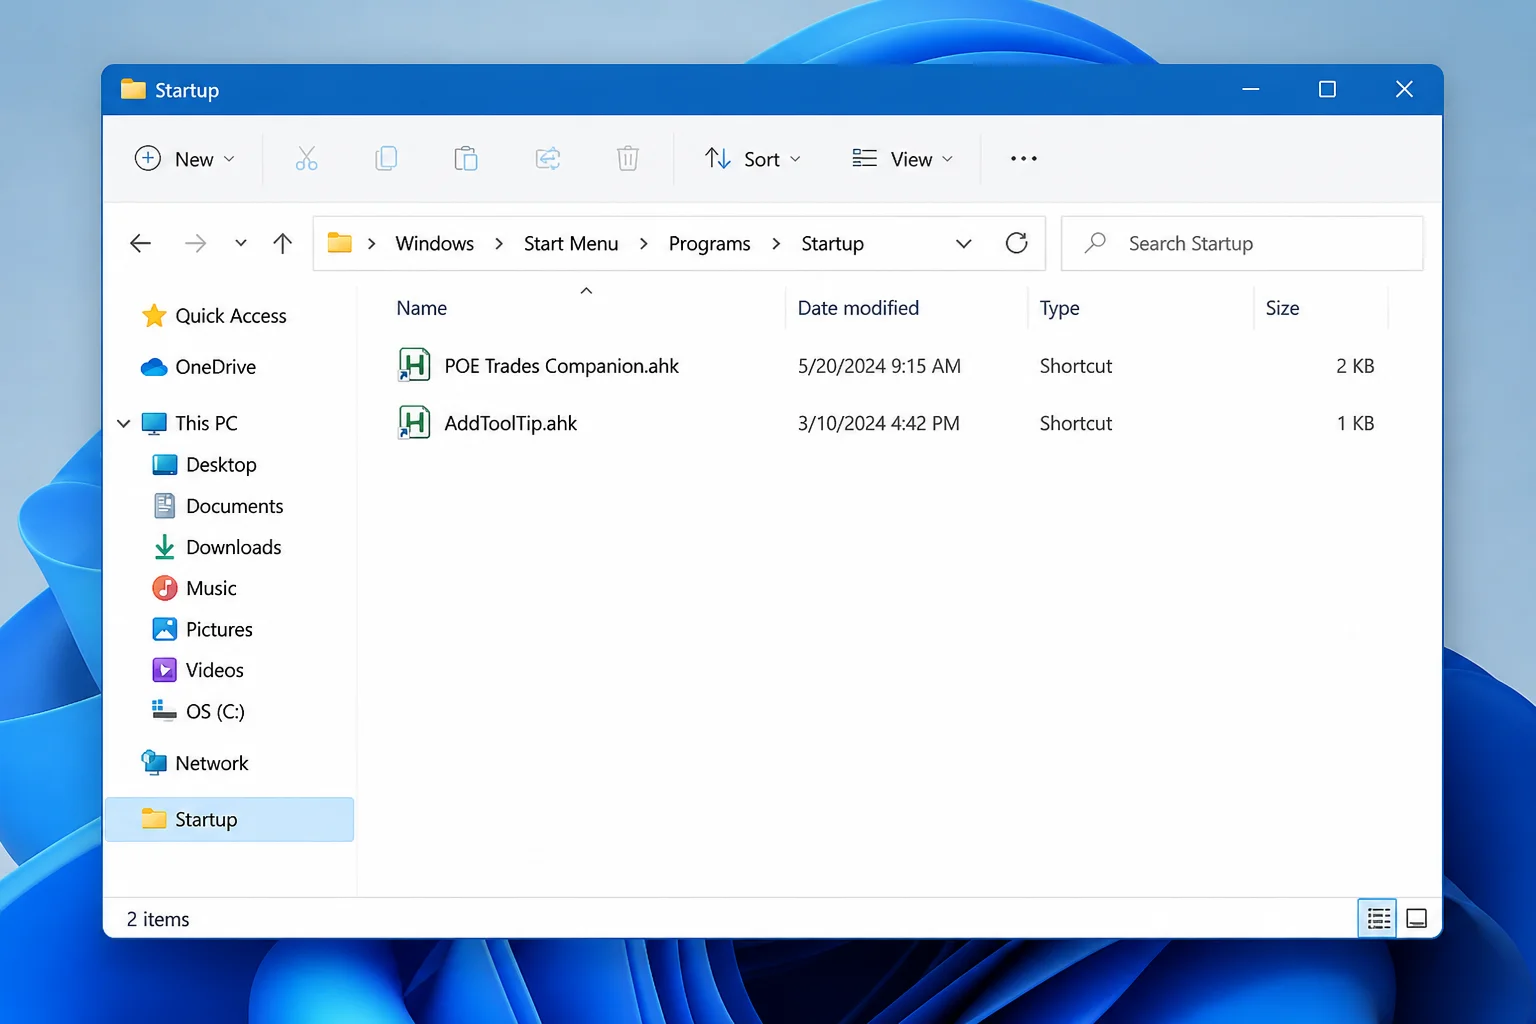
That’s it. Next time you log in, the script starts running in the background on its own. To stop a script from launching at startup, just delete it (or its shortcut) from that folder.
Want the script to run for all users on the computer? Use shell:common startup in the Run dialog instead.
Finding Ready-Made Scripts
AutoHotkey has a massive, active community that’s been building and sharing scripts for years. Why start from scratch when someone’s probably already made exactly what you need?
The best place to browse is the AutoHotkey Community Forums. When you’re looking for ready-made scripts, head to the AutoHotkey V2 Scripts and Functions section, make sure it says V2 so you’re not grabbing old v1 code that won’t work.
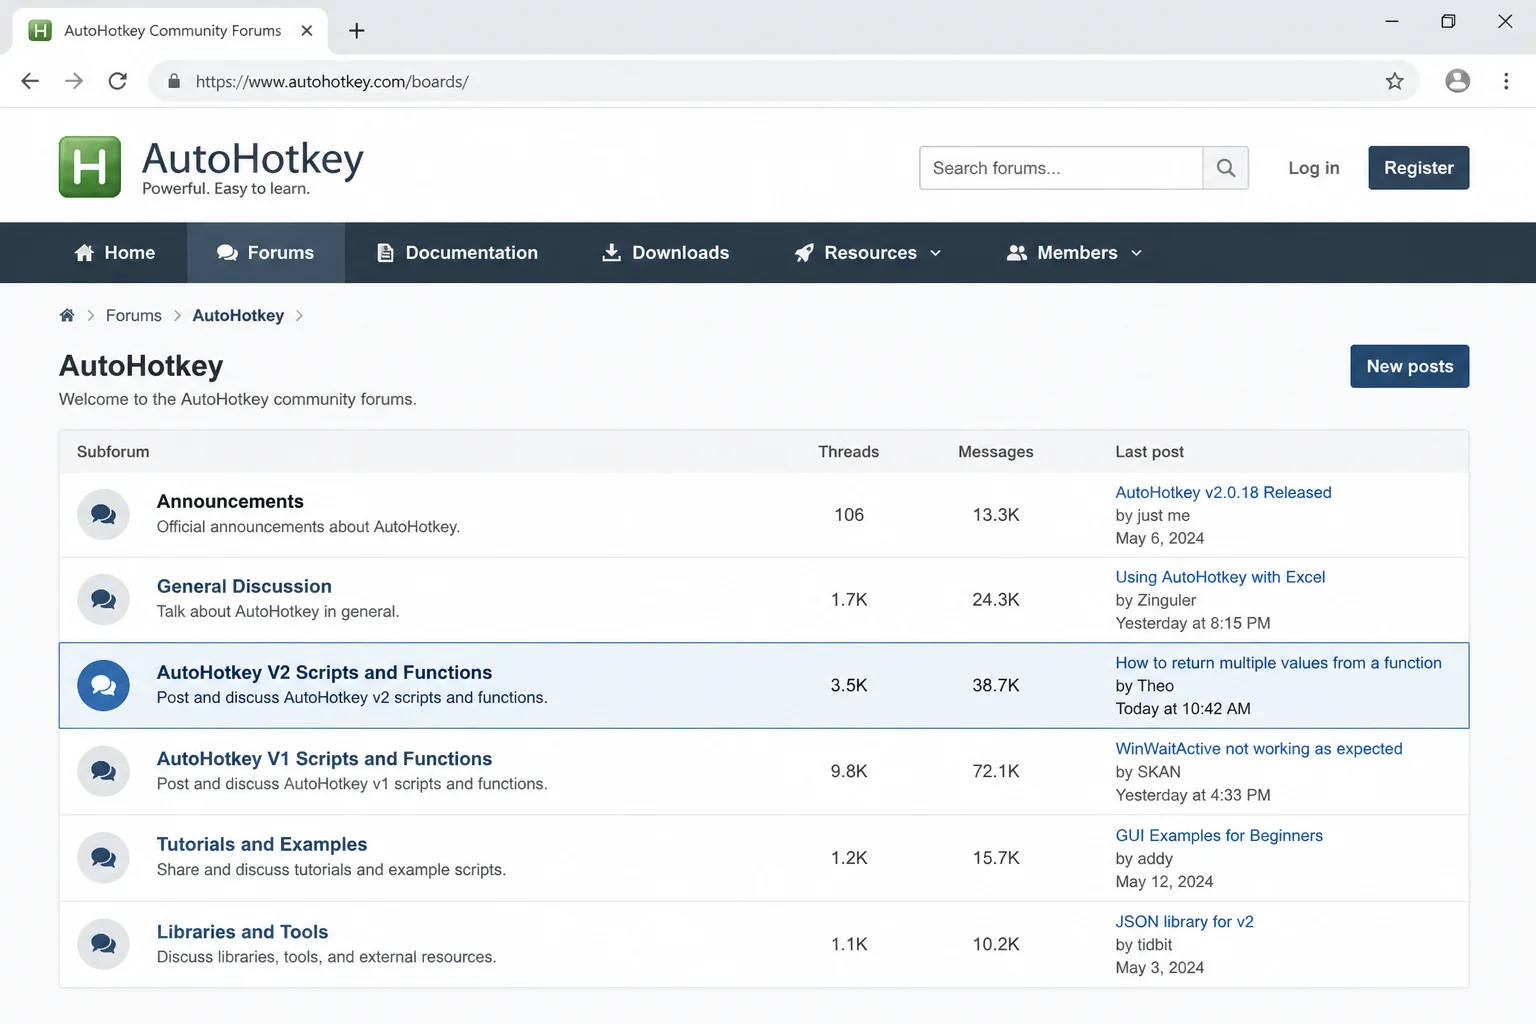
People have created scripts that do everything from resizing windows with the right mouse button to controlling media playback and toggling microphone mute in video calls. You can copy and paste these scripts directly into your own .ahk file.
The r/AutoHotkey subreddit is also a great resource, especially for Windows 11-specific questions and finding scripts that have already been updated to v2 syntax.
Alternatives to AutoHotkey
AutoHotkey is excellent, but it’s not for everyone. If writing scripts feels like too much, here are a few alternatives worth knowing about.
- Power Automate for Desktop: Built into Windows 11 (and free to download for Windows 10). It’s a point-and-click automation tool, no scripting at all. Great for automating tasks inside Microsoft 365 apps like Word, Excel, and Outlook. It’s more complex to learn for simple tasks, but powerful once you get the hang of it.
- Pulover’s Macro Creator: A visual recorder that generates AutoHotkey code under the hood. If you want the power of AutoHotkey without hand-writing scripts, this tool lets you click through actions and it writes the code for you.
- Espanso: A cross-platform text expander that works on Windows, macOS, and Linux. If hotstrings are all you need and you want something simpler, Espanso is worth a look, and it’s free.
Tips and Troubleshooting
Common Issues
Problem: I double-clicked the script but nothing happened
First, check the system tray for the green “H” icon, if it’s there, the script is actually running fine, and the hotkeys just may not have fired yet. If the icon isn’t there at all, try these fixes:
- Make sure the file is saved as
.ahkand not.ahk.txt. Windows sometimes hides extensions, check View > Show > File name extensions in File Explorer to confirm. - Uninstall AutoHotkey, then reinstall it from the official site using the default settings.
- Create a dead-simple test script containing just
MsgBox "It works!"and double-click it. If a message box pops up, your installation is fine and the issue is in your script.
Problem: My hotkeys aren’t firing in a specific app
This is almost always a permissions issue. If the target app is running as administrator but your AutoHotkey script isn’t, Windows blocks the lower-privilege script from sending keystrokes to it. Fix: right-click your .ahk file and choose Run as administrator. Note that using AutoHotkey with games that have anti-cheat systems is a bad idea, they’ll likely flag it.
Problem: I copied a script online and it’s throwing errors
Almost certainly a v1 vs v2 mismatch, this is why it’s so confusing at first. Check the date on the post you copied from. Anything written before 2024 is likely v1 syntax. Look for a v2 version of the script, or search the AutoHotkey forums for an updated equivalent.
Pro Tips
- Reload without restarting: After editing your script, right-click the green “H” tray icon and choose Reload Script. No need to close and relaunch the file.
- Keep all shortcuts in one file: Put all your hotkeys and hotstrings in a single
.ahkfile. One script running quietly in the tray is much cleaner than five. - Comment your code: Start any line with a semicolon (
;) to leave yourself a note. Example:; Opens my project folder. Future you will be grateful. - Windows 11 tray tip: If you can’t find the “H” icon, click the up-arrow (
^) in the bottom-right corner of the taskbar to expand the hidden tray icons.
Wrapping Up
If you’ve got your first hotkey or hotstring up and running, that persistence paid off! AutoHotkey v2 has a small learning curve, but once it clicks you’ll wonder how you ever got through the day without it. A few well-placed hotstrings can save you real time every single week, and the more you experiment, the more uses you’ll find.
Start simple: pick one or two things you type constantly and turn them into hotstrings. Then branch out into hotkeys for files and websites. The AutoHotkey community forums and r/AutoHotkey are full of people who’ve already solved whatever you want to tackle next, so don’t be shy about asking. The sky really is the limit with this tool.