
Want to watch Netflix on the big screen or give a presentation without squinting at your laptop? You’re in the right place. Connecting your laptop to a TV used to be a cable nightmare, but these days it’s actually pretty straightforward whether you go wired or wireless.
We’ll walk you through the most reliable methods that work in 2026, from good old HDMI cables to fancy wireless casting. Fair warning: some methods work better than others, and we’ll tell you which ones are worth your time (and which ones will just frustrate you).
What Are Your Connection Options?
Before we dive into the how-to stuff, let’s get our bearings. You’ve got two main approaches: wired connections (plug in a cable) and wireless streaming (no cables, but you need the right hardware).
Key Connection Types:
- HDMI: The gold standard — works on most laptops and all modern TVs
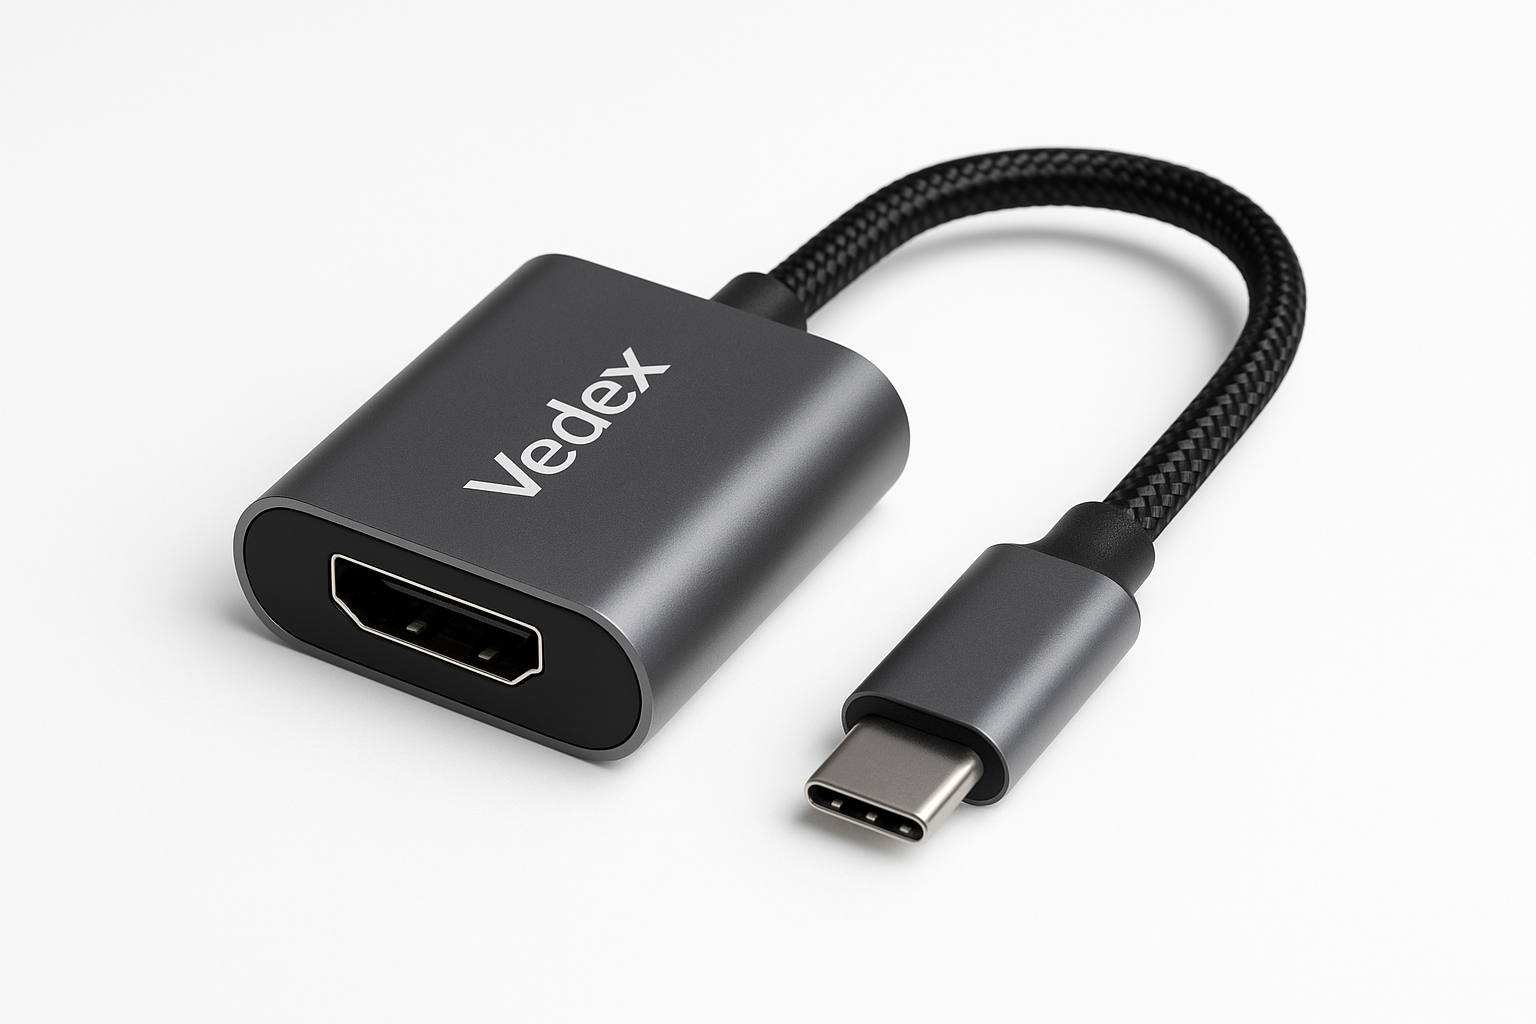
- USB-C to HDMI: Perfect for newer laptops that ditched the HDMI port
- Miracast: Windows’ built-in wireless casting to smart TVs
- AirPlay: Apple’s wireless solution for Macs to Apple TVs and compatible smart TVs
- Chromecast: Google’s streaming stick that works with any laptop via Chrome browser
Method 1: HDMI Cable (Most Reliable)
Let’s start with the tried-and-true method that just works. HDMI gives you the best picture quality with zero lag, which perfect for gaming or watching movies.
What You Need
- An HDMI cable (about $10-15 for a decent one)
- A laptop with an HDMI port (or a USB-C to HDMI adapter if your laptop is super thin)
- A TV with an HDMI input (basically any TV made after 2005)
Step-by-Step Instructions
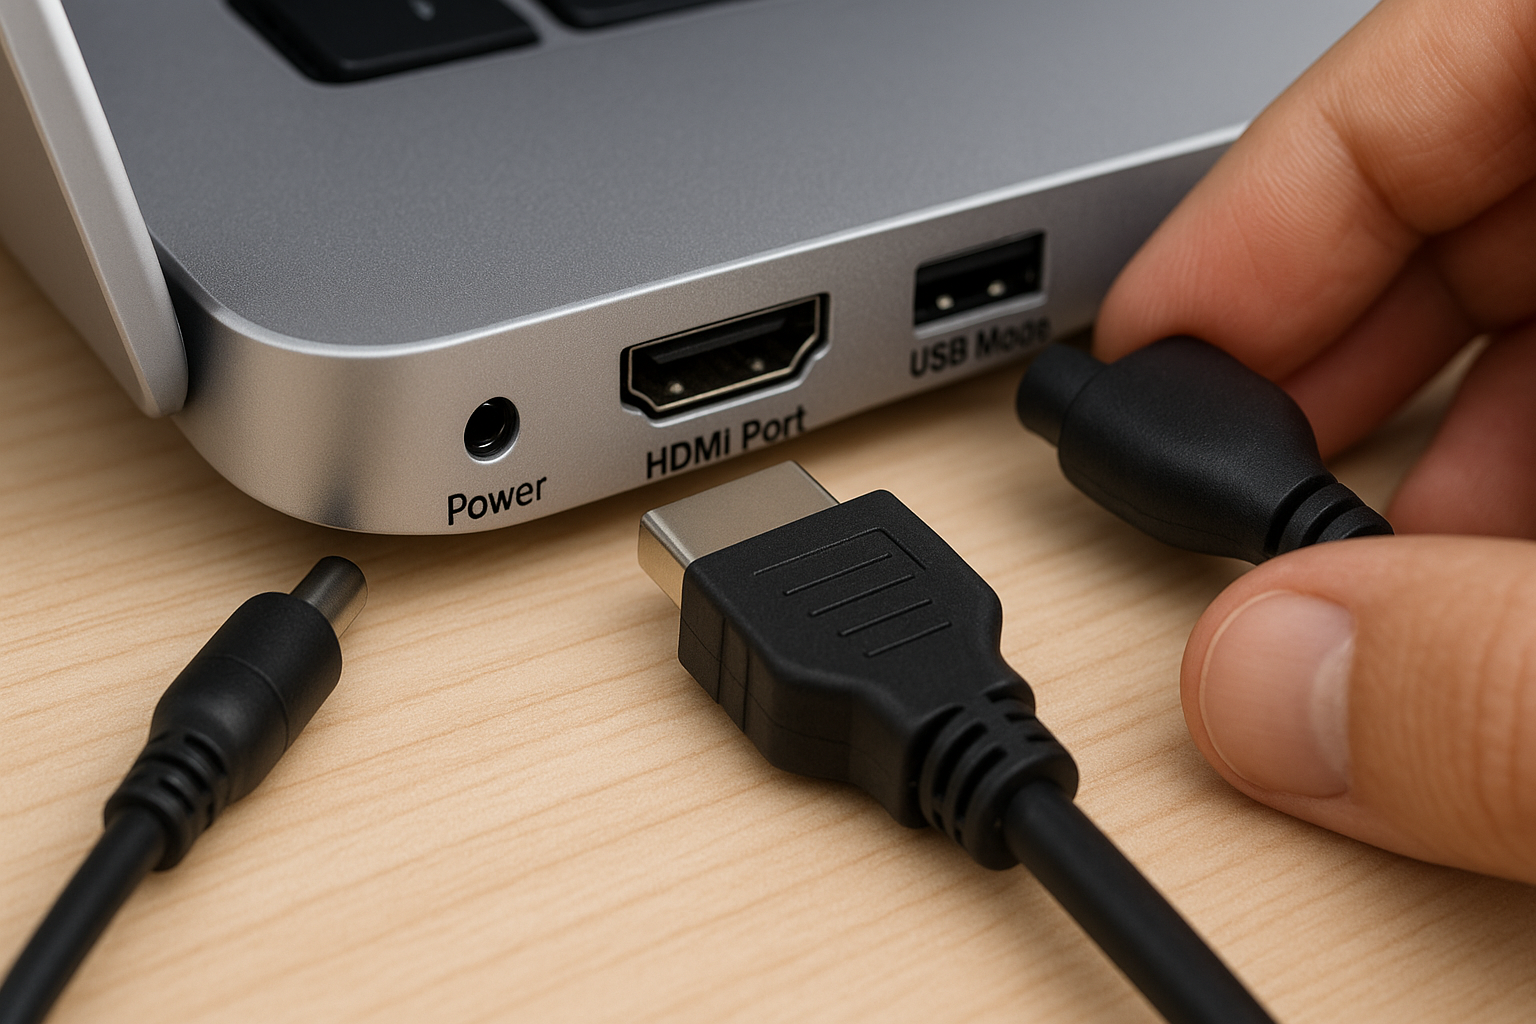
Step 1: Connect the Cable
Plug one end of the HDMI cable into your laptop’s HDMI port, and the other end into any available HDMI port on your TV. Make note of which HDMI port you’re using (HDMI 1, HDMI 2, etc.).
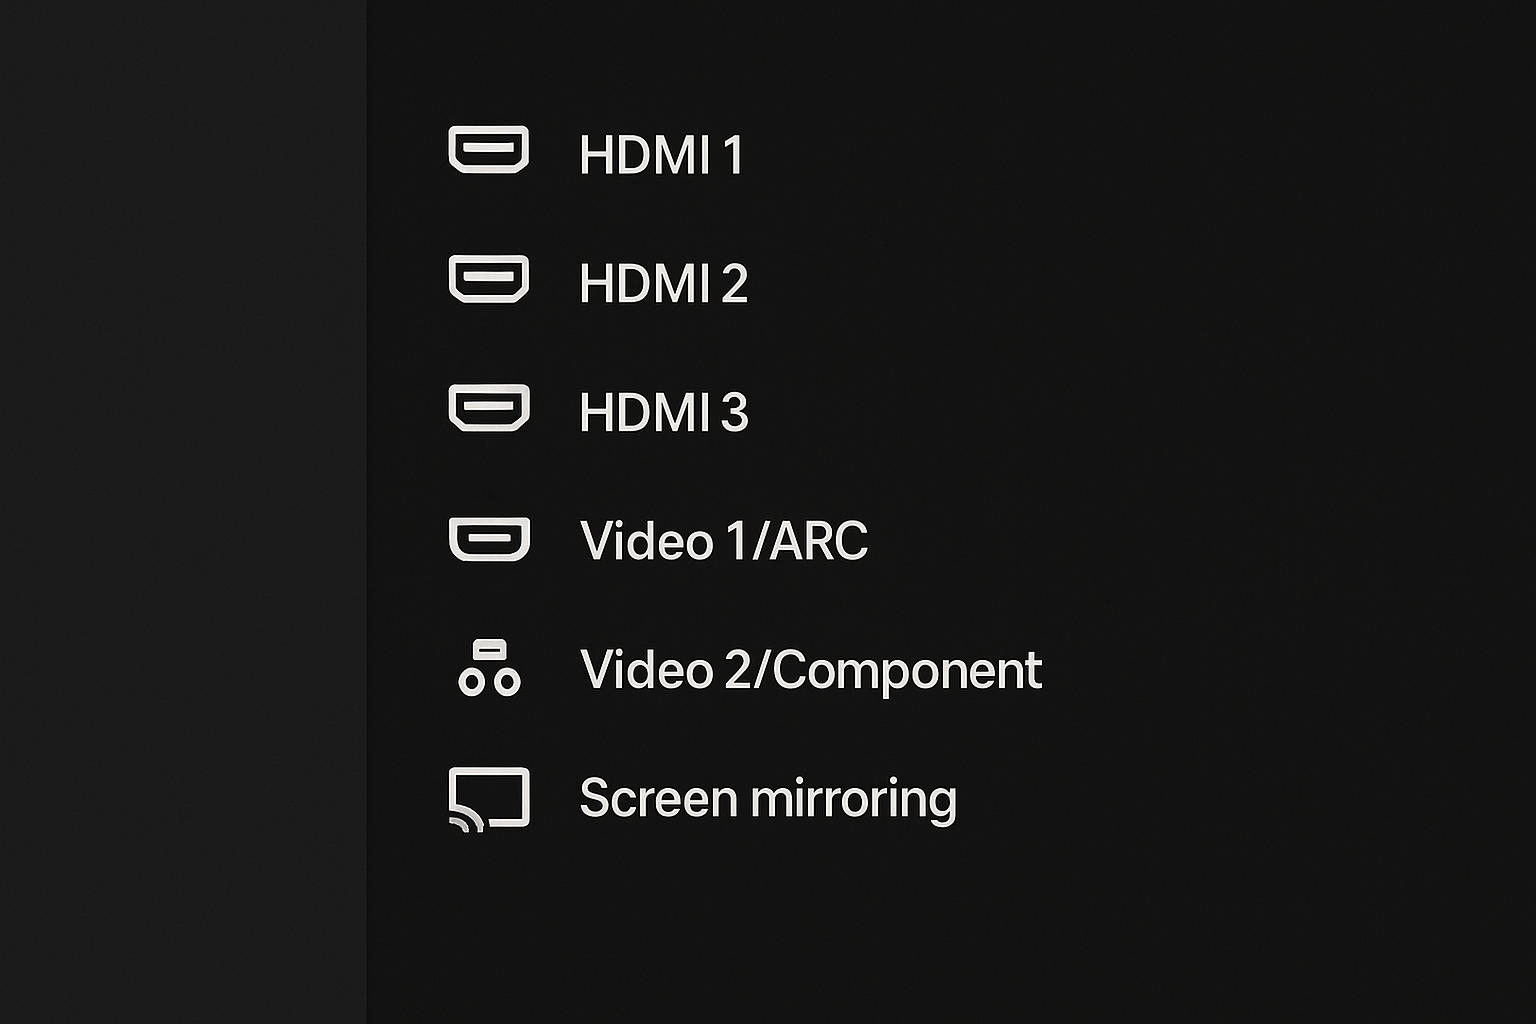
Step 2: Switch TV Input
Grab your TV remote and press the Input or Source button. Select the HDMI port you just plugged into (like HDMI 1).
Step 3: Configure Your Display
On Windows 11
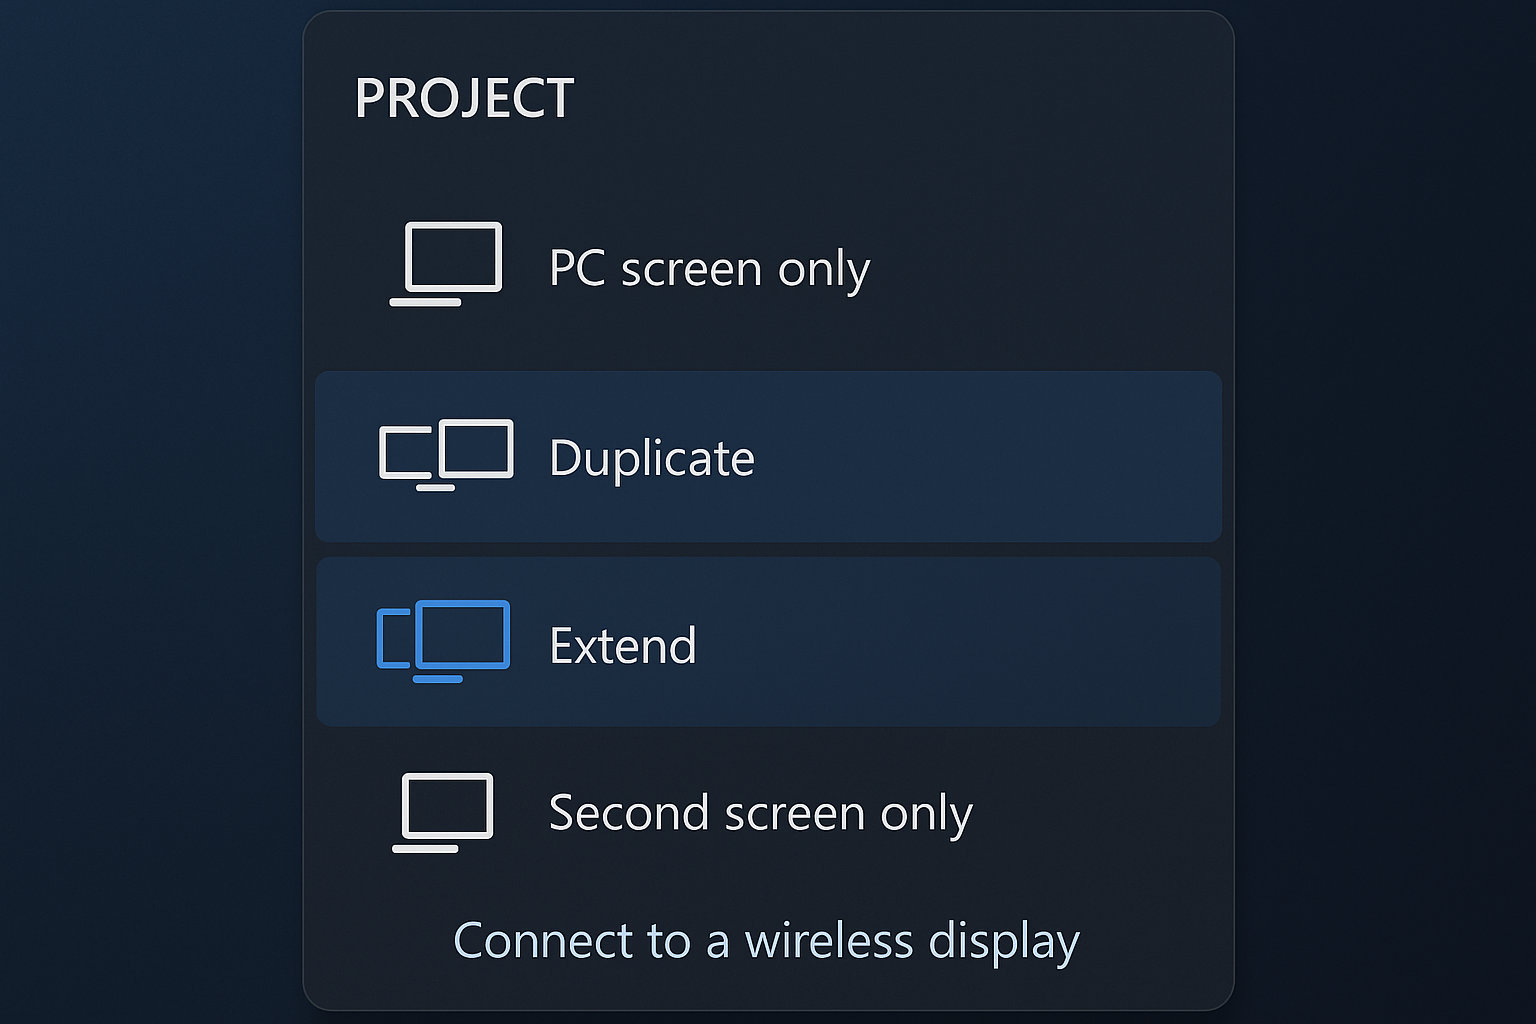
Press Windows + P to open the display options. You’ll see four choices:
- PC screen only: Laptop display stays on, TV stays black
- Duplicate: Same thing shows on both screens
- Extend: TV becomes a second monitor (you can drag windows between them)
- Second screen only: Laptop screen goes black, everything shows on TV
Pick Duplicate if you want the same thing on both screens, or Second screen only if you want to use just the TV.
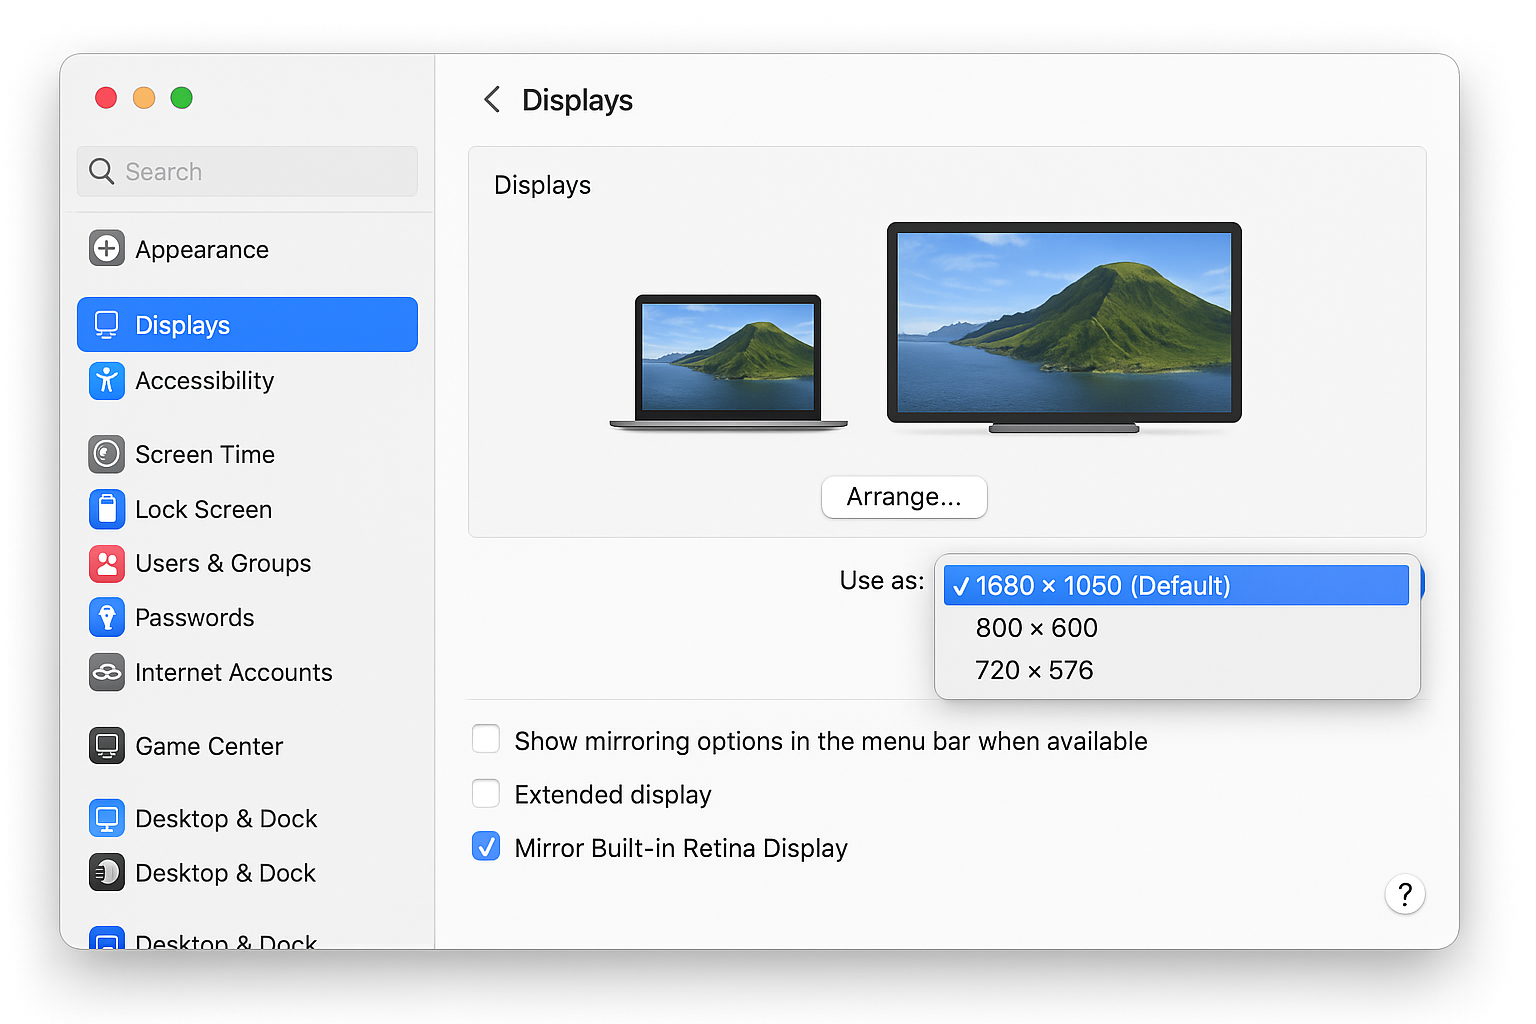
On macOS
Go to System Settings > Displays. You should see both your laptop screen and TV listed. Click Arrangement to choose whether you want to mirror the displays or extend them.
Step 4: Fix Audio (If Needed)
Sometimes the audio stays on your laptop instead of going to the TV. Here’s how to fix it:
Windows: Right-click the speaker icon in your taskbar, select Open Sound settings, then choose your TV from the Choose your output device dropdown.
macOS: Go to System Settings > Sound > Output and select your TV.
Method 2: USB-C to HDMI (For Modern Laptops)
Got a MacBook, Surface, or ultra-thin laptop that ditched the HDMI port? USB-C to HDMI adapters are your friend. Just make sure your USB-C port supports video output (most do, but some cheap laptops only use USB-C for charging).
Step-by-Step Instructions
Step 1: Get the Right Adapter
Buy a USB-C to HDMI adapter that supports your laptop’s resolution. For 4K, make sure it says “4K@60Hz” on the packaging. Expect to spend $20-40 for a reliable one.
Step 2: Connect Everything
Plug the USB-C end into your laptop, connect your HDMI cable to the adapter, then connect the other end to your TV.
Step 3: Configure Display
Follow the same display configuration steps from Method 1 above. The process is identical once everything’s connected.
Method 3: Miracast (Windows Wireless)
Windows 11 has built-in wireless display casting called Miracast. It works with most smart TVs made after 2018, and when it works, it’s pretty sweet. The key phrase there being “when it works” as wireless can be quite finicky.
What You Need
- A Windows 10/11 laptop
- A Miracast-compatible smart TV (most Samsung, LG, Sony TVs from 2018+)
- Both devices on the same Wi-Fi network
Step-by-Step Instructions
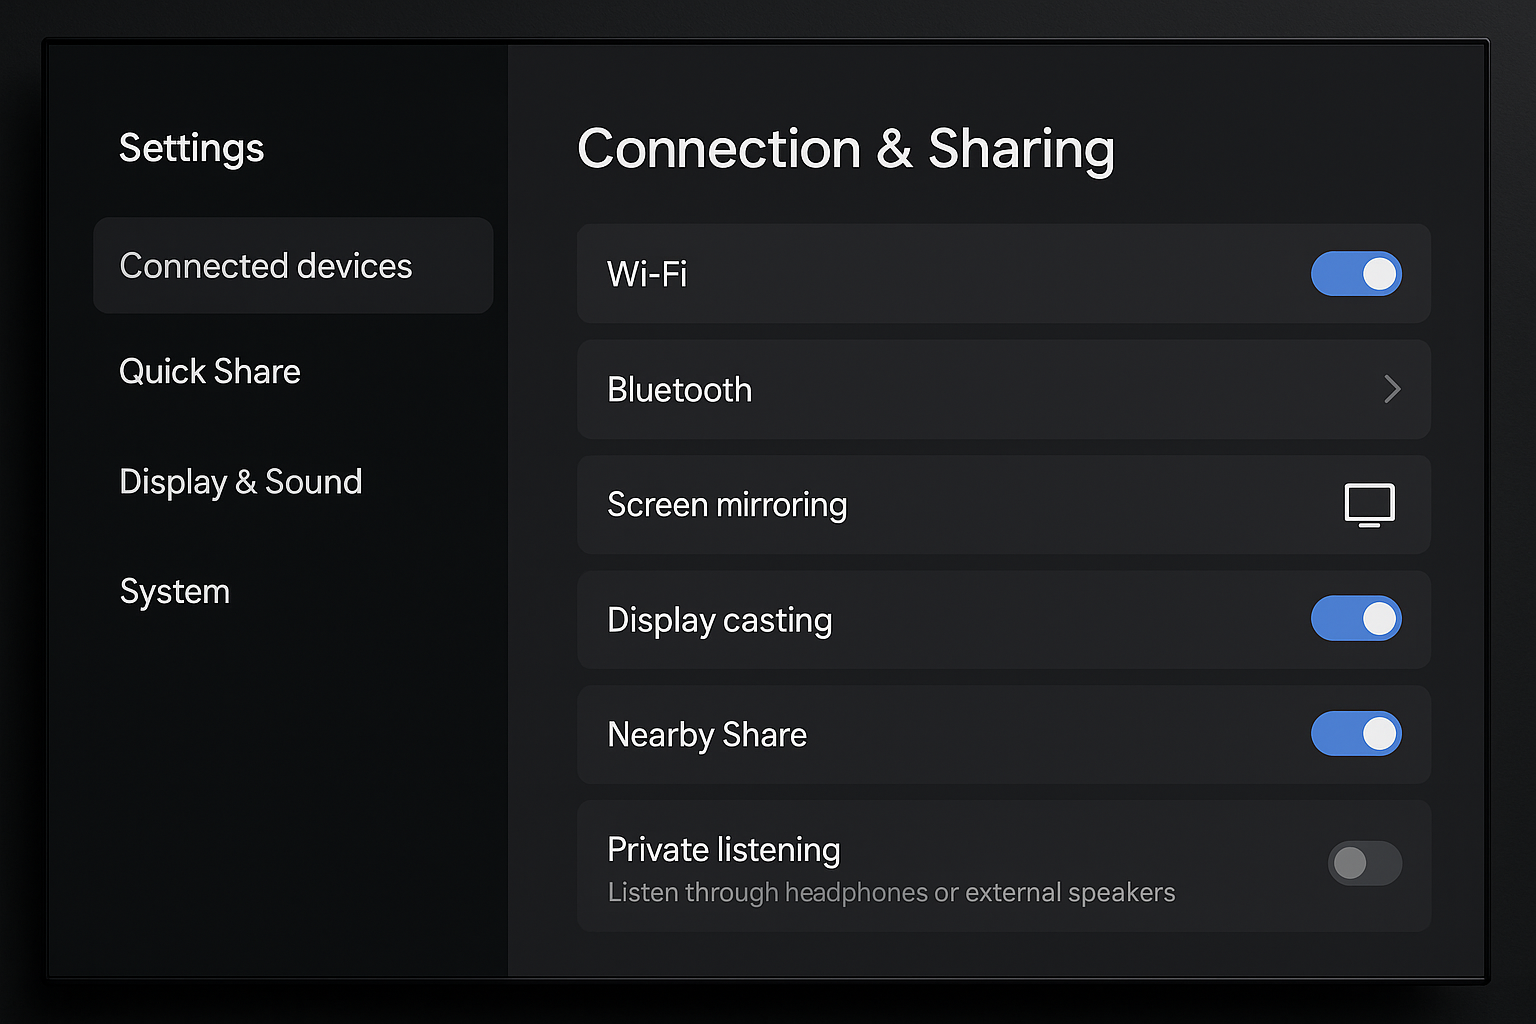
Step 1: Enable Screen Mirroring on Your TV
This varies by TV brand, but look for settings like Screen Mirroring, Miracast, or Wireless Display in your TV’s settings menu. Turn it on.
Step 2: Connect from Windows
Press Windows + K to open the Connect panel. Your TV should appear in the list of available devices. Click on it.
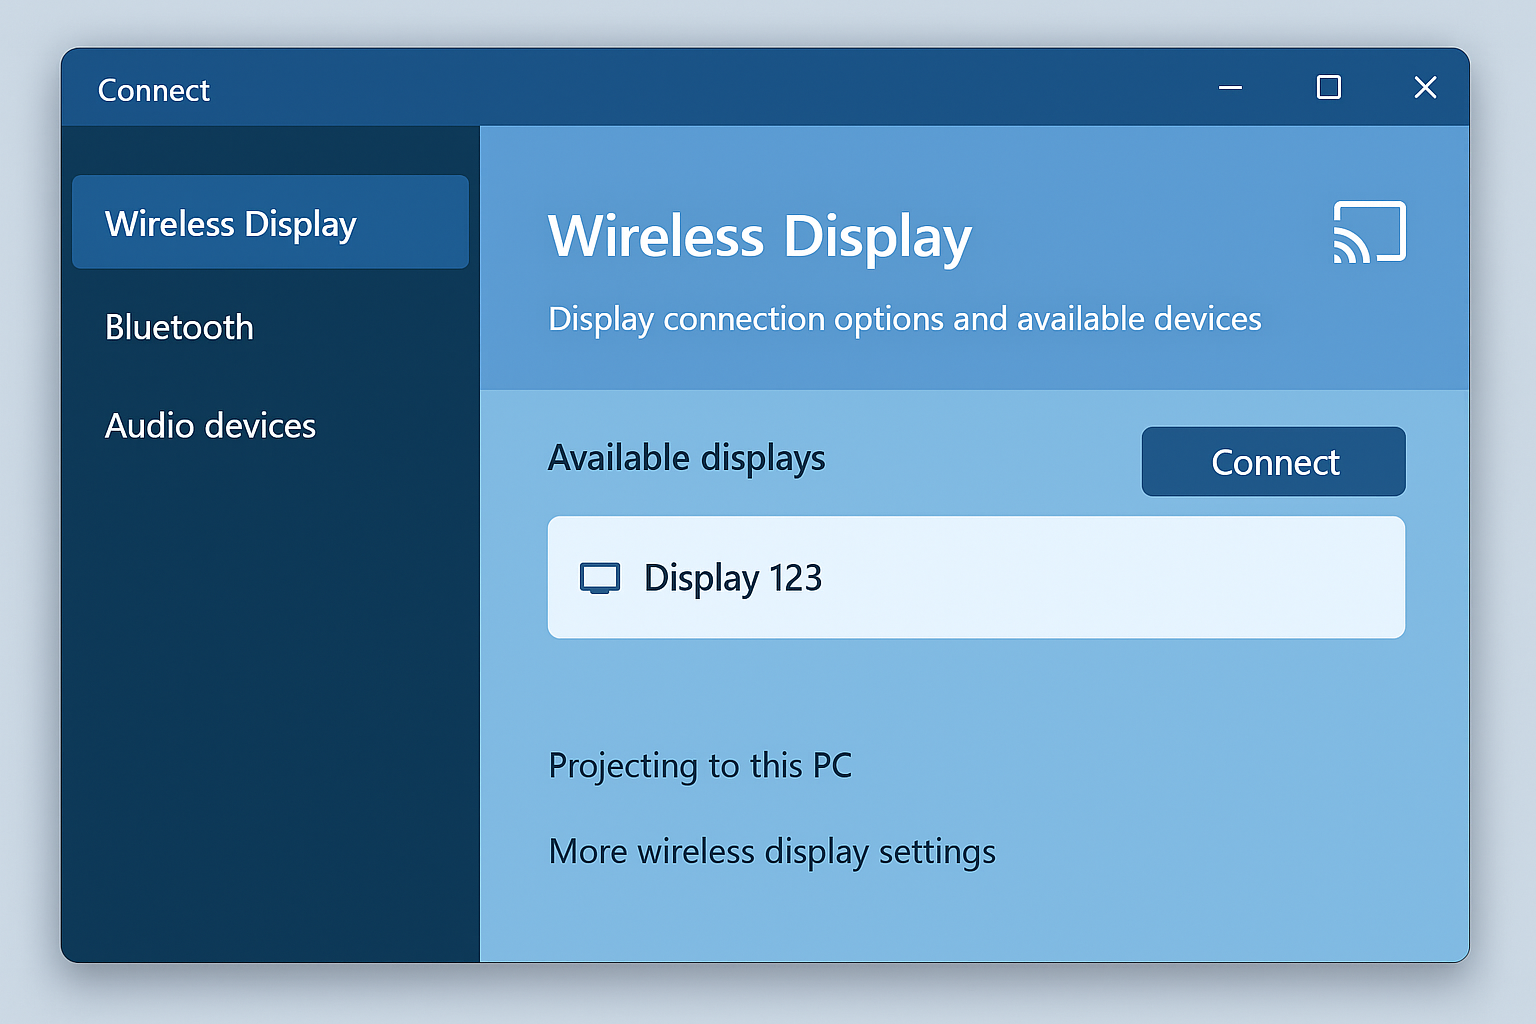
Step 3: Enter PIN (If Prompted)
Some TVs will show a PIN on screen that you need to enter on your laptop. Just type it in and hit Connect.
Step 4: Choose Display Mode
Once connected, you can choose to duplicate or extend your display just like with HDMI.
Method 4: AirPlay (Mac Wireless)
If you’re in the Apple ecosystem, AirPlay is probably your best wireless option. It works with Apple TVs (obviously) but also newer smart TVs from Samsung, LG, and others.
What You Need
- A Mac running macOS Monterey or later
- An Apple TV or AirPlay-compatible smart TV
- Both devices on the same Wi-Fi network
Step-by-Step Instructions
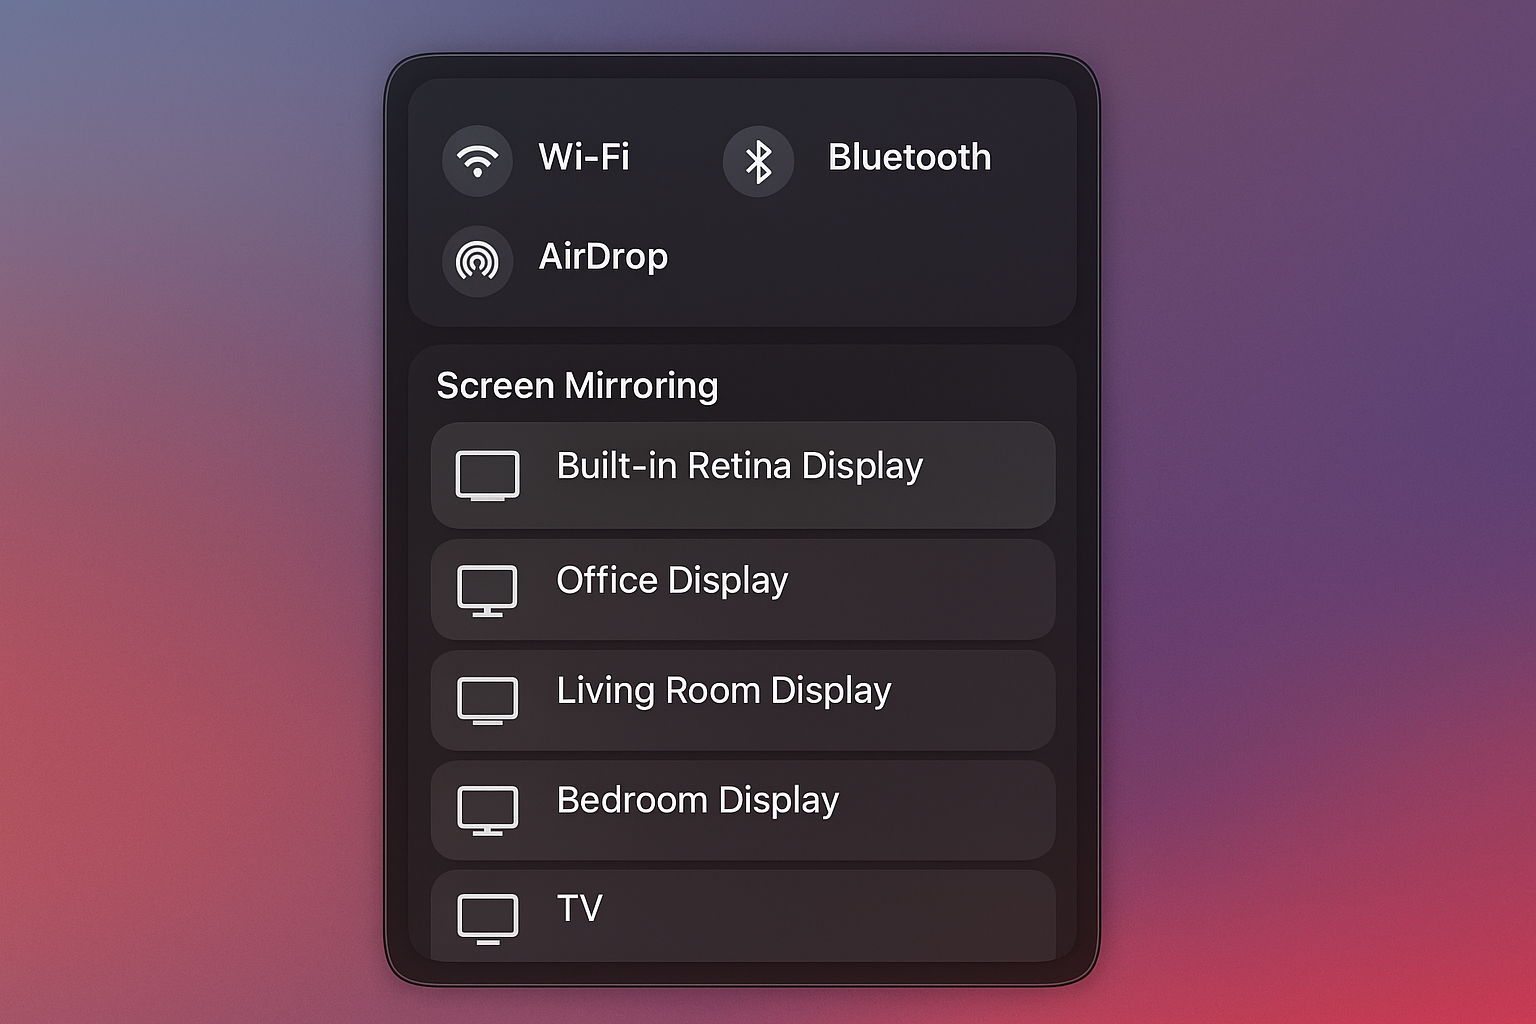
Step 1: Open Control Center
Click the Control Center icon in your Mac’s menu bar (looks like two toggle switches).
Step 2: Start Screen Mirroring
Click Screen Mirroring and select your TV or Apple TV from the list.
Step 3: Enter Code (If Needed)
Your TV might show a 4-digit code. Enter it on your Mac and you’re good to go.
Method 5: Chromecast (Universal Wireless)
Google’s Chromecast works with any laptop that can run Chrome browser: Windows, Mac, or Chromebook. The newer Google TV Streamer is even better, but the classic Chromecast still gets the job done.
What You Need
- A Chromecast or Google TV Streamer ($30-50)
- Chrome browser on your laptop
- Both devices on the same Wi-Fi network
Step-by-Step Instructions
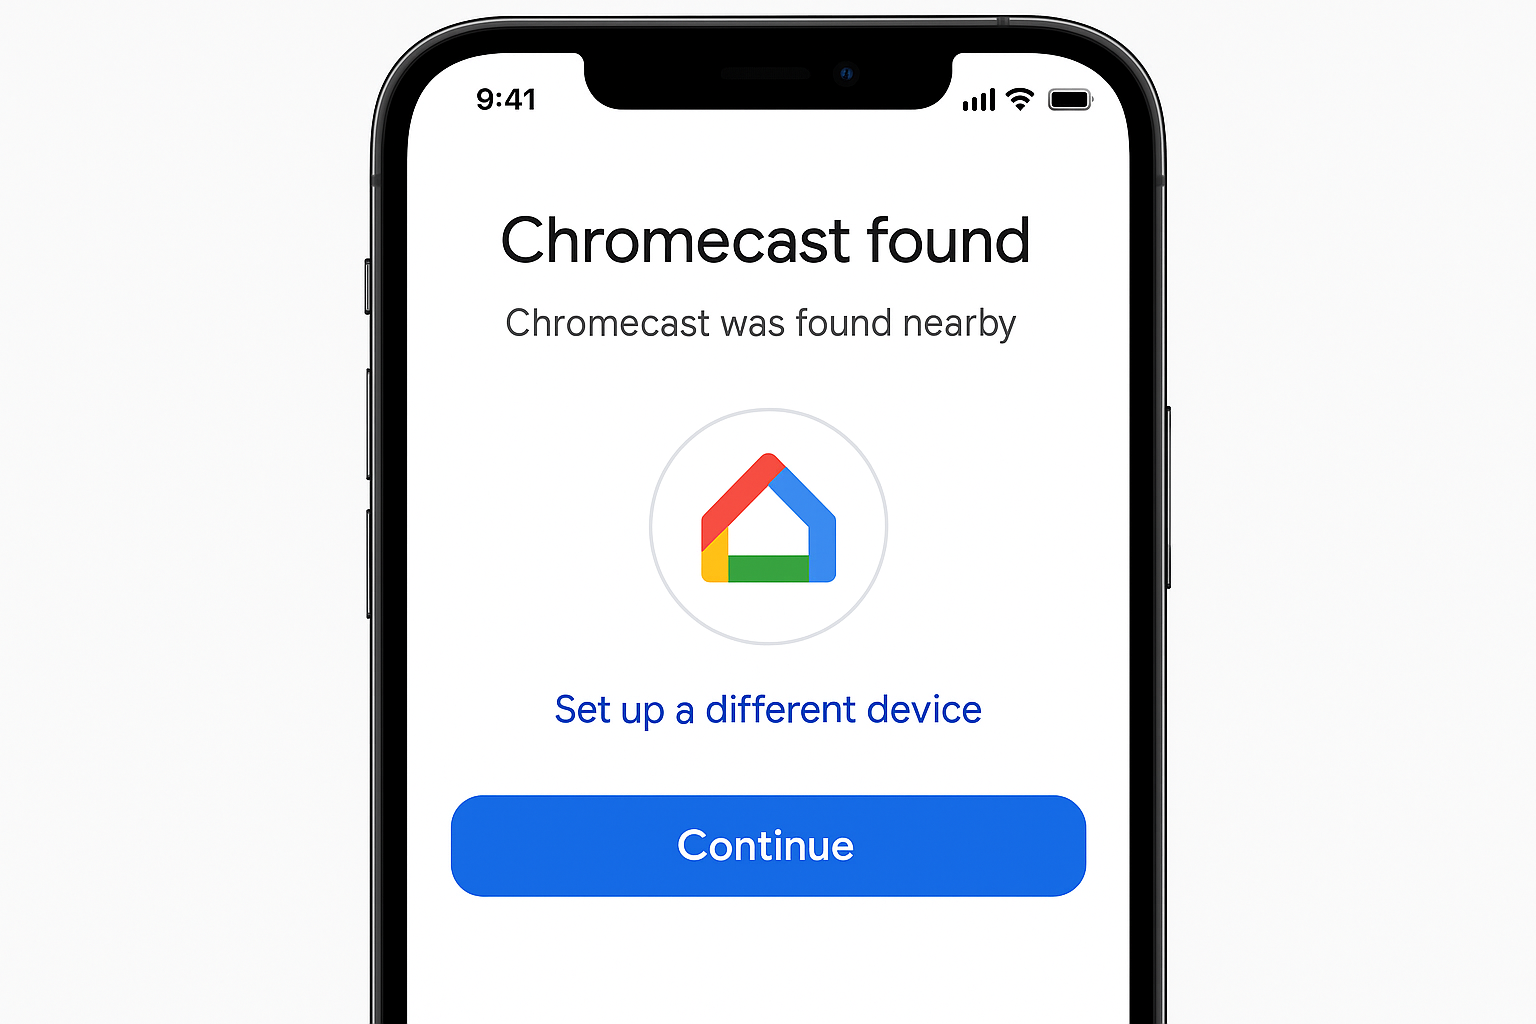
Step 1: Set Up Your Chromecast
Plug the Chromecast into your TV’s HDMI port and set it up using the Google Home app on your phone. This is a one-time thing.
Step 2: Cast from Chrome
Open Chrome on your laptop, click the three-dot menu, and select Cast. Choose your Chromecast from the list.
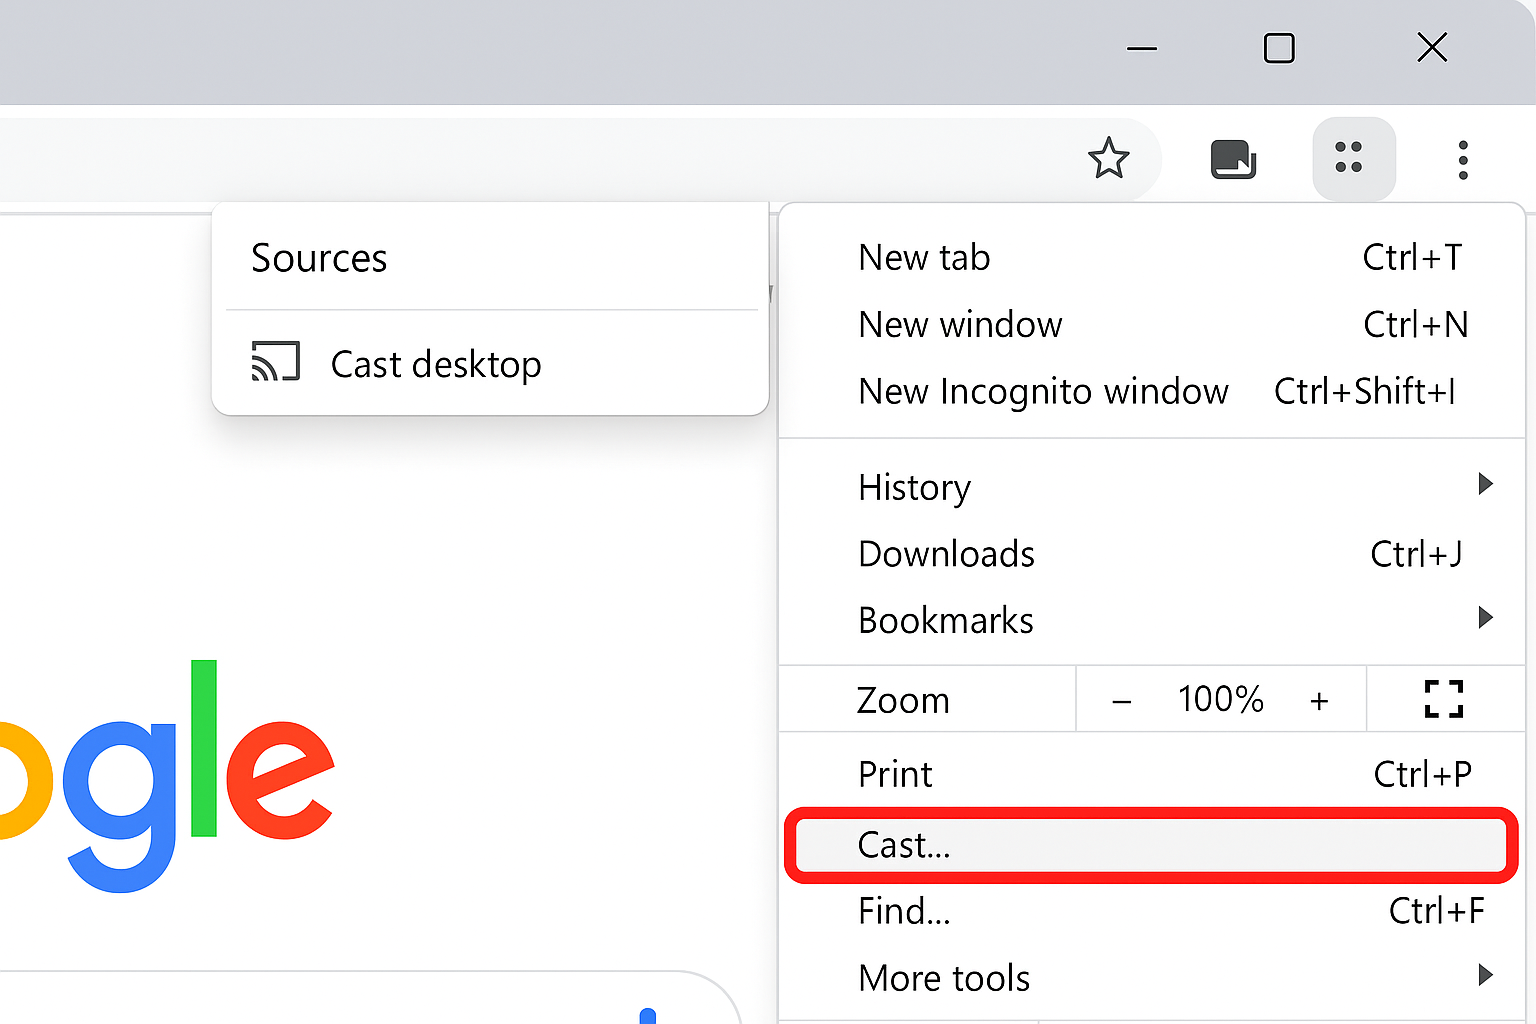
Step 3: Choose What to Cast
You can cast just the current browser tab or your entire desktop. For presentations or general use, choose Cast desktop.
Legacy Methods (Skip These)
The original article mentioned several older connection types that are basically obsolete now. Here’s why you should skip them:
- S-Video: Terrible quality, no audio, and good luck finding a laptop with an S-Video port in 2026
- VGA: Better than S-Video but still no audio, and the picture quality looks fuzzy on modern TVs
- DVI: Decent quality but no audio, and most laptops dropped DVI ports years ago
If you’re stuck with an ancient laptop that only has these ports, you’re better off upgrading your hardware than fighting with adapters and separate audio cables.
Tips and Troubleshooting
Common Issues
Problem: No picture on TV after connecting HDMI
Make sure you selected the right input on your TV. Try pressing Windows + P (or checking Display settings on Mac) to make sure the TV is detected.
Problem: Picture is there but no sound
Your laptop is probably still sending audio to its built-in speakers. Change the audio output device in your sound settings (see Step 4 in the HDMI section above).
Problem: Wireless casting is laggy or choppy
Wireless streaming needs a strong Wi-Fi connection. Move closer to your router, make sure you’re on 5GHz Wi-Fi (not 2.4GHz), and close any apps that might be hogging bandwidth.
Problem: TV not showing up in wireless casting
Double-check that both devices are on the same Wi-Fi network. Restart both your laptop and TV, then try again.
Problem: USB-C adapter not working
Not all USB-C ports support video output. Check your laptop’s specs to make sure your USB-C port supports “DisplayPort Alt Mode” or “video output.”
Pro Tips
- For gaming: Stick with HDMI cables – wireless has too much lag for fast-paced games
- For presentations: Test your setup beforehand. Murphy’s Law says your wireless connection will fail right when you need it most
- For streaming: Wireless is fine for Netflix and YouTube, but use a cable for 4K content if you want the best quality
- Resolution issues: If text looks blurry on your TV, check your display settings and make sure the resolution matches your TV’s native resolution
Which Method Should You Choose?
Here’s my honest take after testing all these methods: HDMI cables are still your best bet for reliability and quality. Yeah, wireless is convenient, but it can be finicky when you need it to work most.
If your laptop has an HDMI port, just get a decent cable and call it a day. For newer laptops without HDMI, a USB-C to HDMI adapter is worth the $20-30 investment.
Wireless casting is great when it works, but I’d recommend it as a secondary option rather than your primary method. Miracast on Windows can be hit-or-miss depending on your TV, while AirPlay tends to be more reliable if you’re already in Apple’s ecosystem.
Chromecast splits the difference nicely, it’s more reliable than built-in wireless casting and works with any laptop, but you’re limited to what you can do in Chrome browser for full-screen casting.
Whatever method you choose, test it out before you really need it. There’s nothing worse than trying to troubleshoot display issues when you’ve got people waiting for your presentation to start!