
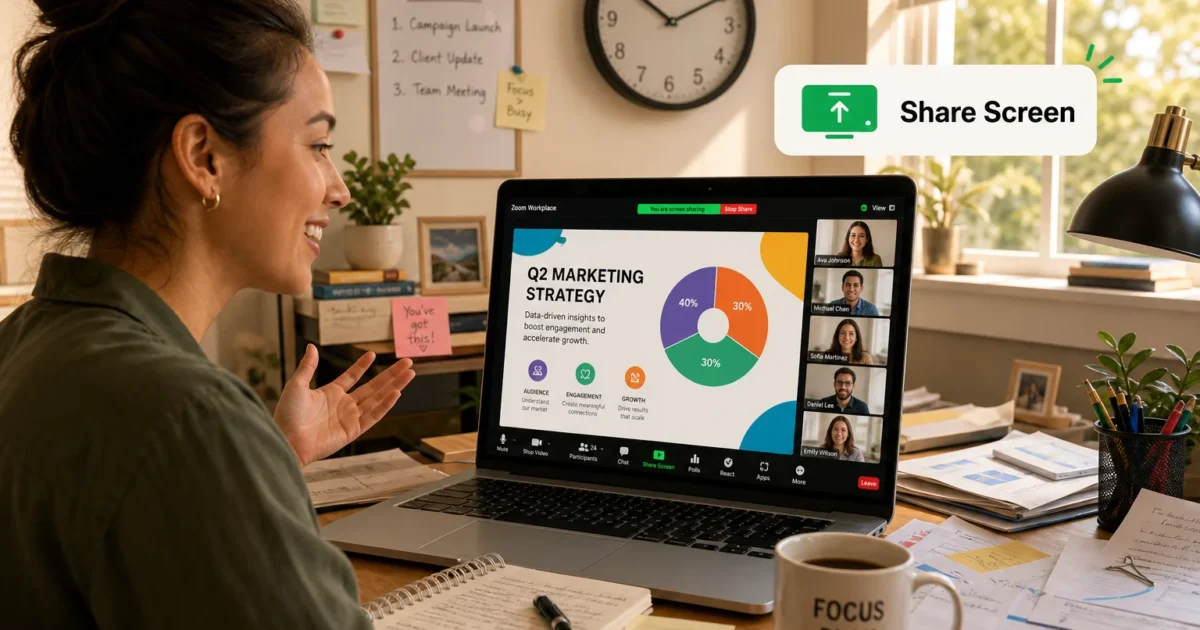
What’s more stressful than sharing your screen during a big meeting and realizing everyone can see your messy desktop? Maybe discovering that nobody heard the video you just played.
If you’ve been struggling with Zoom presentations, a little preparation solves most of the pain. These tips will help you test your setup, share slides correctly, keep people involved, and record a presentation that remains useful afterward.
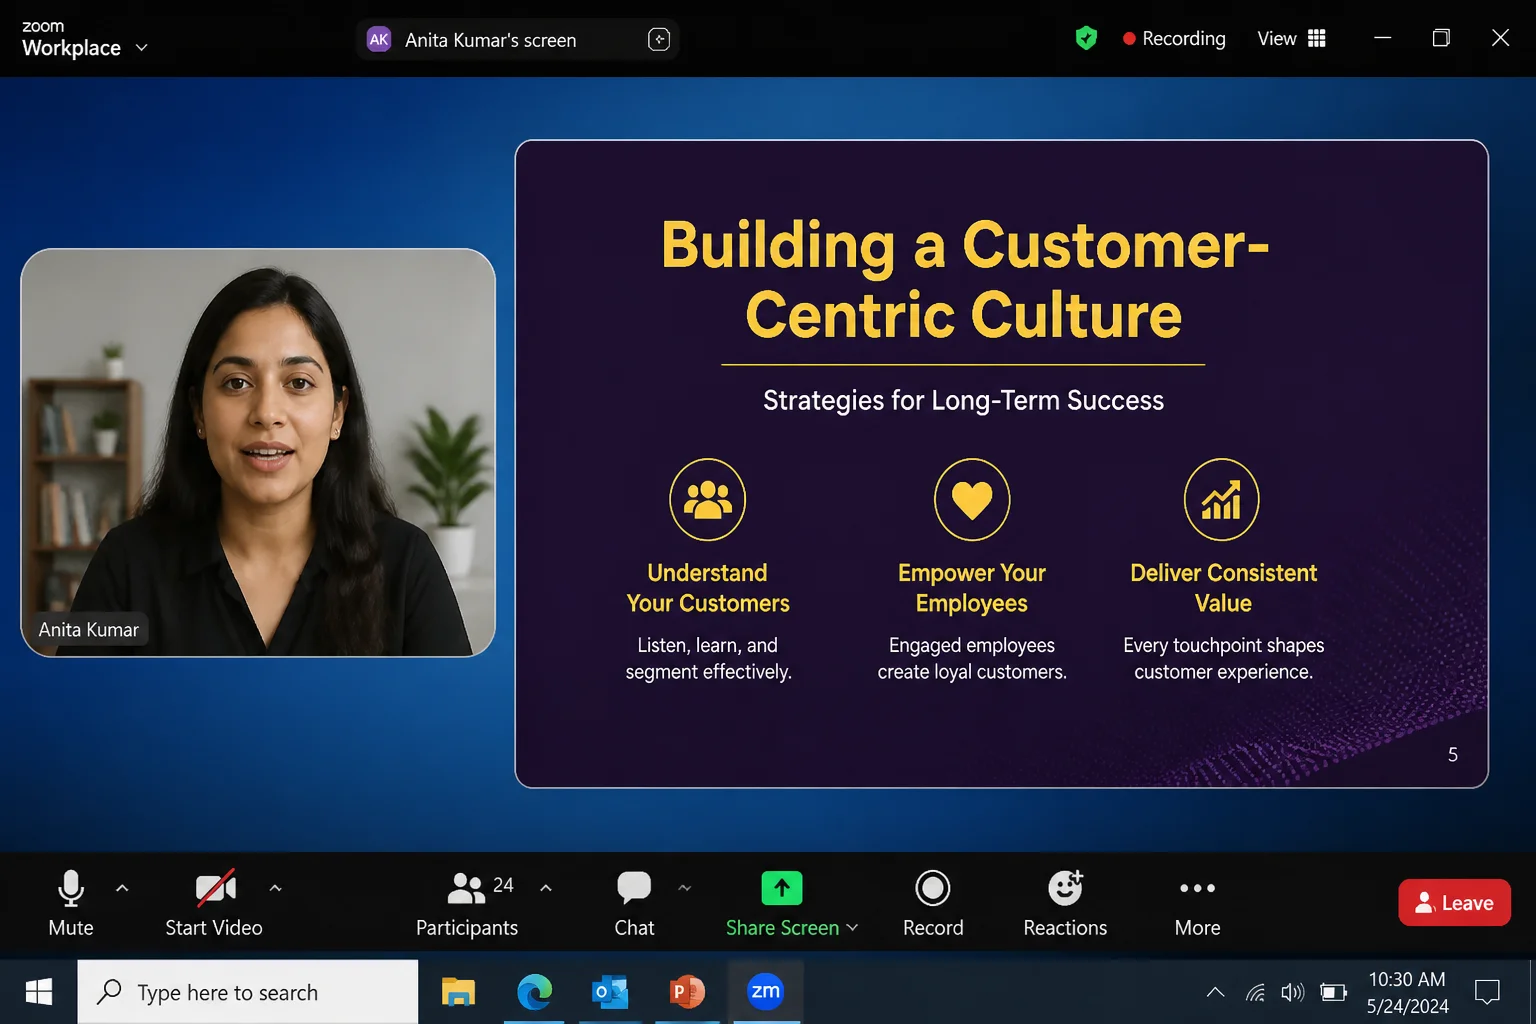
What Is Zoom Workplace?
Zoom Workplace is the desktop and mobile app that includes Zoom Meetings plus tools such as Team Chat, Whiteboard, Calendar, and AI Companion. Available tools depend on your Zoom plan and the settings chosen by your workplace or school.
Key features:
- Screen sharing: Show a presentation window, an entire display, or a collaborative whiteboard.
- Participant controls: Manage who can speak, share, annotate, or enter through the Waiting Room.
- Engagement tools: Use chat, reactions, polls, and breakout rooms to involve attendees.
- Recording: Save eligible meetings locally or to Zoom’s cloud, depending on your account.
- AI Companion: Supported accounts can create meeting summaries and other AI-assisted content.
The desktop app is the best choice for presentations because it provides the full set of sharing and recording controls.
Before Your Zoom Presentation
Make sure you have:
- The current Zoom Workplace desktop app
- Your finished presentation open in PowerPoint, Keynote, Google Slides, or another slide app
- A working microphone, camera, and speakers or headphones
- A stable internet connection
- Permission to share your screen and record, if needed
- A charger connected if you’re using a laptop
1. Test Your Audio, Video, and Internet
A practice meeting catches problems while there’s still time to fix them. That’s much nicer than troubleshooting your microphone while 40 people stare at their screens.
- Open Zoom Workplace and select your profile picture.
- Open Settings.
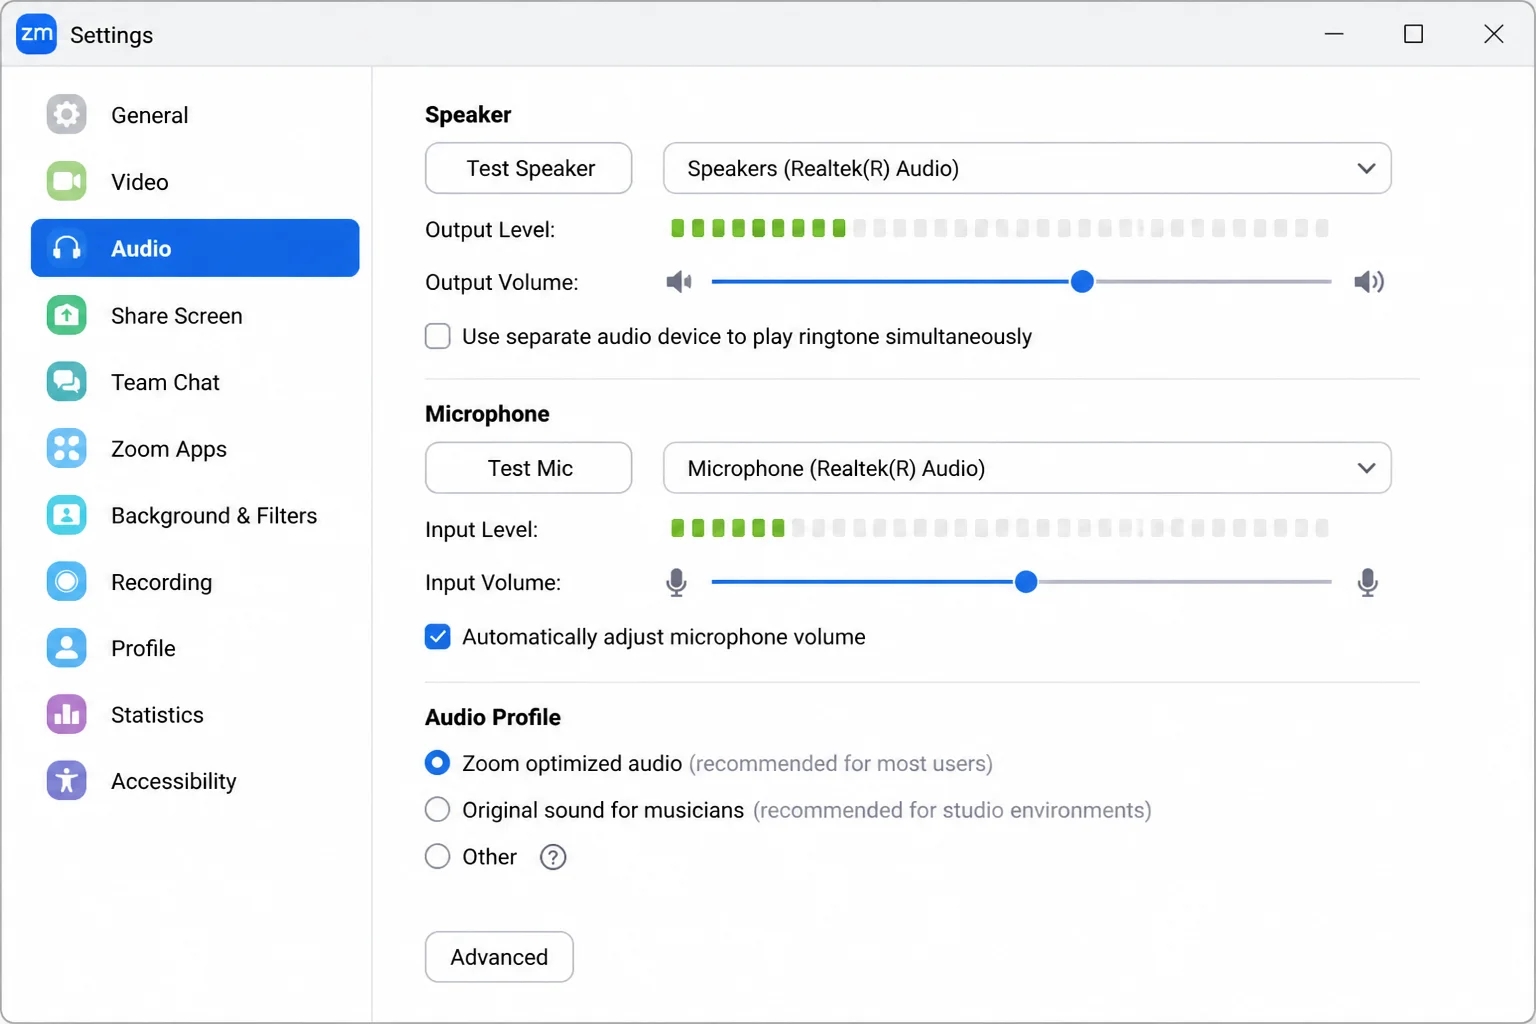
- Select Audio and test the speaker and microphone.
- Select Video & effects and check your camera framing.
- Start a private meeting and share your slides for a short test.
Position the camera near eye level and leave a little room above your head. Put a light in front of you rather than behind you, or your face may look like it’s joining from a cave.
A wired Ethernet connection is a good choice for an important presentation. If you’re using Wi-Fi, sit near the router and pause large downloads, cloud backups, and streaming on other devices.
2. Keep Your Slides Simple
Dense slides force people to choose between reading and listening. Listening usually loses.
Build each slide around one main idea. Use short phrases, readable text, and visuals that support what you’re saying. A useful presentation structure includes:
- A title and short agenda
- The problem or challenge
- Your main points
- The proposed outcome
- A summary and clear next steps
Open the deck before the meeting and practice every transition. Test videos, animations, links, and demonstrations instead of trusting them to behave in front of an audience (software can smell fear).
I’d skip fancy transitions unless they explain a change or sequence. A clean cut between slides usually looks better over a connection with a little lag.
3. Fix Your Camera View and Background
Your background doesn’t need to resemble a television studio. It should simply avoid pulling attention away from your presentation.
- Open Zoom Workplace.
- Select your profile picture and open Settings.
- Select Video & effects.
- Check your framing, lighting, and background.
- Choose a neutral virtual background if your real space is distracting.
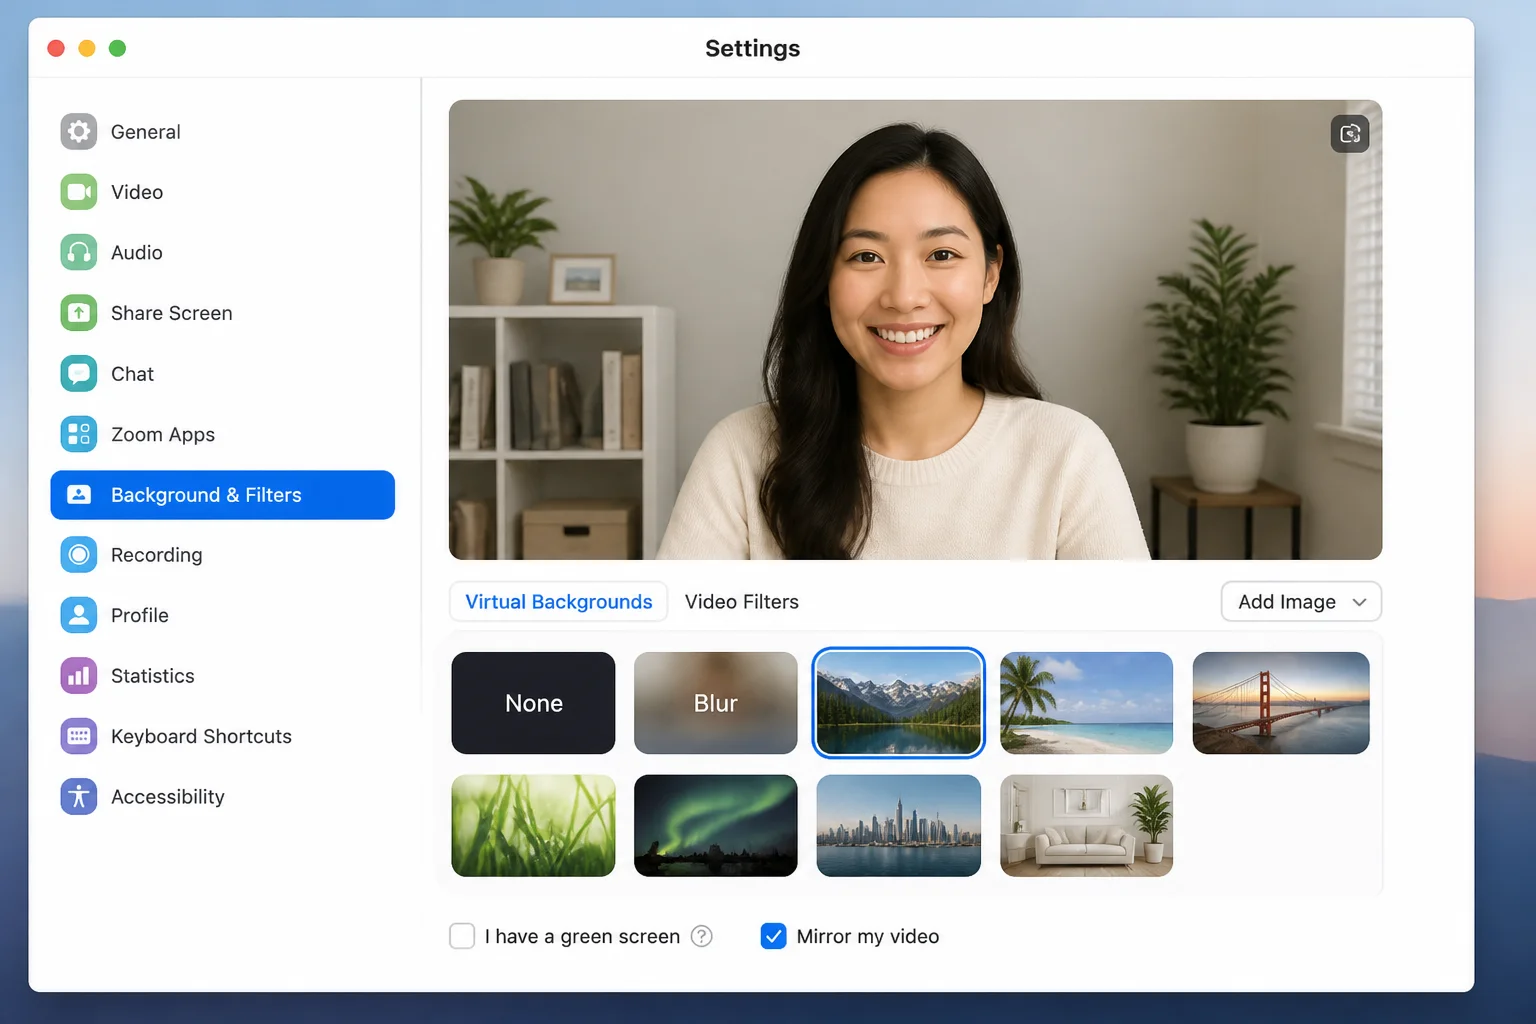
Virtual backgrounds work best with even lighting and a plain wall. If your hair, glasses, or hands keep disappearing, use a real background or reduce the effect. A glitchy beach scene is more distracting than an ordinary bookshelf.
You can also use Hide Self View during the meeting. Your camera stays visible to everyone else, but you won’t spend the presentation checking your own expression.
4. Configure Security and Participant Controls
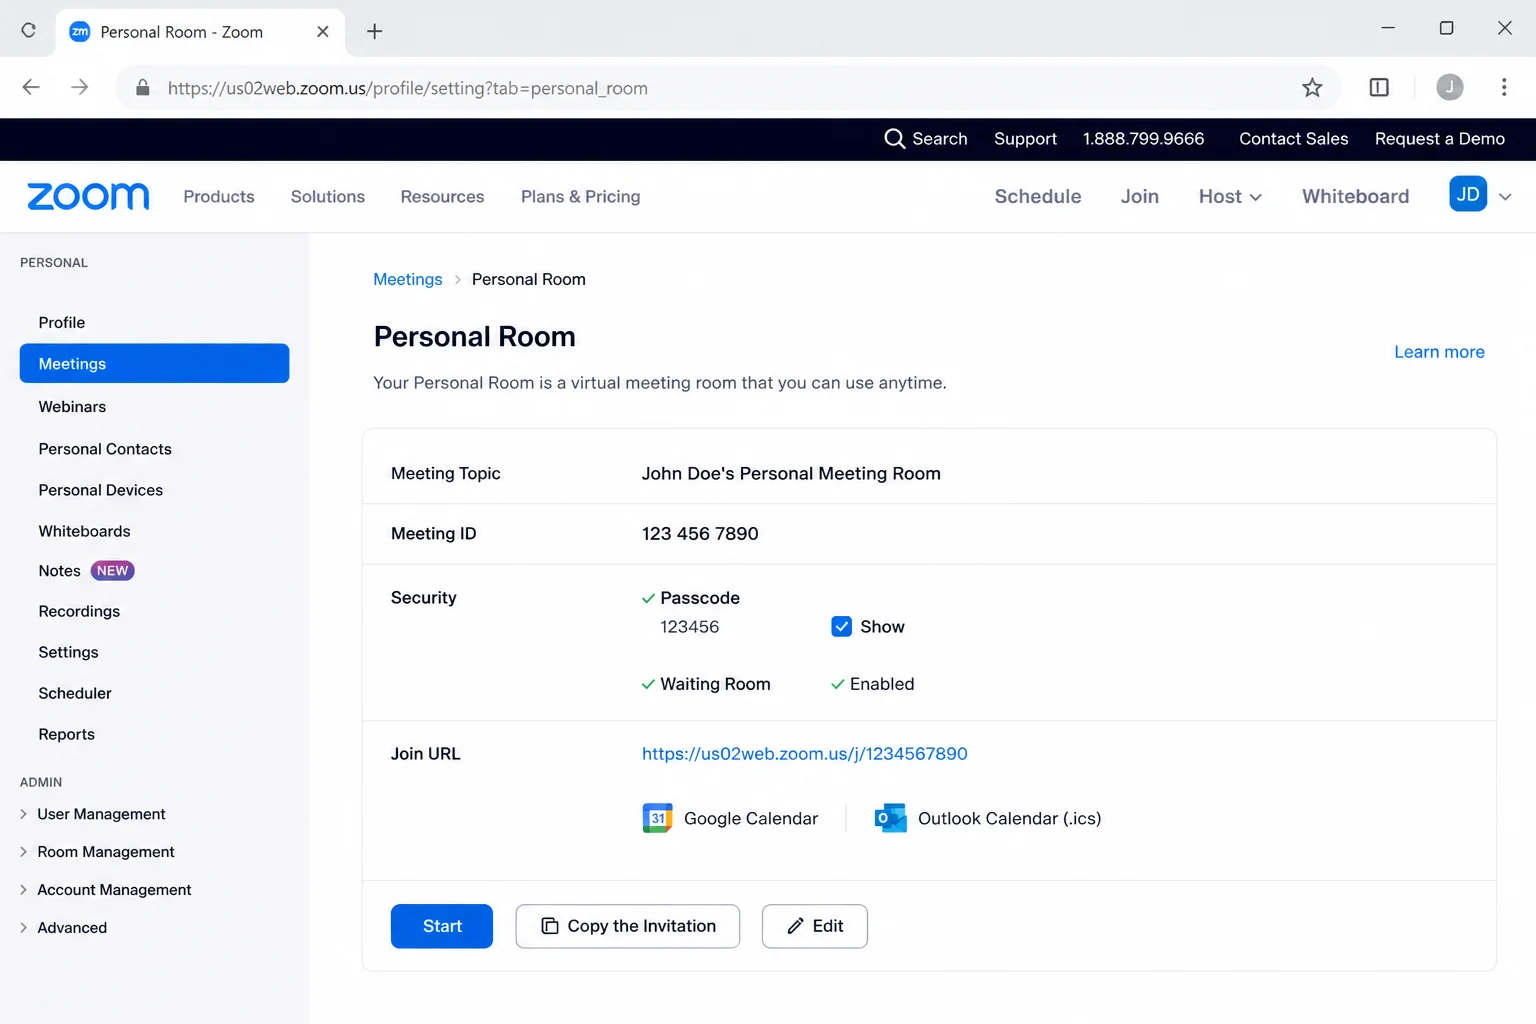
Meeting controls address distractions by deciding who can enter, speak, and share. Set them before the presentation instead of adjusting everything halfway through.
When scheduling the meeting:
- Confirm the date, time, and time zone.
- Enable the Waiting Room or require the meeting passcode.
- Decide whether attendees can join before the host.
- Add an alternative host if someone needs to start the meeting without you.
- Confirm who can share screens and use annotations.
Some controls depend on your organization’s Zoom settings, so an unavailable option may be locked by an administrator.
Join five to ten minutes early. Assign a co-host to watch the Waiting Room, admit late arrivals, monitor chat, and handle interruptions. That person is your meeting’s stage manager, and you’ll appreciate having one when three things happen at once.
At the beginning, tell attendees how questions will work. You can ask them to stay muted, use Raise Hand, or place questions in chat.
5. Share the Correct Presentation Window
Screen sharing is where many Zoom presentations wobble. Selecting the presentation window keeps email alerts, private messages, and your crowded desktop out of view.
On Windows
- Open the presentation and start its slideshow mode.
- Return to Zoom by pressing
Alt + Tab. - Select Share Screen on the meeting toolbar.
- Choose the slideshow window.
- Enable Share sound if the slides contain audio or video.
- Select Share and confirm that the green sharing border surrounds the correct window.
On macOS
- Open the presentation and start its slideshow mode.
- Return to Zoom by pressing
Command + Tab. - Select Share Screen on the meeting toolbar.
- Choose the slideshow window.
- Enable Share sound if the presentation contains audio or video.
- Select Share and check that Zoom is sharing the intended window.
The first screen share on macOS may require permission in System Settings > Privacy & Security > Screen & System Audio Recording. Follow the on-screen request, grant Zoom access, and reopen the app if macOS asks you to do so.
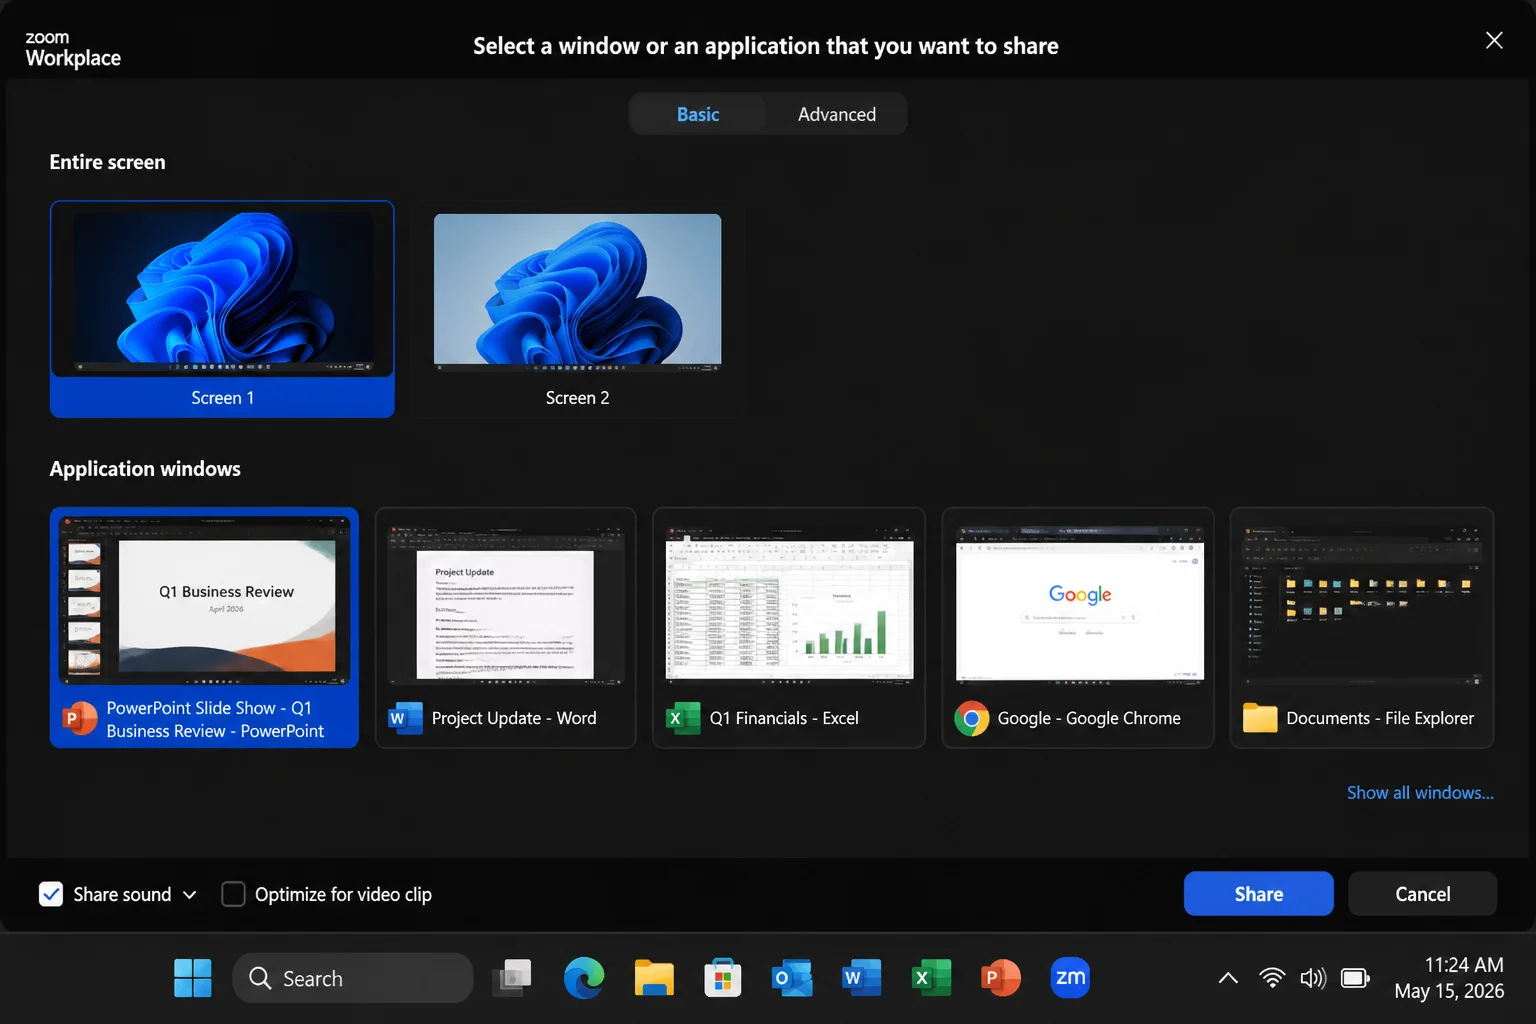
Share your entire screen only when you need to switch between several apps. Before doing that, close unrelated windows and enable your computer’s Do Not Disturb mode. Notifications have terrible timing.
6. Practice the Handoffs
Rehearse the parts most likely to cause an awkward pause: starting the slideshow, sharing a video, handing control to another presenter, launching a poll, and stopping the share.
Run a practice meeting with a friend or colleague. Ask that person to confirm:
- Your microphone sounds clear.
- The slides fill the shared window.
- Presentation audio reaches the meeting.
- Text remains readable on a smaller screen.
- Presenter changes don’t leave a blank or frozen share.
Assign co-host roles before the main content begins. A co-presenter who can’t share often lacks the correct role or is blocked by the host’s screen-sharing permission.
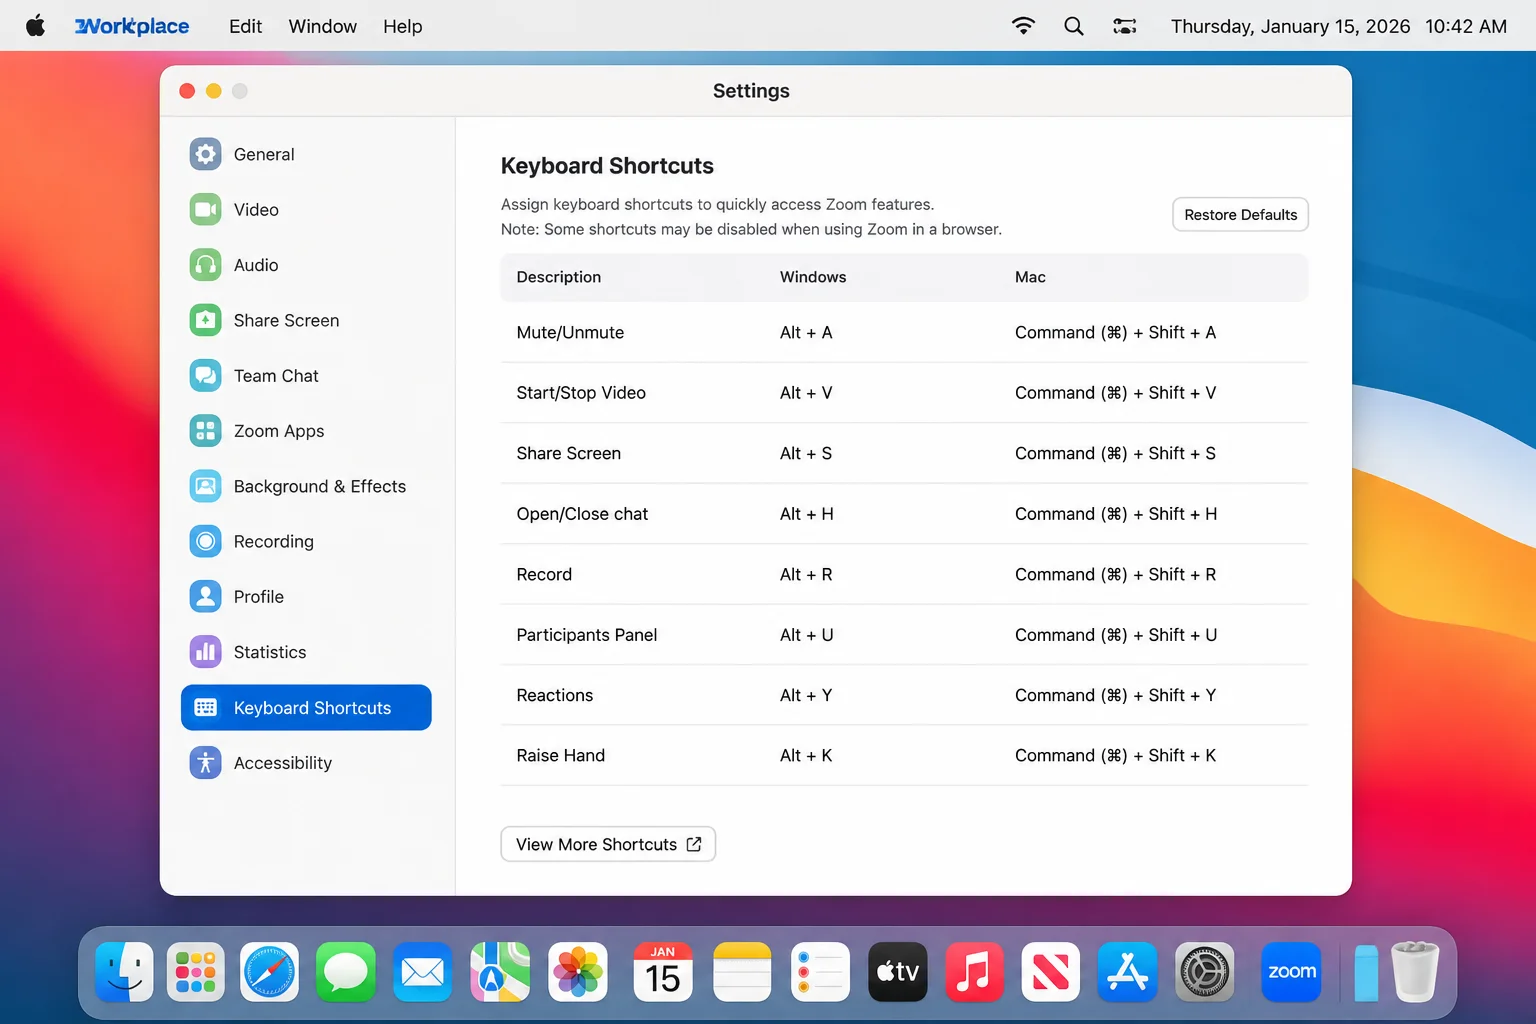
Zoom keyboard shortcuts can help, but you don’t need to memorize a page of them. These are the useful ones:
- Mute or unmute yourself:
Alt + Aon Windows orCommand + Shift + Aon macOS - Temporarily unmute: Hold
Spacewhile Zoom is focused and you’re muted - Switch apps:
Alt + Tabon Windows orCommand + Tabon macOS
You can view or change available shortcuts under Settings > Keyboard Shortcuts in the desktop app.
7. Plan Interaction Every 5 to 10 Minutes
A presentation can sound polished while the audience quietly checks email. Give attendees something specific to do every five to ten minutes.
Try a simple Teach, Ask, Interact pattern:
- Explain one idea.
- Ask a focused question.
- Collect answers through chat, reactions, a poll, or a short discussion.
Create planned polls before the meeting when your account supports them. During the presentation, open Polls/Quizzes, choose the prepared poll, and launch it at the planned point.
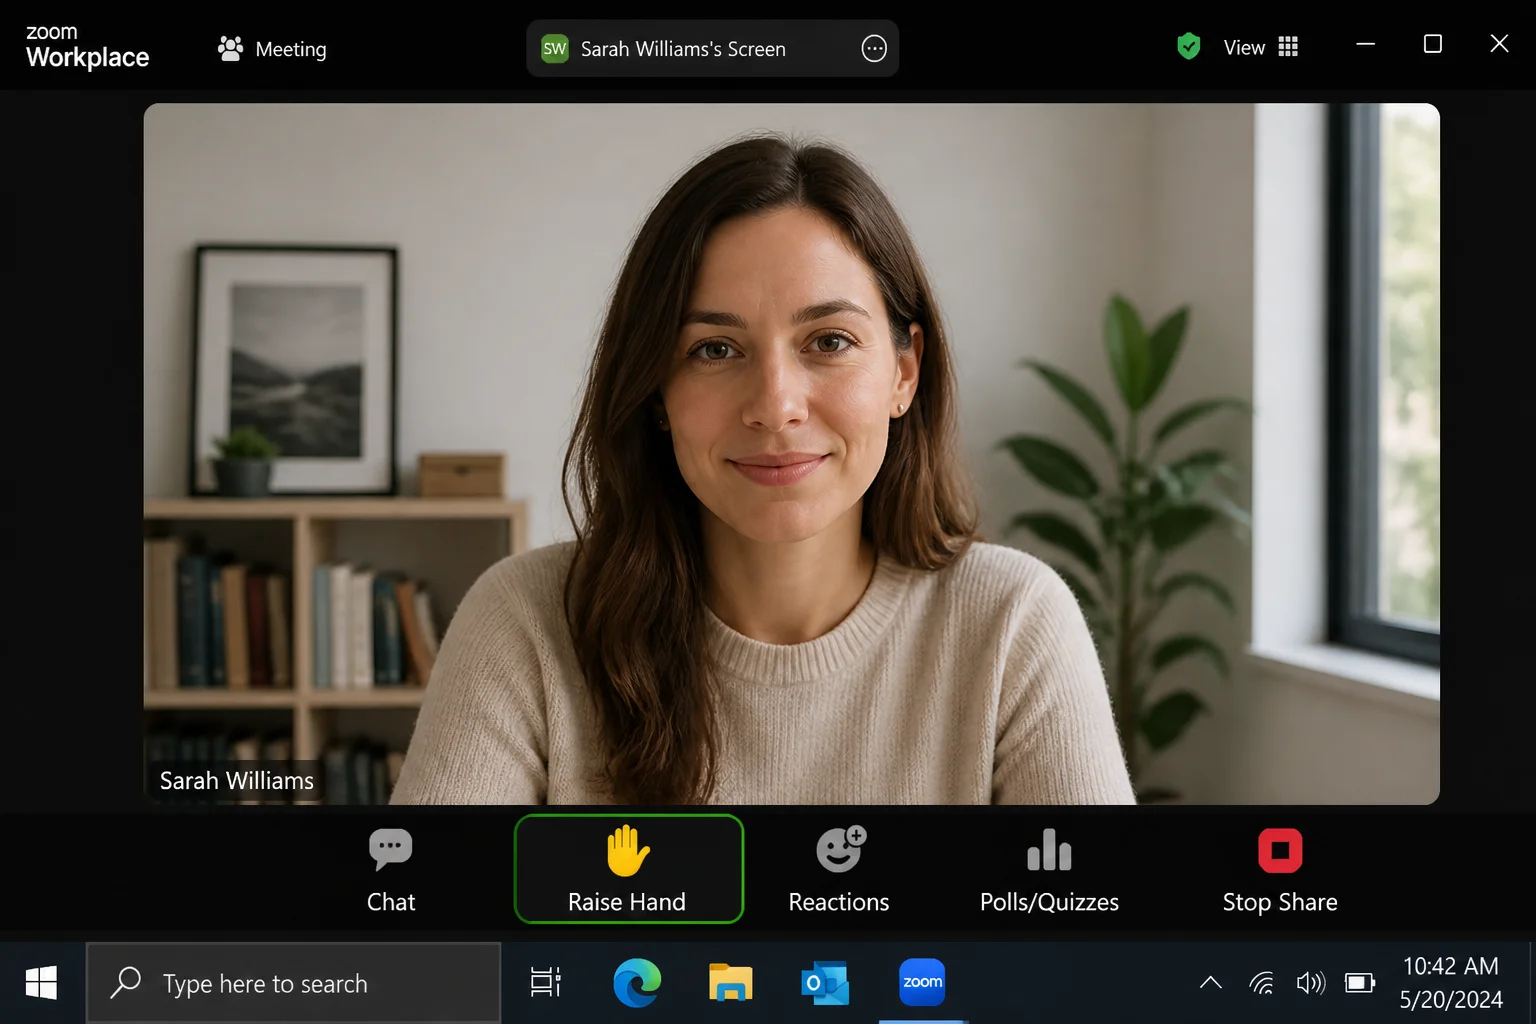
Reactions work well for quick checks. Ask for a thumbs-up when people are ready to continue, or invite attendees to use Raise Hand before speaking.
For longer workshops, breakout rooms can give smaller groups space to work. Provide one clear task, set a return time, and explain what each group should report afterward. Assign a facilitator when a room needs help staying on track.
8. Pause for Questions Without Losing Control
Constant interruptions can derail a presentation, but saving every question for the end can leave people confused. Use short question breaks after major sections.
Tell attendees whether they should:
- Add questions to chat
- Use Raise Hand
- Wait for a scheduled question break
- Speak after the host calls their name
A co-host can collect repeated questions and flag urgent ones. When you reach a discussion section, select Stop Share so attendees can focus on the conversation and your camera. Start sharing again when the slides become useful.
Private chat and automatic chat saving may be restricted by an account administrator. Don’t promise that every message will appear in a saved record. For reliable follow-up, have the co-host copy key questions into shared notes.
9. Record the Presentation Carefully
A recording helps absent attendees catch up and gives everyone a reference for detailed sections. It also captures side comments, long pauses, and accidental screen shares, so treat it like published material.
- Tell attendees that the meeting will be recorded.
- Select Record on the meeting toolbar.
- Choose local or cloud recording if Zoom offers both options.
- Confirm that the recording indicator appears.
- Select Stop Recording after the final discussion.
- End the meeting and allow Zoom to process the file.
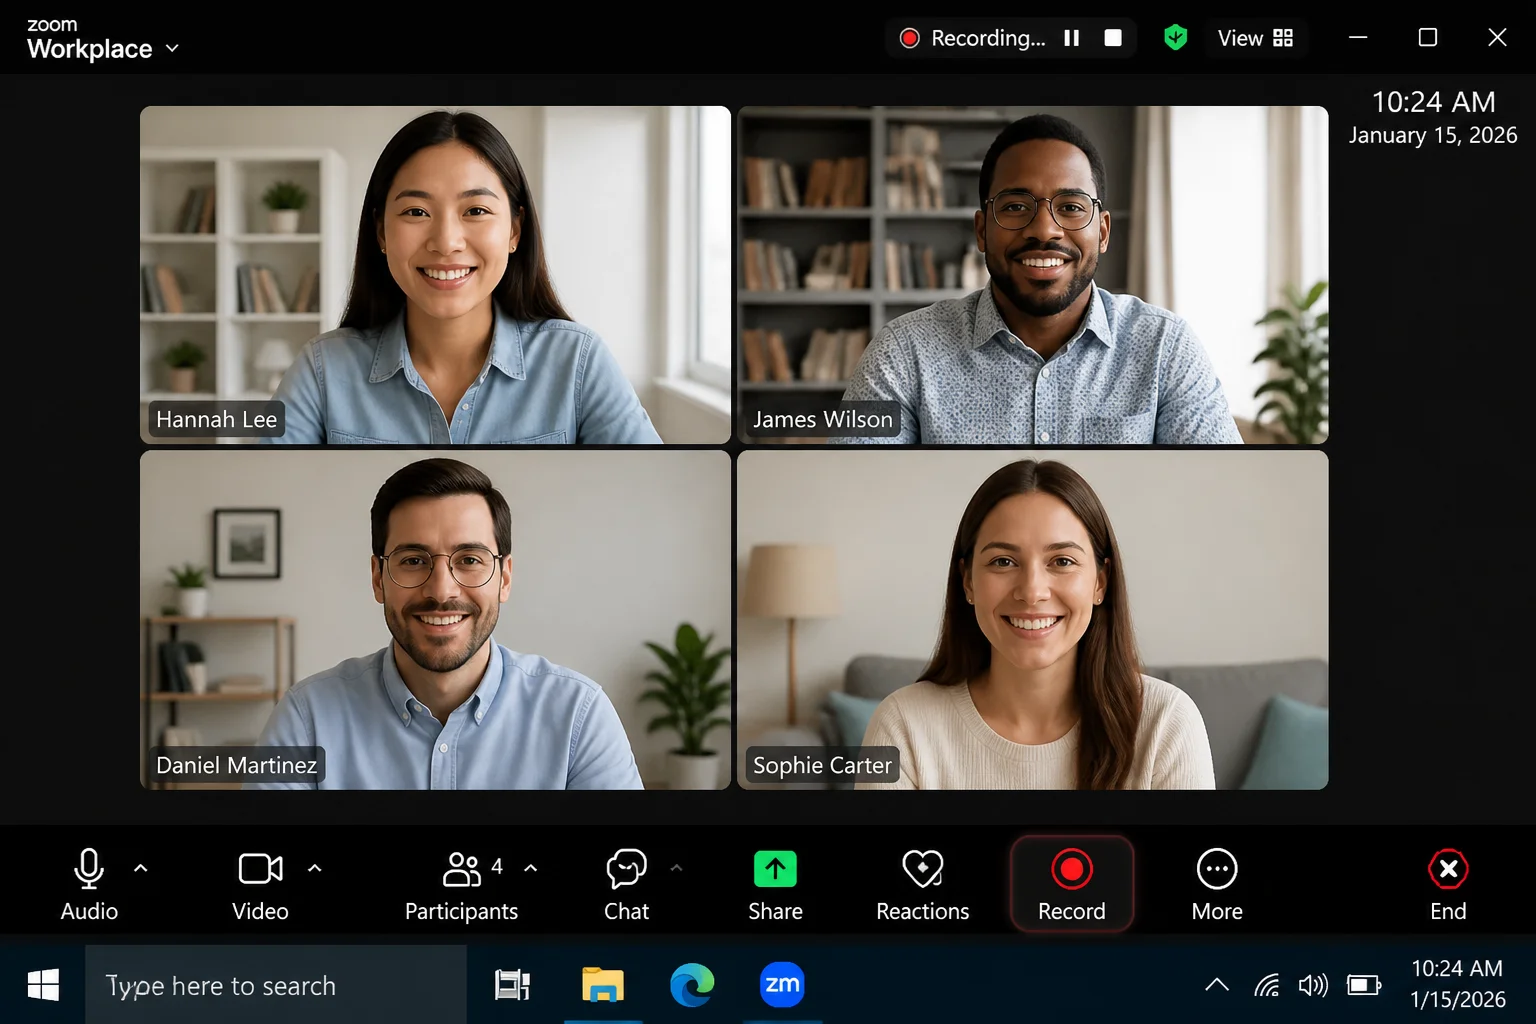
Local recording availability and cloud recording depend on your account, device, and administrator settings. Local files are commonly placed in the Documents\Zoom folder on Windows or the Documents/Zoom folder on macOS. Cloud recordings appear in the recordings area of your Zoom account.
If your plan includes AI Companion, you may also have meeting summaries or smart recording tools. Review generated notes before sending them. Names, numbers, and decisions deserve a human check.
10. Prepare for Hybrid Attendees
Hybrid meetings have people in a room and others joining remotely. They’re especially prone to echo, side conversations, and remote attendees feeling forgotten.
Use one main room computer for sound. Mute the microphones and speakers on other nearby devices, or they’ll create an echo loop that sounds like a robot arguing with itself.
Place the room microphone close enough to hear everyone. Repeat questions asked away from the microphone, and look at the camera when speaking to remote attendees. A co-host can watch Zoom chat while you manage the room.
After the presentation, send a follow-up within 24 hours. Include the recording link when available, key decisions, promised resources, and each person’s next action.
Tips and Troubleshooting
Nobody Can Hear You
- Select the arrow beside Mute or Unmute.
- Choose the microphone you intended to use.
- Open Audio Settings and run the microphone test.
- Disconnect extra Bluetooth audio devices if Zoom selected the wrong one.
Use headphones when another unmuted device is nearby. Two active speakers in one room are a reliable recipe for echo.
The Video Plays Without Sound
Stop sharing, select Share Screen again, and enable Share sound before choosing the presentation window. Check the computer’s volume too; Zoom can’t share sound that the system has muted.
Attendees See the Editing Screen
Start slideshow mode before sharing and select the separate slideshow window. If you’re using two displays, confirm which display contains the audience view and which one contains your notes.
Notifications Appear Over the Slides
Enable Do Not Disturb in Windows or macOS, close private apps, and share only the slideshow window. This solves the problem more reliably than trusting every app to stay quiet.
The Presentation Freezes or Lags
- Turn off HD video: Lower video quality uses less bandwidth.
- Stop unnecessary cameras: Ask attendees to disable video if the connection is struggling.
- Close background apps: Cloud backups and downloads can eat through bandwidth.
- Improve the connection: Move closer to the router or connect with Ethernet.
- Simplify movement: Heavy animations and rapid screen changes can look choppy over a slow connection.
The Recording Is Missing
Check whether you chose local or cloud recording. Look in Zoom’s recordings area for cloud files and the Zoom folder inside Documents for local files. Processing can continue after the meeting ends, so don’t shut down the computer during a local recording conversion.
Your Next Zoom Presentation Is Ready
These Zoom presentation tips solve the usual trouble spots: unclear audio, risky screen sharing, silent audiences, and missing recordings. With a practice run and a co-host handling the background chores, you’re no longer dealing with every little interruption alone.
My preference is simple slides, planned question breaks, and sharing one window at a time. That combination won’t guarantee a flawless meeting, but it gives Zoom fewer chances to surprise you.