
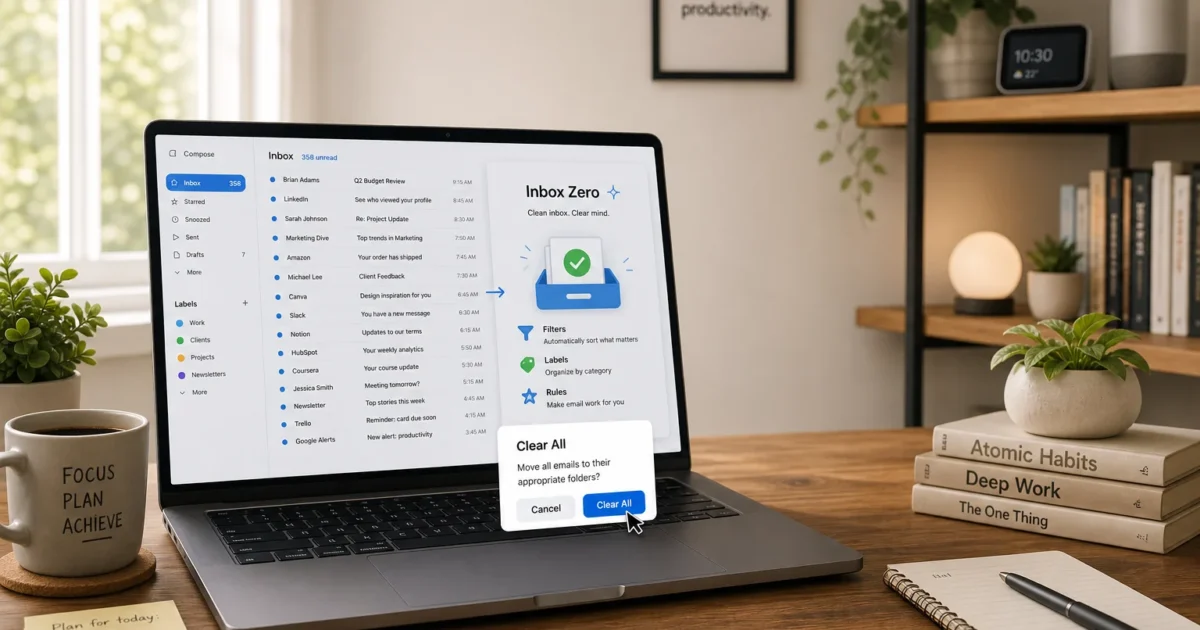
What’s more frustrating than missing an important email because it’s buried under newsletters, receipts, and 900 unread promotions? Gmail can feel like a junk drawer that keeps refilling while you’re trying to empty it.
Inbox Zero gives you a practical way to regain control. You’ll clear old messages in bulk, reduce incoming clutter, automate routine sorting, and create a simple system for handling whatever remains. Reaching zero may take some work, but the method looks promising once Gmail starts doing part of the sorting for you.
What Is Inbox Zero?
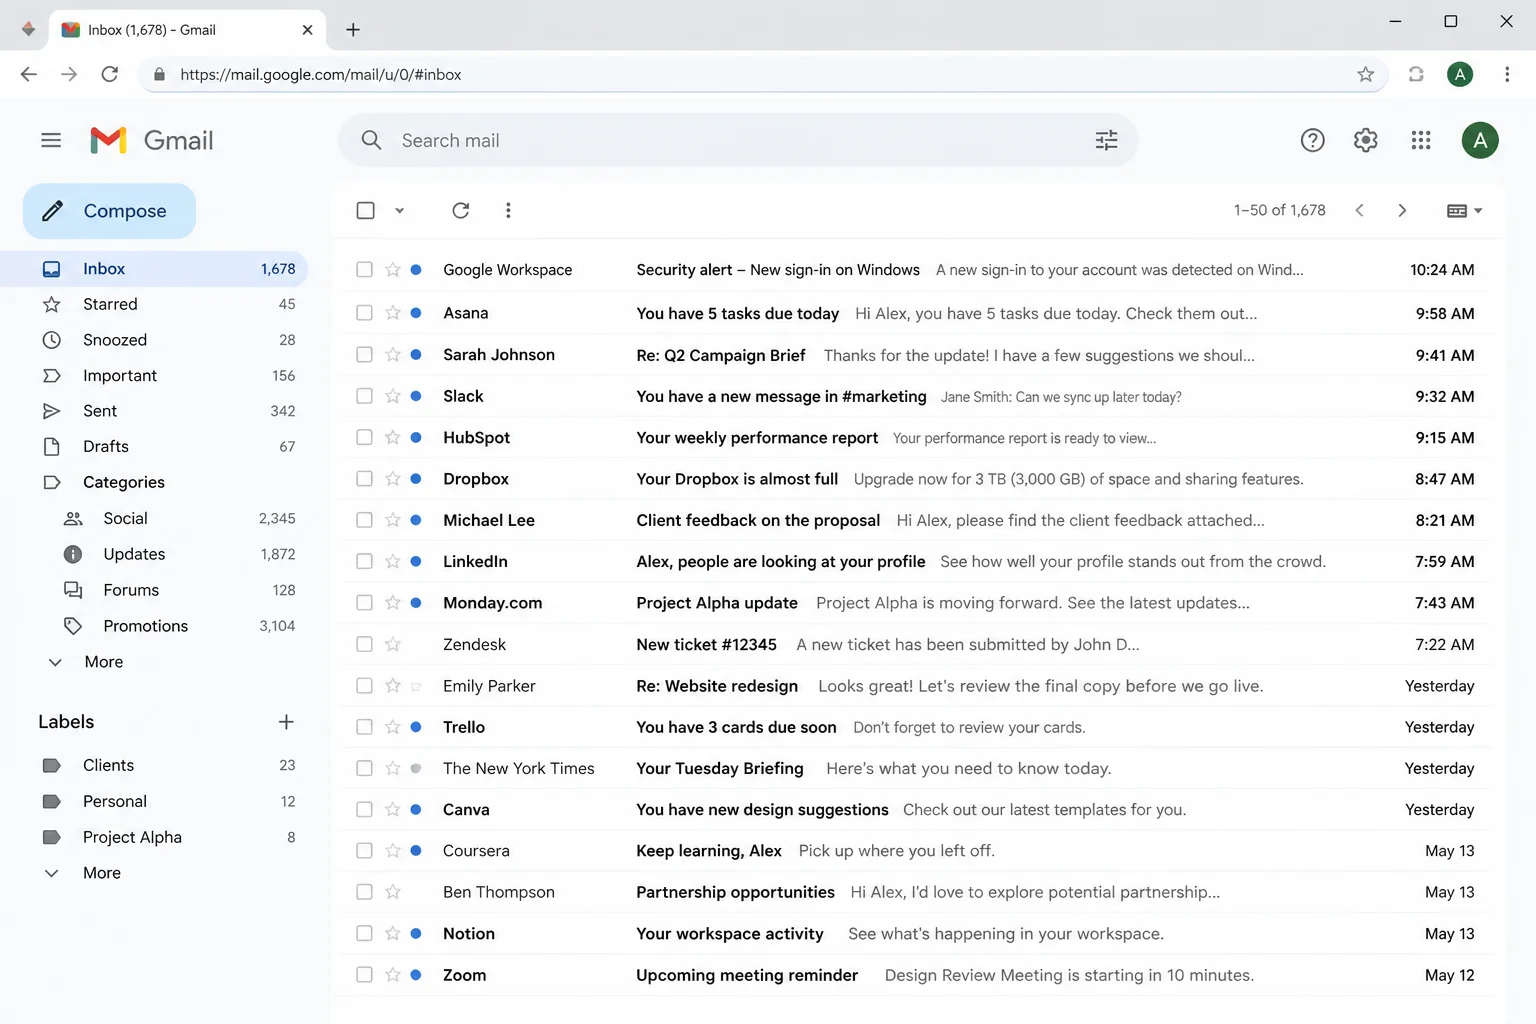
Inbox Zero is an email management system designed to keep messages from occupying your attention. The “zero” can mean an empty inbox, but the bigger goal is spending less time wondering what needs a reply.
Key features:
- Bulk processing clears old email without opening every message.
- Filters sort recurring messages automatically.
- Labels group email by purpose or required action.
- Snooze removes a message until you’re ready to handle it.
- Scheduled email checks keep Gmail from interrupting your day.
Inbox Zero works best if email has become a daily distraction or important messages keep slipping past you. You don’t need to protect a perfect zero, either. A small, controlled inbox is a perfectly good result.
Before You Begin
Make sure you have:
- A Gmail account
- A desktop web browser
- About 30 minutes for the first cleanup
- A little willingness to delete newsletters you haven’t read in six months (they won’t take it personally)
The Gmail website is the easiest place to perform a large cleanup because it shows more search, selection, and filter controls than the mobile app.
How to Reach Inbox Zero in Gmail
Step 1: Set a Cutoff Date for Old Email
Decide how far back you genuinely need to review messages. For many inboxes, archiving mail older than six months or a year is a sensible starting point.
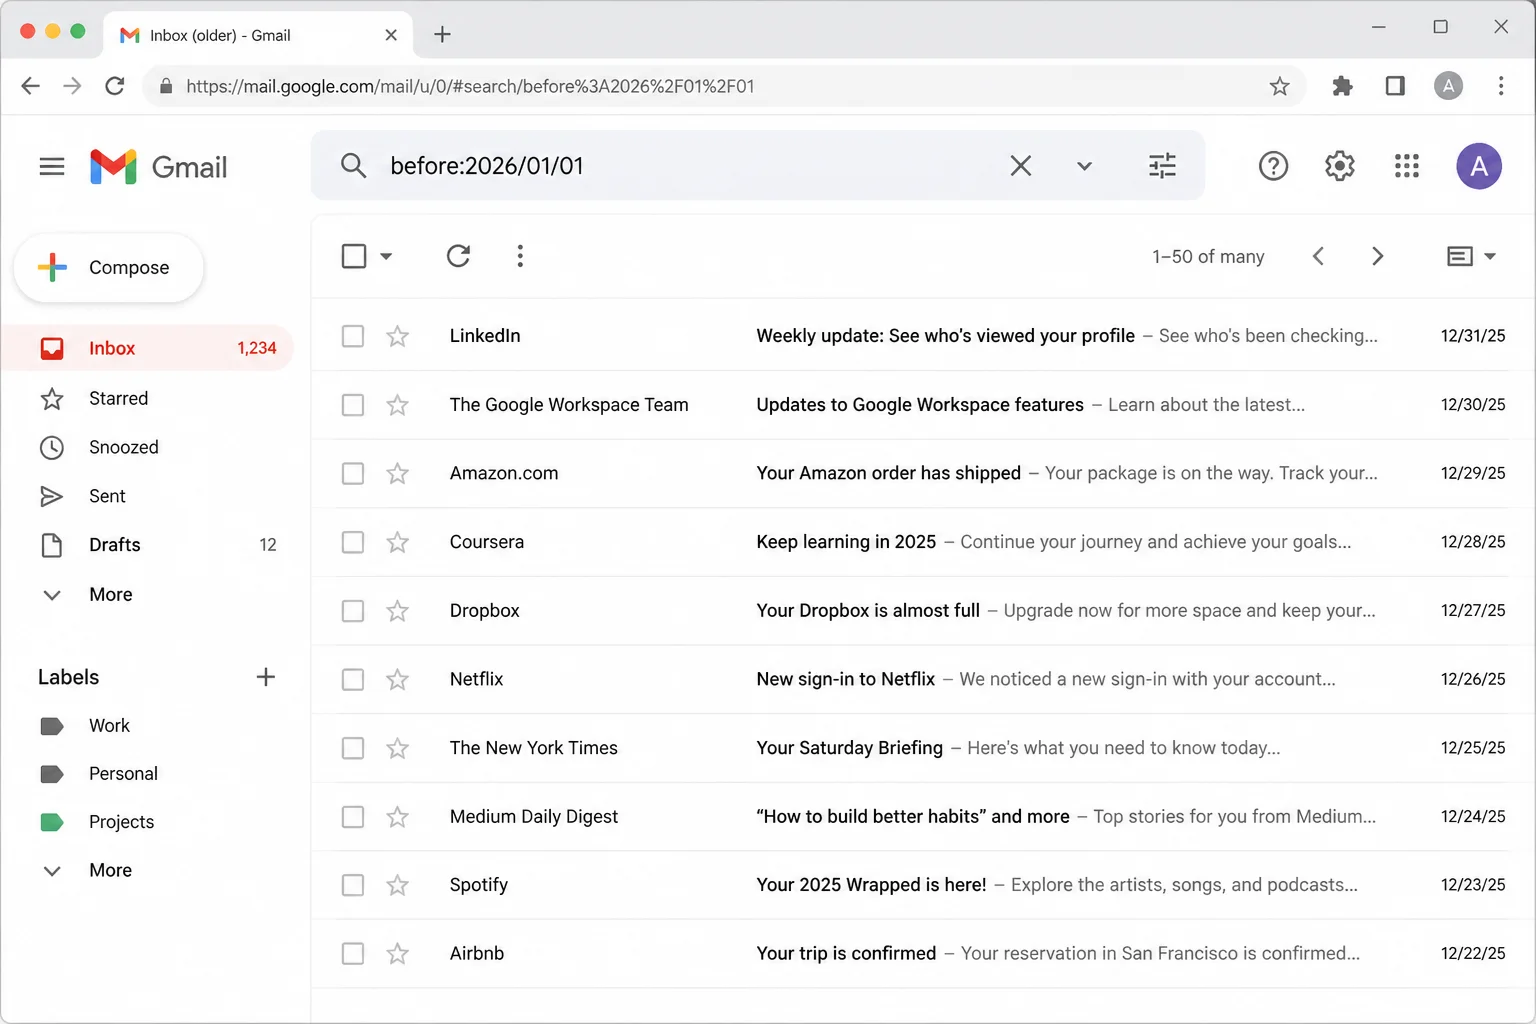
Type a search such as before:2026/01/01 into Gmail’s search box and press Enter. Change the date to match your preferred cutoff.
You’ll see every message received before that date.
Step 2: Select the Old Messages
Click the selection checkbox above the message list. Gmail selects the conversations visible on the current page.
If Gmail offers a link to select every conversation matching the search, click it. This lets you process the full group instead of repeating the job page by page.
A confirmation message should tell you that all matching conversations are selected.
Step 3: Archive or Delete the Selected Email
Click Archive if you may need the messages later. Archived email leaves the inbox but remains available through search and All Mail.
Click Delete for spam, expired promotions, and messages you’re certain you won’t need. Deleted email moves to Trash.
When you’re unsure, archive. Gmail search is good at finding old messages, and archiving provides a safety net.
Step 4: Find Unread Clutter
Enter is:unread in the search box and press Enter. You can narrow the results with searches such as:
is:unread category:promotionsis:unread category:socialis:unread before:2026/01/01
Select the messages you don’t need, then archive or delete them in bulk. Your unread count should drop immediately (a deeply satisfying little number change).
Step 5: Unsubscribe From Unwanted Senders
Open a newsletter or promotional message you no longer want. Click Gmail’s Unsubscribe option when it appears beside the sender’s name, then confirm the request.
If Gmail doesn’t show that option, look for the sender’s unsubscribe link near the bottom of the message. Avoid links in suspicious email; mark those messages as spam instead.
Repeat this for the senders that appear most often. Reducing the flow matters more than carefully organizing every unwanted message already in the inbox.
For persistent junk, use Gmail’s spam controls or follow these tips for stopping spam email.
Configure Gmail Categories
Gmail’s categories can separate personal messages from promotions, social updates, and automated notifications. They’re useful, but I’d enable only the categories you’ll actually check. Too many tabs can turn one messy inbox into several smaller messy inboxes.
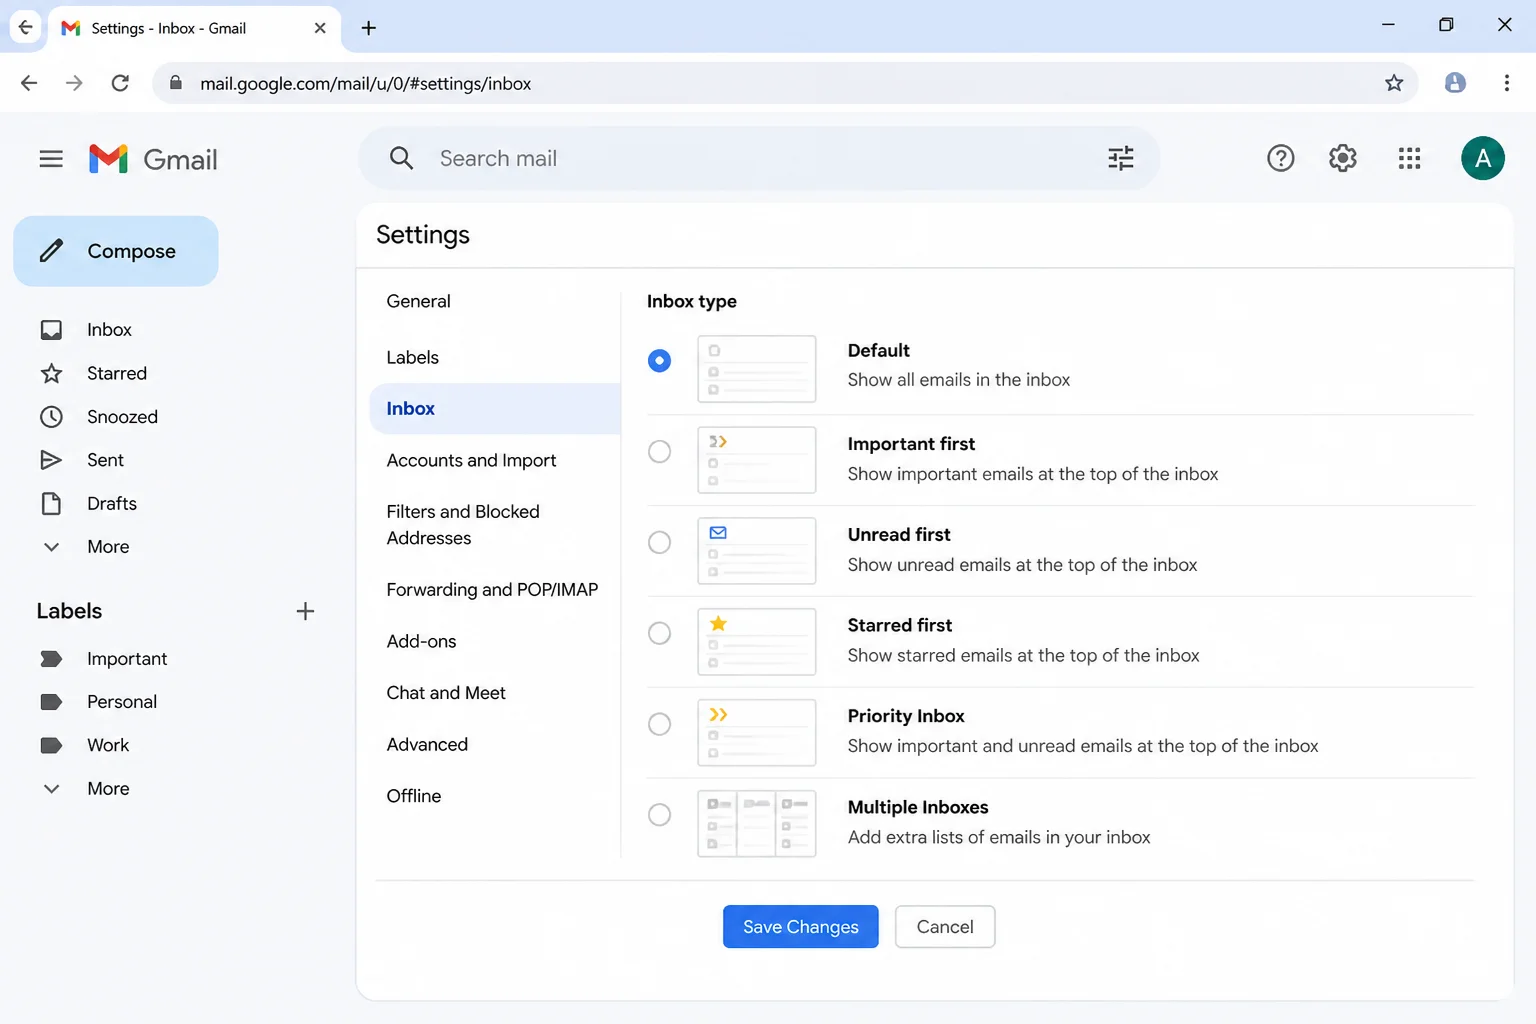
- Click the Settings gear in Gmail.
- Select See all settings.
- Open the Inbox tab.
- Find the category options for the default inbox.
- Enable the categories you want, such as Primary, Promotions, or Social.
- Scroll down and click Save Changes if Gmail displays that button.
Gmail will return to the inbox and sort supported messages into their appropriate tabs.
Create Filters That Sort Email Automatically
A filter is a rule that tells Gmail what to do when a message matches certain conditions. It’s like giving Gmail a short set of instructions so you don’t keep moving the same receipts or newsletters by hand.
Step 1: Start a Search
Click the search options icon at the right side of Gmail’s search box. The panel includes fields such as From, To, Subject, and Has the words.
Enter a condition that identifies the messages you want to manage. For example, put a newsletter’s email address in From.
Step 2: Check the Results
Click Search and review the matching messages. Make sure the search catches the right email without including conversations you care about.
If the results are too broad, add another condition and search again.
Step 3: Create the Filter
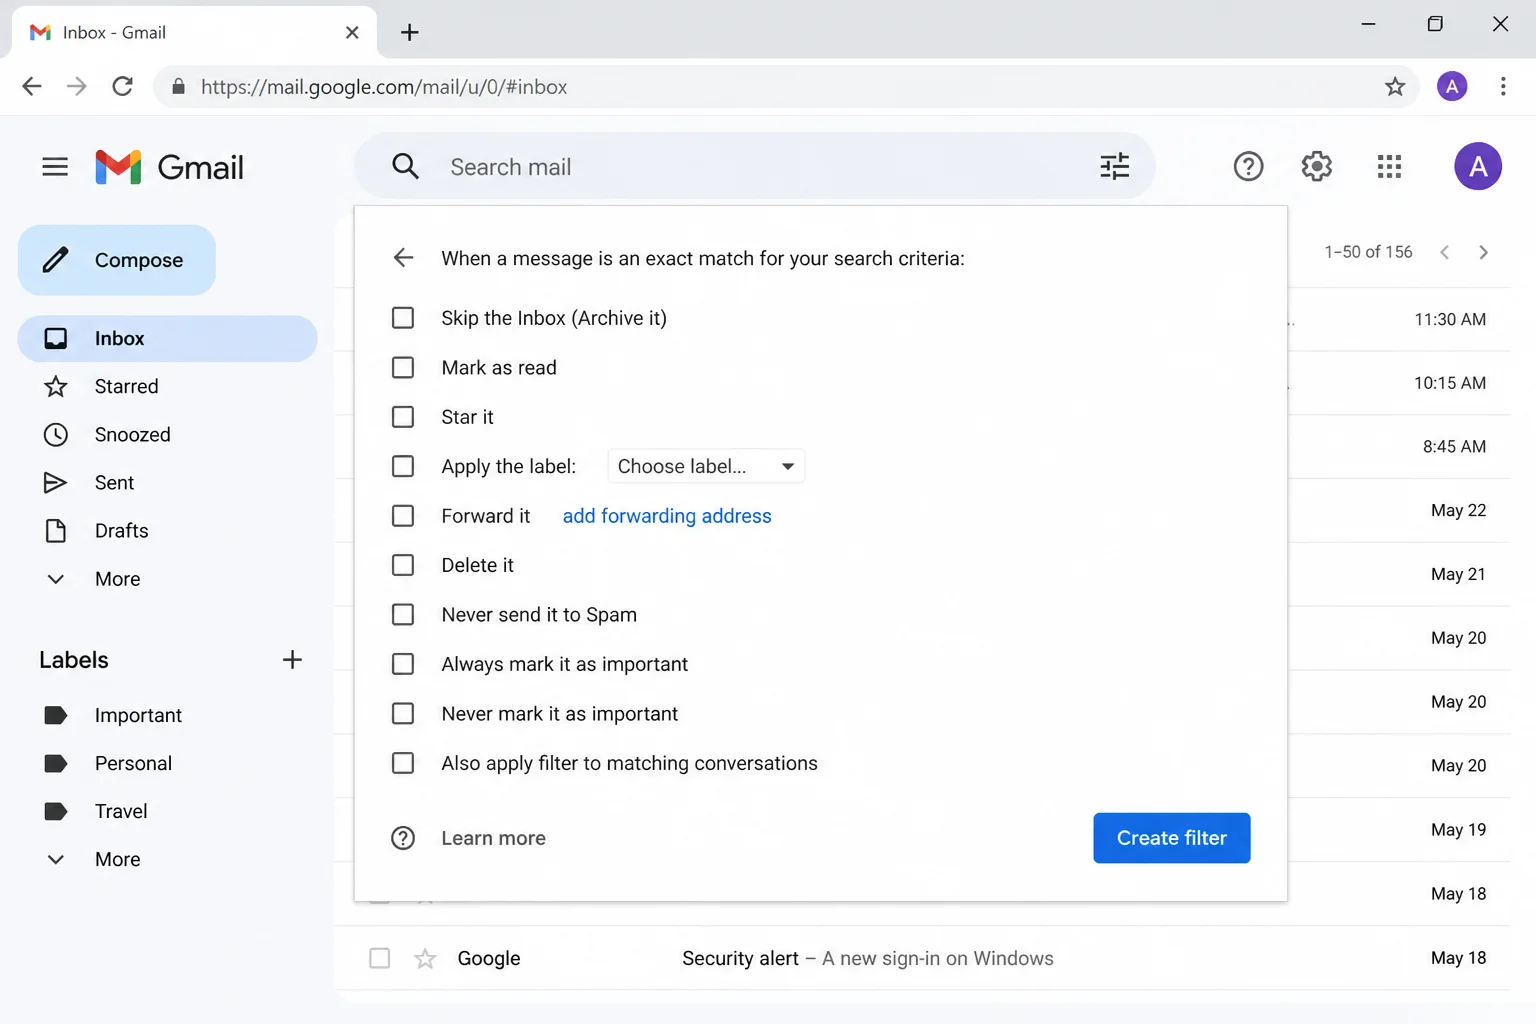
Open the search options panel again, then click Create filter.
Choose what Gmail should do with future matching messages. Useful choices include:
- Skip the Inbox (Archive it): Keeps low-priority mail searchable without placing it in your inbox.
- Apply the label: Adds an easy-to-find category such as Receipts or Newsletters.
- Mark as read: Removes the unread badge from routine notifications.
- Delete it: Sends matching messages to Trash. Use this carefully.
- Also apply filter to matching conversations: Processes existing matches as well as future email.
Click Create filter to save the rule. New matching messages should now receive the selected action automatically.
Process the Remaining Email With Four Decisions
Once the bulk clutter is gone, handle each remaining conversation with one of four decisions: delete, do, delegate, or defer. This sounds almost too tidy, but so far so good. The rule prevents messages from sitting around without a purpose.
| Decision | When to Use It | Gmail Action |
|---|---|---|
| Delete | You don’t need the message | Click Delete |
| Do | You can handle it in a few minutes | Reply or complete the action, then archive |
| Delegate | Someone else should handle it | Forward the message, then archive or label it |
| Defer | You need to act later | Snooze it, add it to Tasks, or apply a follow-up label |
Delete What Has No Value
Delete obvious spam, expired alerts, and promotional messages you don’t need. Don’t spend a minute deciding the fate of an email that wasn’t worth ten seconds of attention.
Do Quick Tasks Immediately
If a reply or action takes only a few minutes, complete it while the message is open. Then archive the conversation.
The inbox shrinks, and you won’t need to reread the same message later.
Delegate the Right Messages
Forward the conversation to the person who can handle it. Include a clear request and any deadline they need, then archive the original or apply a label such as Waiting.
Defer Work With Snooze or Tasks
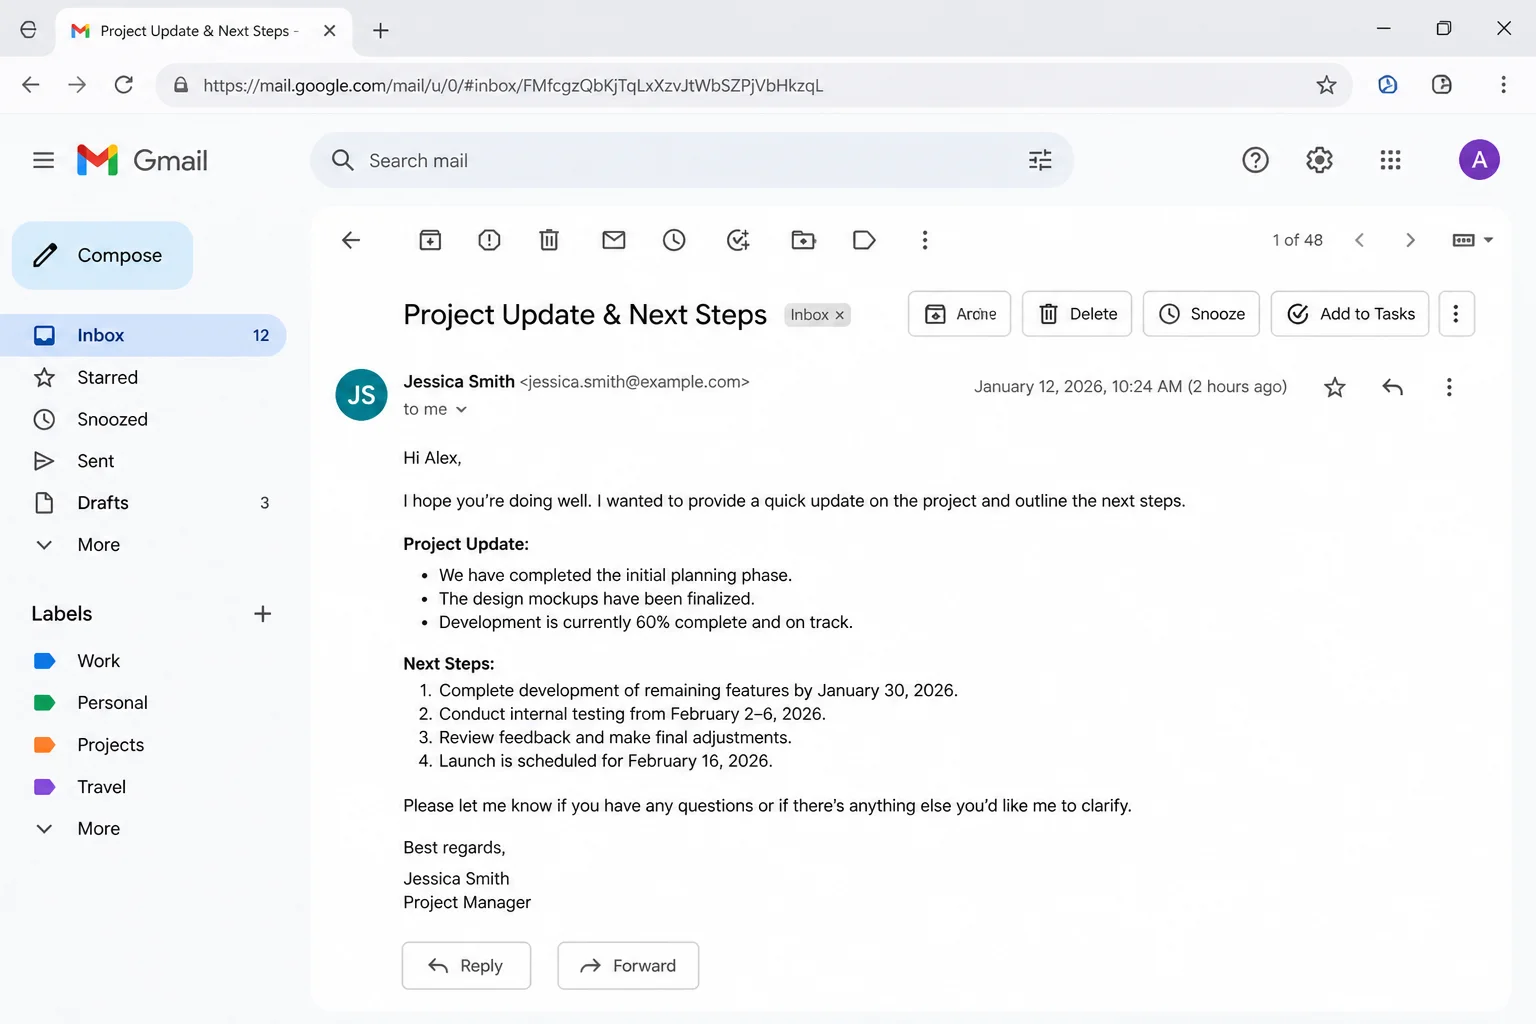
Use Snooze when you want the email to return to the inbox on a specific date or time. Click the clock-shaped Snooze icon, then choose when the conversation should reappear.
Use Add to Tasks when the message represents work you need to track separately. Gmail adds it to Google Tasks, where you can give it a date and mark it complete.
Use Labels for Follow-Up
Labels act like reusable tags. A message can have more than one label, which is handy when an email belongs to a project and also needs a reply.
A small label system is easier to maintain:
- Action: You need to do something.
- Waiting: Someone else owes you a reply.
- Receipts: Purchases, invoices, and payment confirmations.
- Reference: Information you may need later.
To add a label:
- Select one or more messages.
- Click the Labels icon above the message list.
- Select an existing label or click Create new.
- Enter a clear name.
- Click Create or Apply.
Archive labeled messages unless they need immediate attention. They’ll remain available under the label without clogging the inbox.
Stop Checking Gmail All Day
Keeping Gmail open all day makes every new message feel urgent. Usually, it isn’t.
Pick two or three times to process email, such as the start of your workday, after lunch, and before you finish. During each session, apply the four decisions and close Gmail when you’re done.
Turn off desktop and phone notifications unless your work truly depends on instant replies. I’d keep alerts only for essential accounts or high-priority messages; otherwise, every store coupon gets to tap you on the shoulder.
Tips and Troubleshooting
Gmail Doesn’t Offer to Select All Search Results
Make sure you first click the checkbox above the message list. Gmail may then display a separate link above the results for selecting every matching conversation.
If that link doesn’t appear, process the results one page at a time.
Archived Email Seems to Be Missing
Open All Mail in the Gmail sidebar or search for the sender, subject, or a phrase from the message. Archiving removes the Inbox label; it doesn’t delete the email.
A Filter Is Catching the Wrong Messages
- Click Settings > See all settings.
- Open Filters and Blocked Addresses.
- Find the problem filter.
- Click Edit or Delete.
- Narrow its conditions before saving it again.
Test a filter with Gmail search before creating it. That quick check can prevent an overly broad rule from hiding useful email.
The Inbox Keeps Refilling
Focus on the source:
- Unsubscribe first: Stopping new clutter saves more time than repeatedly deleting it.
- Filter recurring mail: Auto-archive receipts, newsletters, and routine notifications.
- Schedule email sessions: Process the inbox before it grows into another weekend project.
- Keep labels simple: If you can’t remember what a label means, you probably don’t need it.
- Protect the Primary tab: Move low-priority senders into filters or other categories.
Should You Use an AI Inbox or Cleanup Tool?
AI-assisted inbox views and third-party cleanup tools can classify messages, manage subscriptions, or automate sorting. Access and pricing vary, so check the tool’s permissions before connecting your Gmail account.
I’d try Gmail’s built-in search, filters, labels, and snooze controls first. They cover the main Inbox Zero workflow without giving another service access to your email.
For more information on managing your inbox, you can visit Inbox Zero Tutorial for Gmail or Introduction to Inbox Zero.
Keep Inbox Zero Working
Inbox Zero is worth trying if email keeps stealing your attention. Bulk cleanup gets you started, while filters, unsubscribing, labels, and scheduled checks keep the inbox manageable.
You may not finish every day with a perfect zero, and that’s fine. A quiet inbox where every remaining message has a clear purpose is a solid result, and it is far easier to maintain than chasing an empty screen at any cost.