Tweak these settings for optimum speed
Modern operating systems use more resources than ever before. Usually, this isn’t a problem as platforms like Windows, macOS, and most Linux distributions are optimized for modern computer hardware.
Sometimes, however, you’ll find that Windows runs slower than you remember. There can be many reasons for this, and these 9 ways to make Windows 10 faster should address most of them.
Turn Your Computer Off
Before changing your computer’s settings, it’s worth considering how long it’s been since you last powered down your computer. Leaving your computer in sleep or hibernate modes is okay for short periods of time, but powering down or rebooting is essential from time to time.
Rebooting allows Windows to install essential updates, resets Wi-Fi and other peripherals, and clears the memory cache. Powering down your computer overnight can be even more worthwhile, as it can provide a better indication of any new hardware problems.
Sometimes a computer will work fine when first started, then may slow down. This is usually a sign of a cooling problem that can be fixed with a new fan or a new application of thermal paste on the Central Processing Unit (CPU).
Power Settings
Windows 10 comes with power settings designed to get the most out of your hardware and battery. A side effect of this regulation is less power being allocated to the computer hardware, affecting performance.
Windows 10 uses a Balanced power plan by default, which you can change by clicking on the battery icon in the bottom right. Move the slider to the right to get the maximum performance out of your machine.
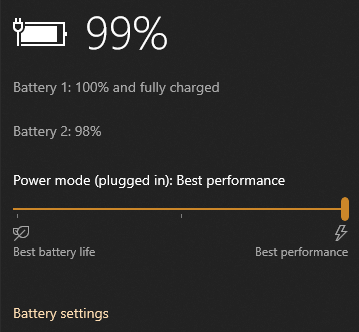
This is especially important for processor-intensive tasks like video editing or playing games.
Disable Windows 10 Visual Effects
Windows 10 is the most aesthetically pleasing Windows iteration yet, and it’s highly customizable. The default Windows 10 visual effects include animations, shadows, and transparency.
As good as they look, visual effects all fight for processor and memory attention. Turning them off makes for a more efficient system:
- Press the Windows Key and type sysdm.cpl to open System Properties
- Select the Performance Section
- Check Adjust for best performance
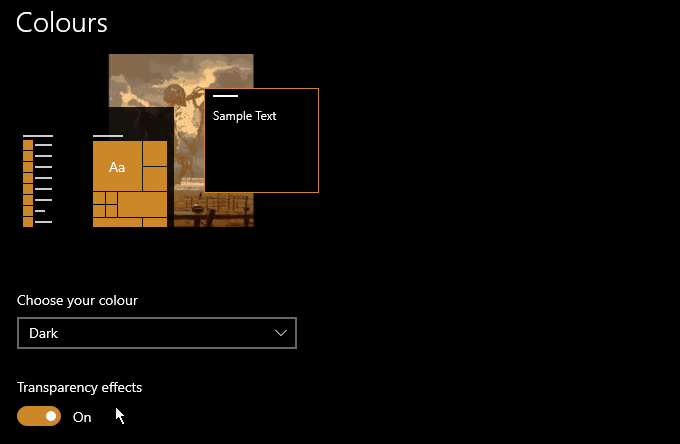
This window gives you fine-grain control over which effects you’ll see, but turning them all off is the best way to ensure top speed. To turn off transparency, press the Windows Key and type Colors. Uncheck Transparency Effects.
Delete Windows 10 Bloatware
Anything on your computer that you don’t use regularly is bloatware. This could be software you installed and no longer use, or programs included with Windows 10. The first step to removing bloatware is to remove software you no longer need.
- Press the Windows key and type Add or Remove Programs
- Search through the list for the software you no longer need (you can filter and search using the provided dialog boxes)
- Click on each application, followed by Uninstall to remove it from your system
That step will get rid of any programs you no longer need, but some of the apps bundled with Windows are trickier to remove.

If you’re willing to get your hands dirty, you can use the Windows10Debloater from Sycnex, a PowerShell script designed to automate the process of removing bloatware. You can find full instructions on the GitHub page for the project.
Note: Make sure you read the instructions thoroughly. Some Windows 10 apps can be hard to get back once purged.
Clean Out Your Startup Folder
Many programs add themselves to your computer’s startup procedure as part of the install process. As well as being a very sneaky thing to do, unneeded background software takes up precious resources.
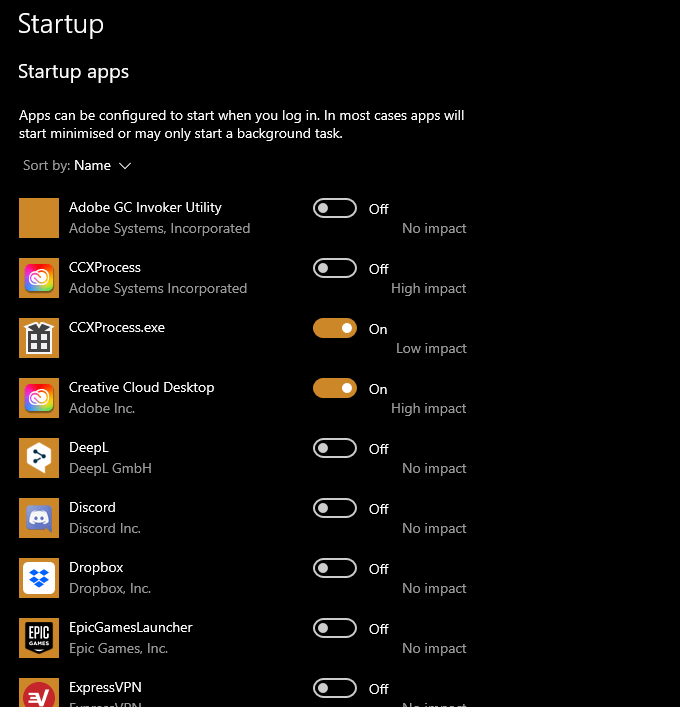
If you don’t need a piece of software running in the background, remove it from your startup by pressing the Windows key and typing Startup Apps. You’ll see a list of programs that automatically start up with your computer. Uncheck any you don’t need.
Limit Backup Services
Backup services are a great idea, and keeping essential files in the cloud or a local Network Attached Storage device can save a lot of headaches in the long run. Online services like Dropbox and Google Drive automatically backup specific folders from your computer.
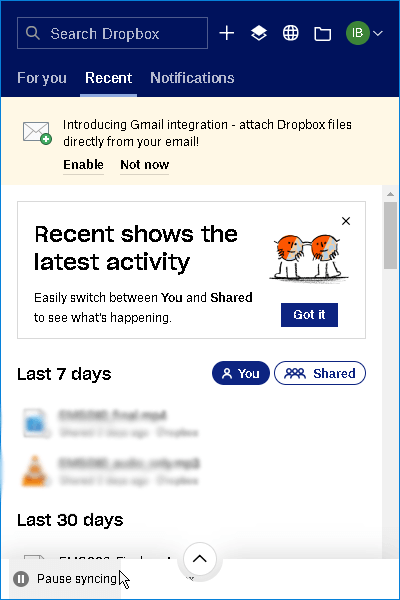
Controlling when this happens is important, as syncing large files and folders can slow down both your computer and your internet connection. When you need your computer to work at full efficiency, temporarily pause any syncing services.
Make Hard Drive Space
With so much media being digital and games routinely asking for up to 100 GB disk space, running out of space is inevitable. Unfortunately, this isn’t great for keeping your computer speedy. Iterating through vast amounts of files can be a costly process, and if your system drive is almost full, your computer will slow down and behave erratically.
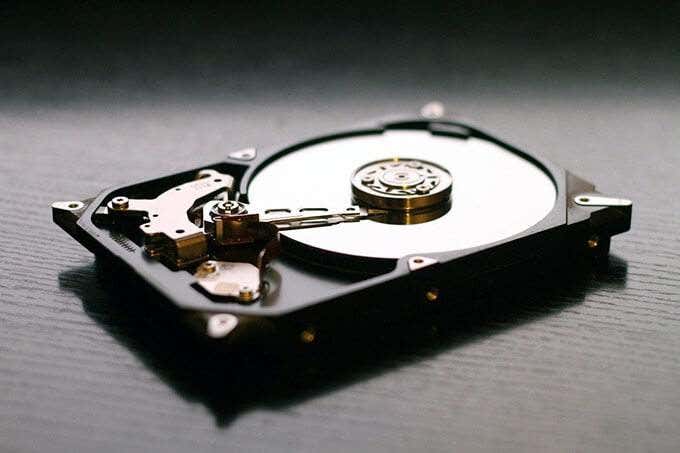
It’s good to delete files and games you aren’t using to keep your system drive as light as possible. If possible, an external hard drive or SSD is a great way to store large files.
Defrag
If your computer uses a traditional hard drive rather than an SSD, defragmenting can make a big difference to performance. To start defragging, press the Windows key and type Defragment and Optimize Drives. Click Optimize to get started.
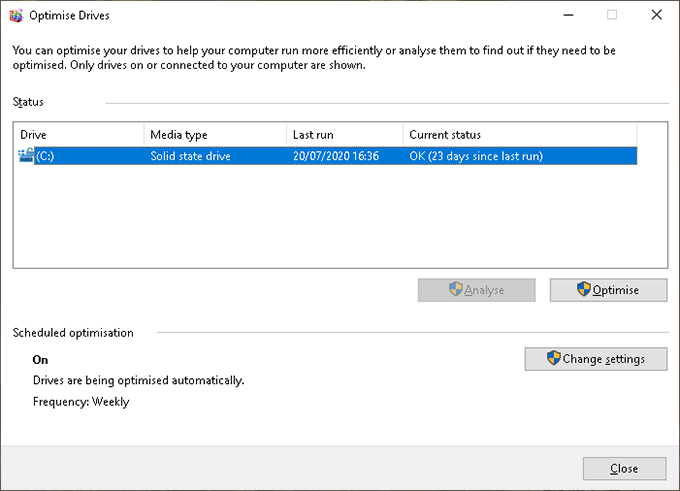
Note that you do not need to defrag SSD drives, but don’t worry if you aren’t sure what drive you have – Windows 10 auto-detects your drive type.
Turn Off Indexing
Search indexing is designed to speed up your computer by analyzing and categorizing data for easy retrieval. Ironically most modern systems don’t require this feature, and it actually slows the system down.
We have an in-depth guide on indexing and why you’d want to remove it, but in brief:
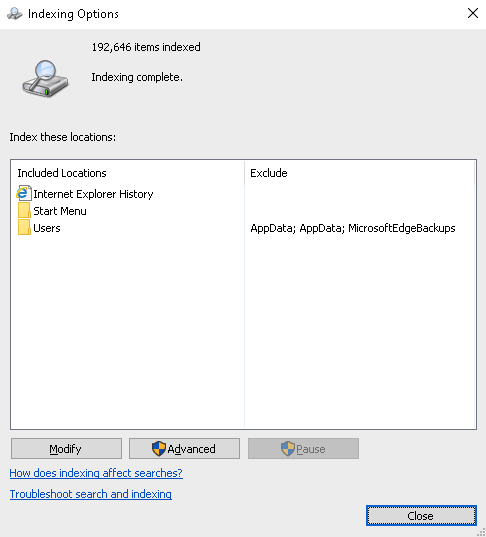
- Press the Windows key and type Indexing Options
- Select Modify > Show all locations
- Select each item in the Summary of selected locations list
- Uncheck the boxes in the Change Selected Location list above
Any modern computer with an SSD doesn’t need indexing turned on. If you aren’t sure if your computer has an SSD, you can turn indexing off to see if you experience any speed change. If it doesn’t work (or makes things slower), you can turn indexing back on by reversing the above process.
The Need For Speed
These 9 tips should make a marked difference to your computer’s speed. If you want to take things further, consider cleaning your computer’s registry.
There are also tools you can use to speed up your computer. Treat these with caution, as popular options like CCleaner might not be trustworthy.


