A great way to preserve and share memories
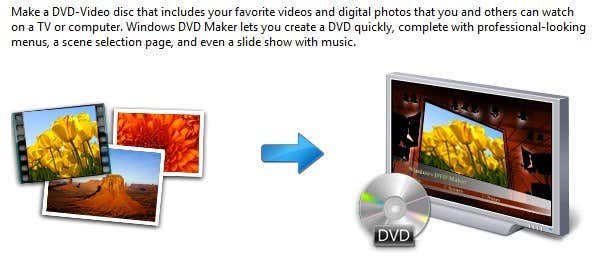
Did you know that you can create a DVD photo slideshow in Windows Vista and Windows 7 using preloaded software? I found this out the other day and it’s great! It’s called Windows DVD Maker and it’s a free tool in Windows Vista and 7, just like Windows Media Player. Using the software, you can create professional looking DVDs in a very short amount of time.
DVD Maker comes with over 20 different DVD styles that let you create a professional looking DVD that matches the theme of your home movie or photo slideshow. You can also customize the DVD even more by adding a disc title, a notes page and editing the menu text.
Windows DVD Maker
In terms of creating slideshows, Windows DVD Maker doesn’t have very many options for effects or transitions, etc since it’s really only for burning previously created projects. I’ll first write how to use it to create a super simple photo slideshow that you can burn to DVD using Windows DVD Maker, but at the end I’ll also mention other programs you can use to first create nicer photo slideshows before burning them to DVD.
Using Windows DVD Maker, you can customize your DVD menu using their built-in and very professional looking styles. So if you have a bunch of photos and Windows Vista or 7, then let’s create some DVD slideshows that you can then share and watch on your TV.
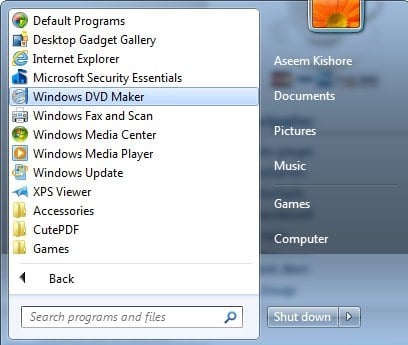
First, go to Start, and then All Programs. Click on Windows DVD Maker or simply type it in the search box.
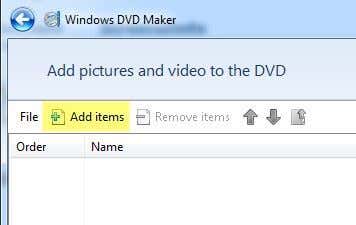
At the top left, you’ll see the Add items button, which will let you add pictures or videos to your DVD project.
Browse to the location of your picture folder, select all of the photos desired and press Add. You should see a slideshow folder in the list with the number of pictures. If you have more pictures from a different folder, you can add those too and they will be added to the slideshow folder. Here’s what it looks like with a couple of photos.
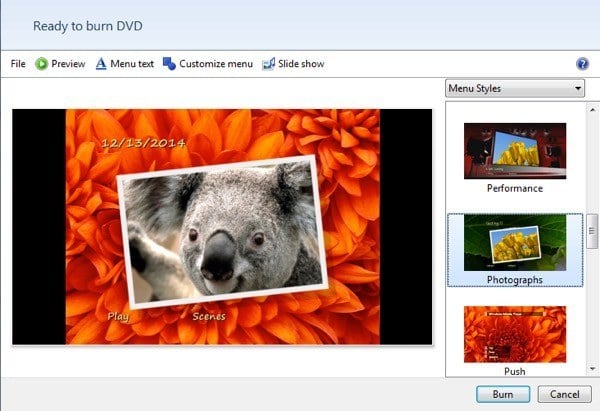
Go ahead and click Next and now you’ll be able to choose the style of your DVD menu. Here you can customize the Menu text, customize the menu itself, and preview the DVD menu.
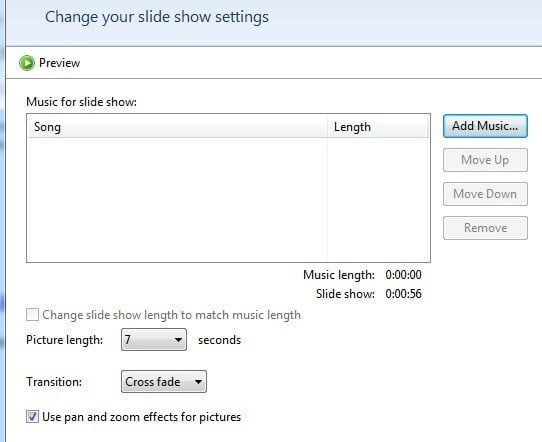
Like I mentioned earlier, there are not very many options for configuring your slideshow, but you can do a few small things if you click on the Slide show button at the top (next to Customize menu).
Here you can add music to the slideshow, change the slide show length to match the music length, change the length of time each picture is displayed, change the transition type used for each picture and choose whether to pan and zoom the pictures. It’s basic, but it will get the job done for a lot of people.
Once you have finished customizing the settings, go ahead and click Burn! That’s really all there is to it! The DVD will be burned and you’ll now have your own slideshow on DVD.
Windows DVD Maker will encode the movie in the appropriate DVD format and then it will burn it. The encoding process takes much more time than the burning so you will have to wait a while depending on the speed of your computer.
So what if you’re running Windows 8/8.1 and don’t have access to Windows DVD Maker? Well, there are a couple of other options. One of my favorites is DVD Slideshow GUI, which is freeware.
DVD Slideshow GUI
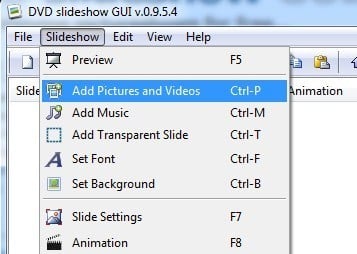
DVD Slideshow GUI basically uses a bunch of free tools that are already available and packages them together into a nice GUI interface. Once you install it and run it, go ahead and click on Slideshow and then Add Pictures and Videos.
You should see a list of all the pictures added with some information like Duration (slide), Animation, Transition and Duration (transition). The durations are in frames and the transitions are randomly selected by default when you load the pictures.
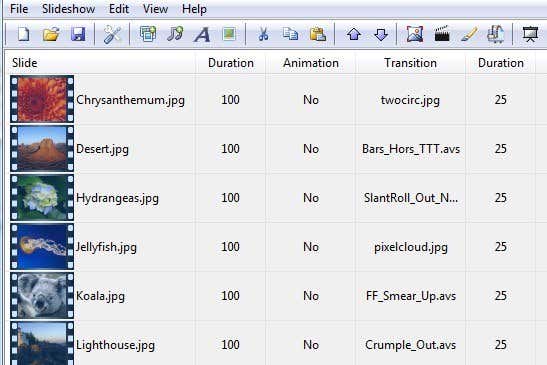
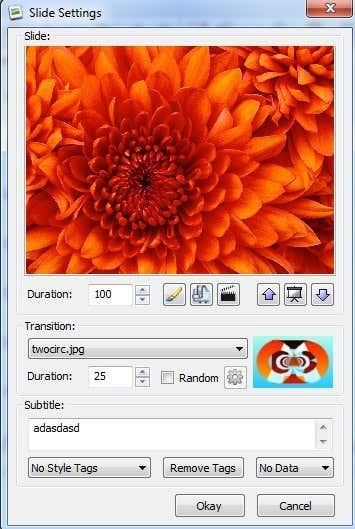
You can change all of these settings, of course, by simply right-clicking on any picture. It will instantly bring up the slide settings dialog box.
Here you can change the transition and durations and also click on the little brush icon, which will ask you to choose your favorite photo editor. You can pick anything from Photoshop if you have that installed to Microsoft Paint. In this way, you can edit the photos beforehand or via the DVD Slideshow program if you like. The subtitle option will add whatever text you type onto the image and you can then change the position and style of that text using the style dropdown box.
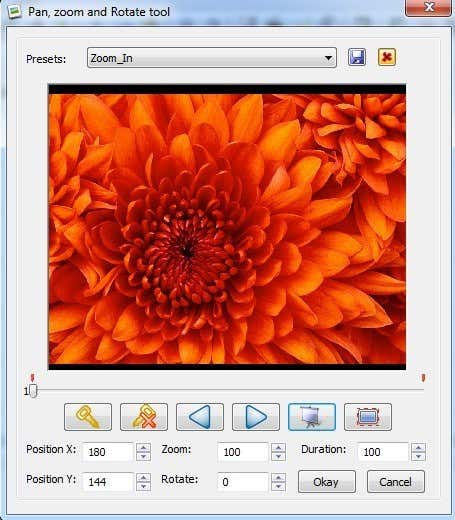
You can also animate the images if you click by selecting one, click on Slideshow and then clicking on Animation. You can basically zoom, pan and rotate the images using this tool.
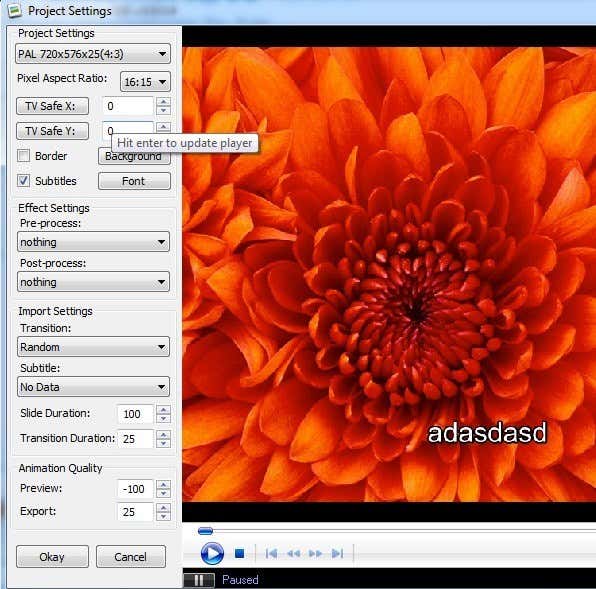
You can also preview the entire slideshow by just double-clicking on any photo in the slideshow. Once you have completed the slideshow, click on File and then Project Settings.
Here you can choose the resolution and format for the slideshow, aspect ratio, whether to include pre or post process effects, and adjust the quality of the animations. Finally, you can click File and then choose Burn to Disk to burn your slideshow to CD or DVD. The program also has the option to export it as a movie file or upload it to YouTube.
Microsoft Photo Story 3
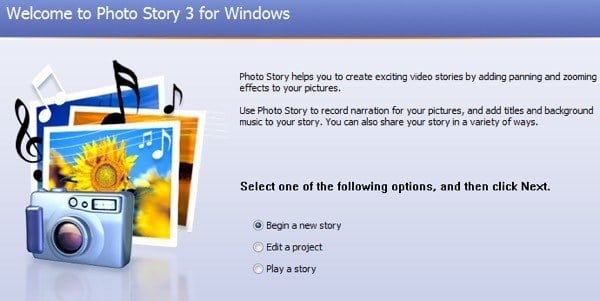
Photo Story 3 is almost 10 years old now, but it’s still a nice piece of software that runs on everything from Windows XP up to Windows 8.1. Once you install it, choose to Begin a new story on the wizard.
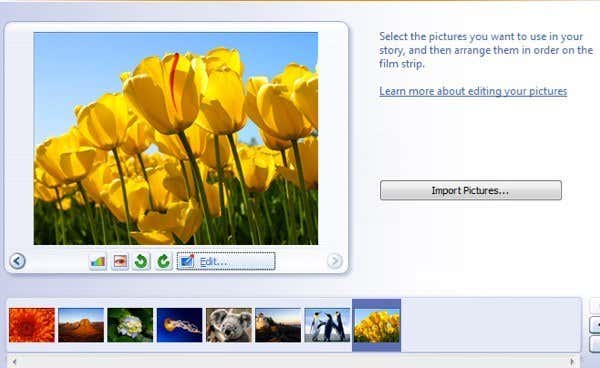
On the next screen, click on Import Pictures and choose all the pictures you want in your slideshow. Once loaded, you’ll be able to click on a picture in the grid at the bottom and then click on the small buttons to correct color levels, remove red eye, rotate or edit.
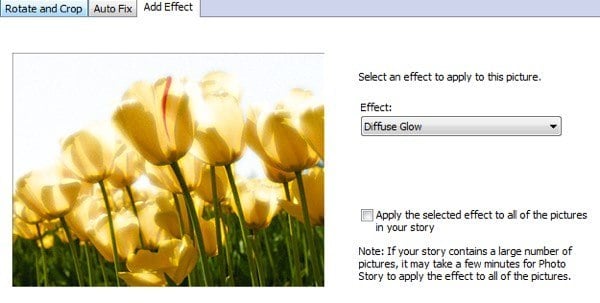
When you click on Edit, you can rotate and crop the photo, auto fix it or add effects. You can also apply one effect to all the pictures if you like.
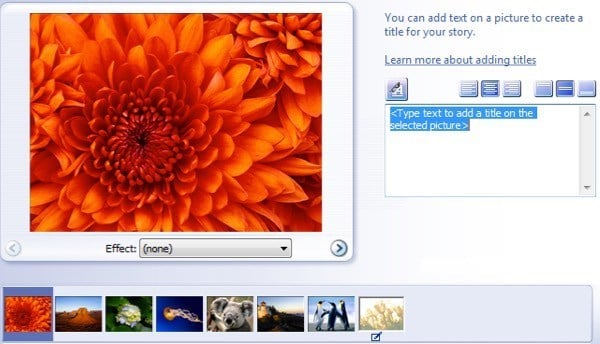
Next, you can add titles to each photo and adjust the justification and font using the buttons directly above the text box. You can also pick an effect for each picture from this screen too.
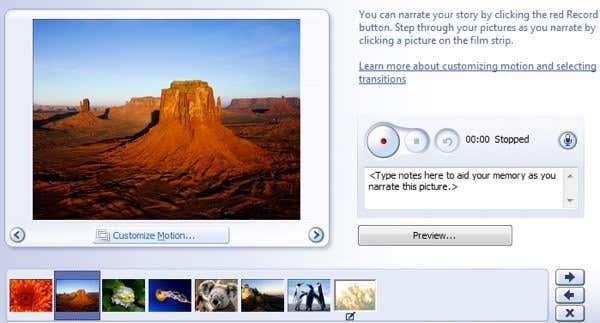
What’s cool about Photo Story is that you can also add narration to each of your photos by directly recording your voice in the program! It’s a pretty neat and unique feature and that is why I still recommend this program 10 years after it was released.
If you click on the Customize Motion button, you can add any zoom/pan and transition effects here. I also like having the ability to choose the exact parts of an image that I want to zoom in on rather the program randomly deciding.
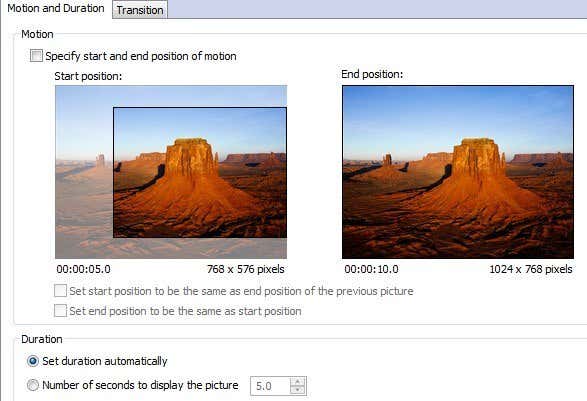
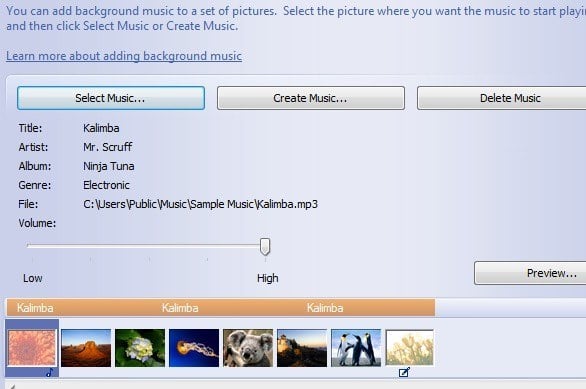
Now you can add music to your slideshow by either selecting MP3 files or you even have the crazy option of creating your own music on the fly by combining various pre-set music tunes, changing the tempo, etc.
Lastly, you choose what you want to do with your photo story. You can either save it to your computer, which is the option to choose if you want to burn it to DVD later. It basically saves the file out as a WMV file, which you will then just add to Windows DVD Maker to burn to DVD.
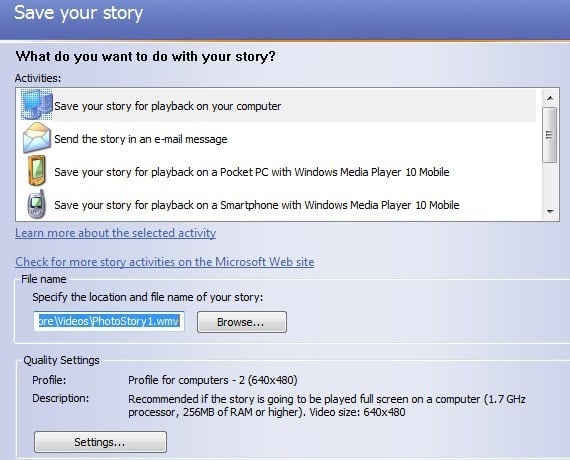
You can also click on Settings to adjust the resolution and quality of the saved video. So those are three options you have for creating photos slideshows and burning them to DVDs, emailing them, uploading to YouTube or simply saving to your computer. Enjoy!

